
…..doing its job!
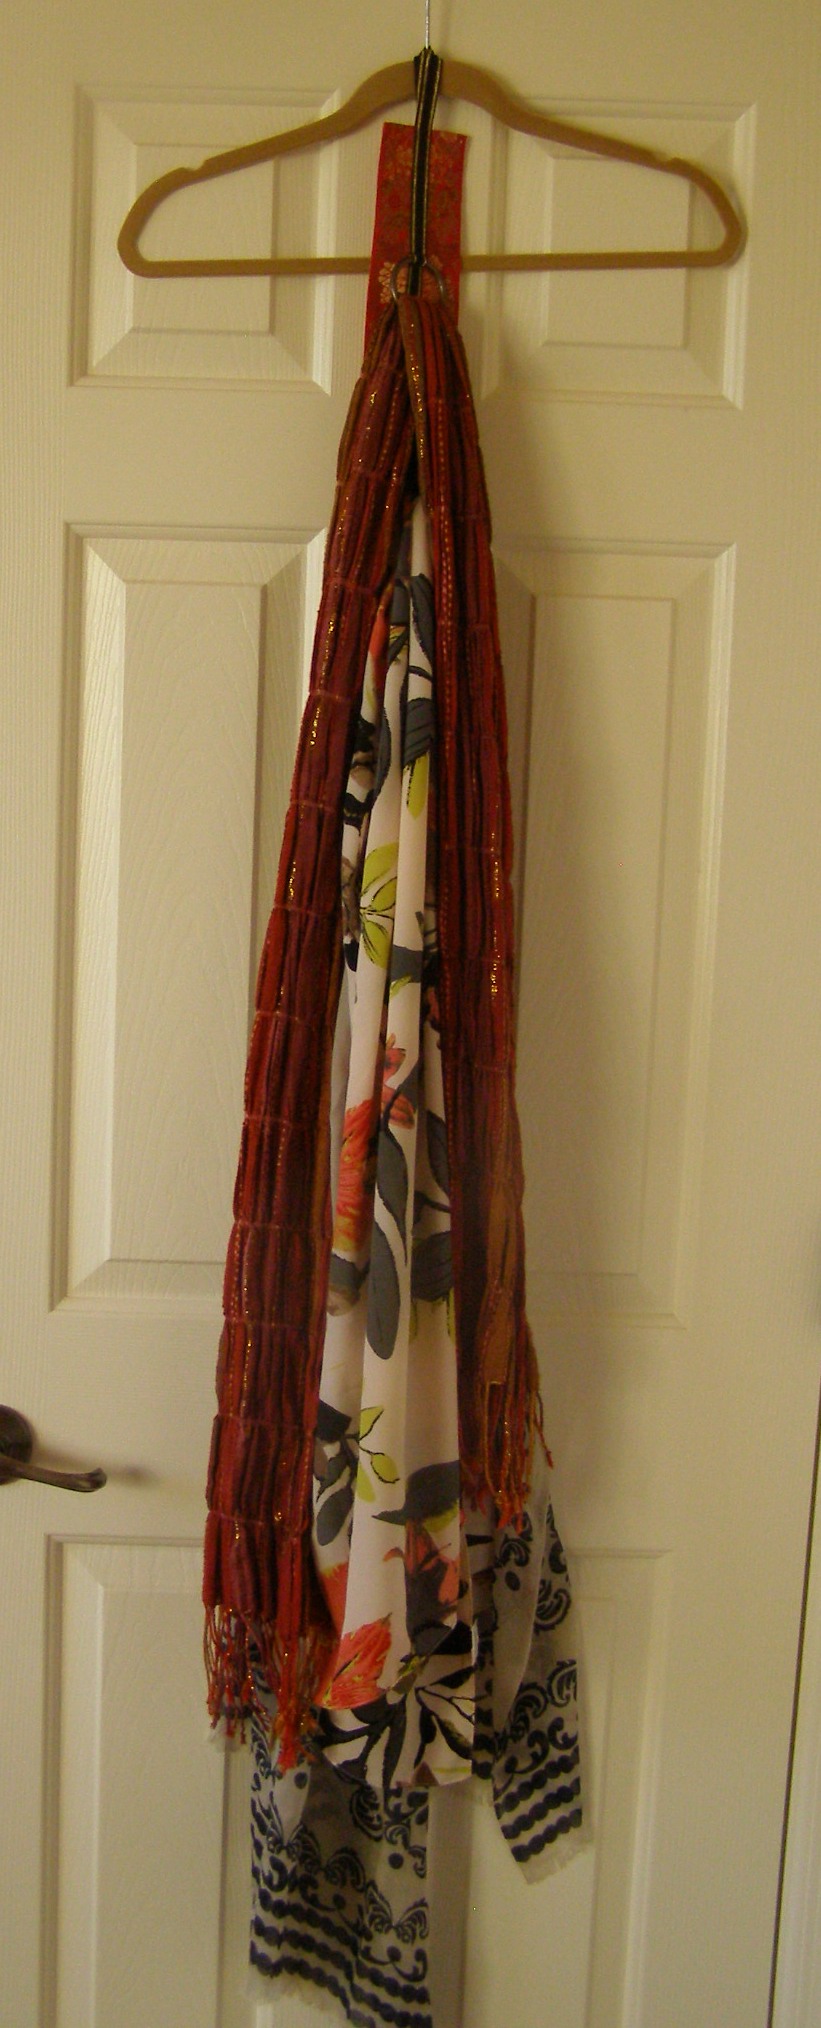
Destashification Scarf Hanger….
Such an Issue….
Many scarves sewn up using Stash Fabrics and the DD’s Infinity Scarf Directions – and no place to hang them.
Stash to the Rescue.
Materials:
- 4 – 5 foot long piece of 3″ – 4″ wide ribbon.
- 1/2″ – 1″ ribbon 12″ or so longer than wide ribbon
- 7 – 10 plastic or metal 2″ – 3″ rings
- Fabric 1″ wider and longer than wide ribbon to cover back
- Fusible web – 1/2″ wide (comes in a roll)

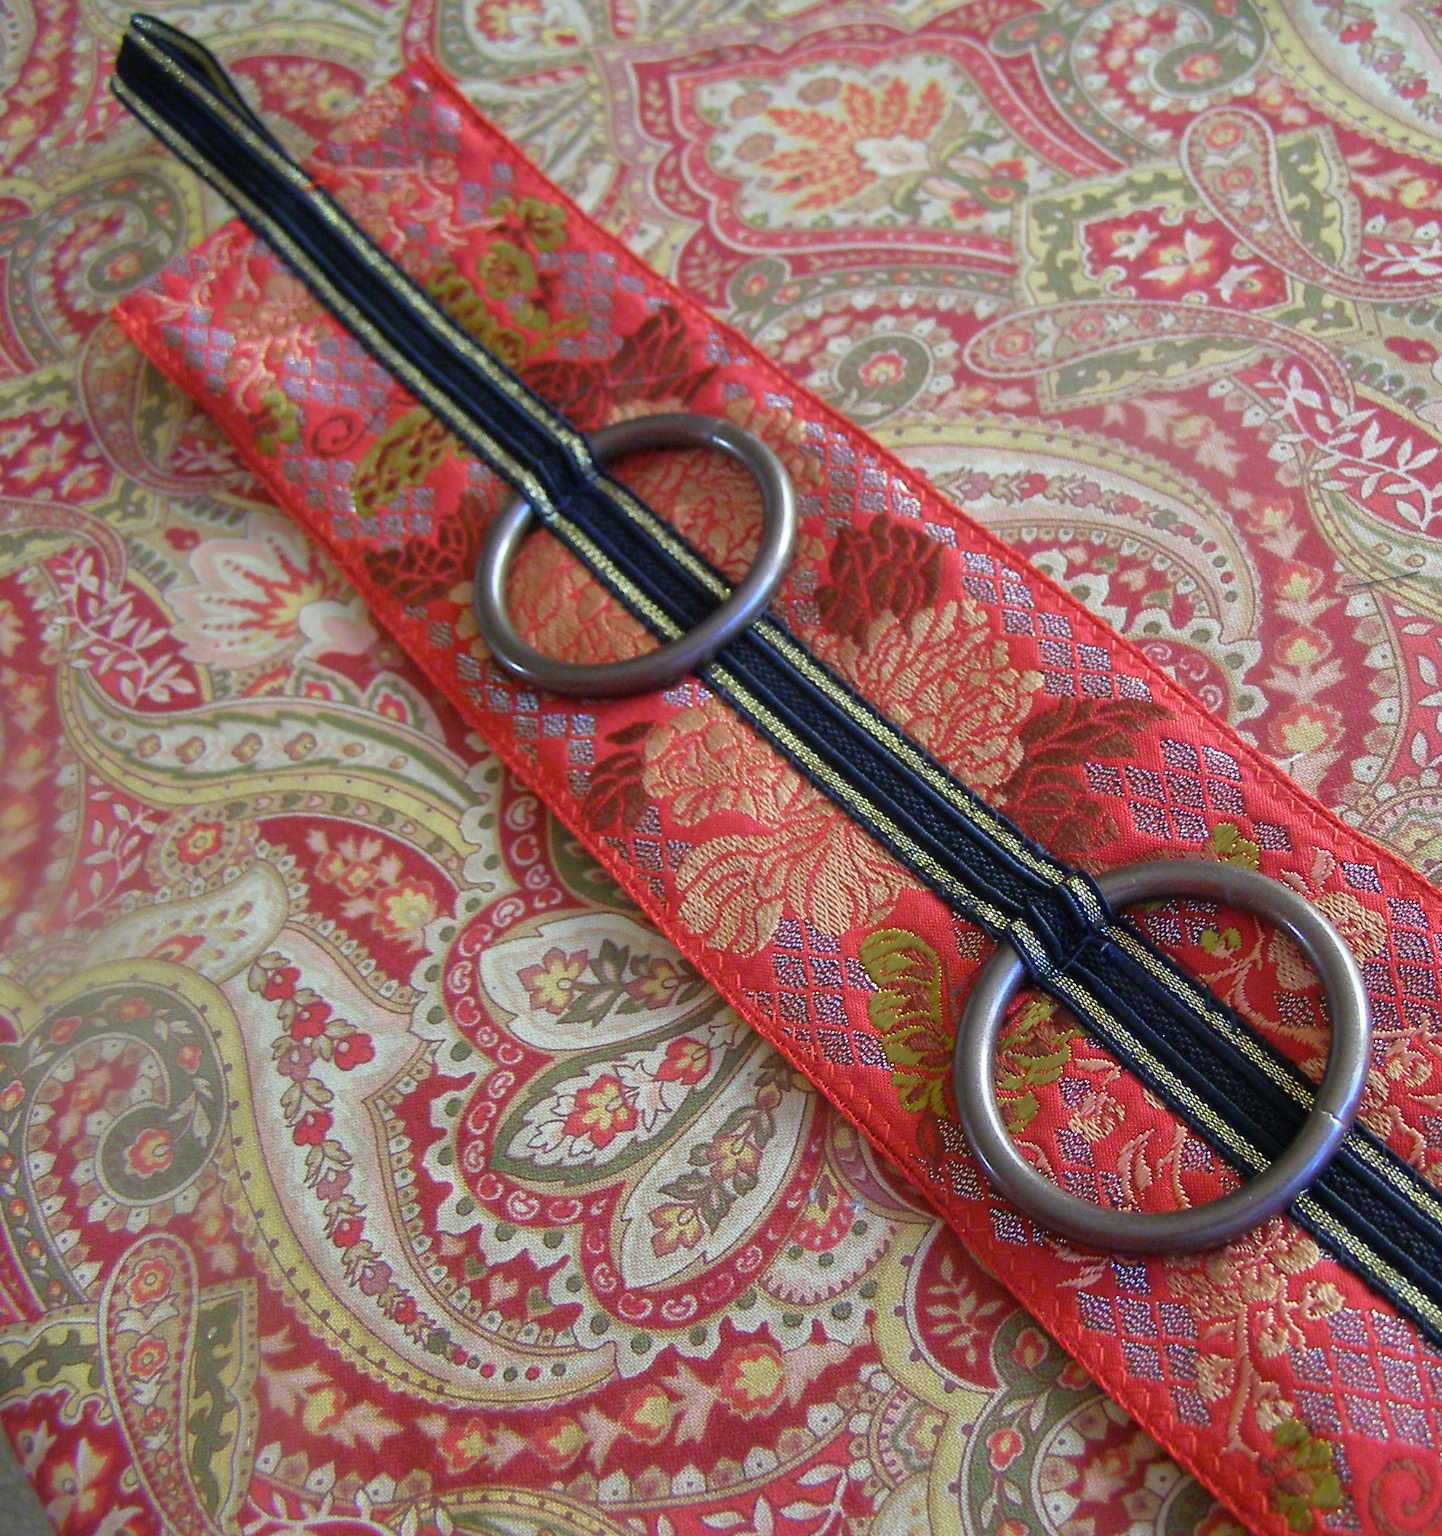
Metal rings – remove clips
Finding plastic rings was a problem – but drapery clips with the clip part removed were perfect!
- Fold 1/2″ of top and bottom of wide ribbon to back and press.
- Iron fusible web down the center of the face of the ribbon – paper side up.
- Remove paper from fusible web.
- Leaving a 1″ tail, place narrow ribbon over fusible web and iron only 2″ or so to adhere.
-

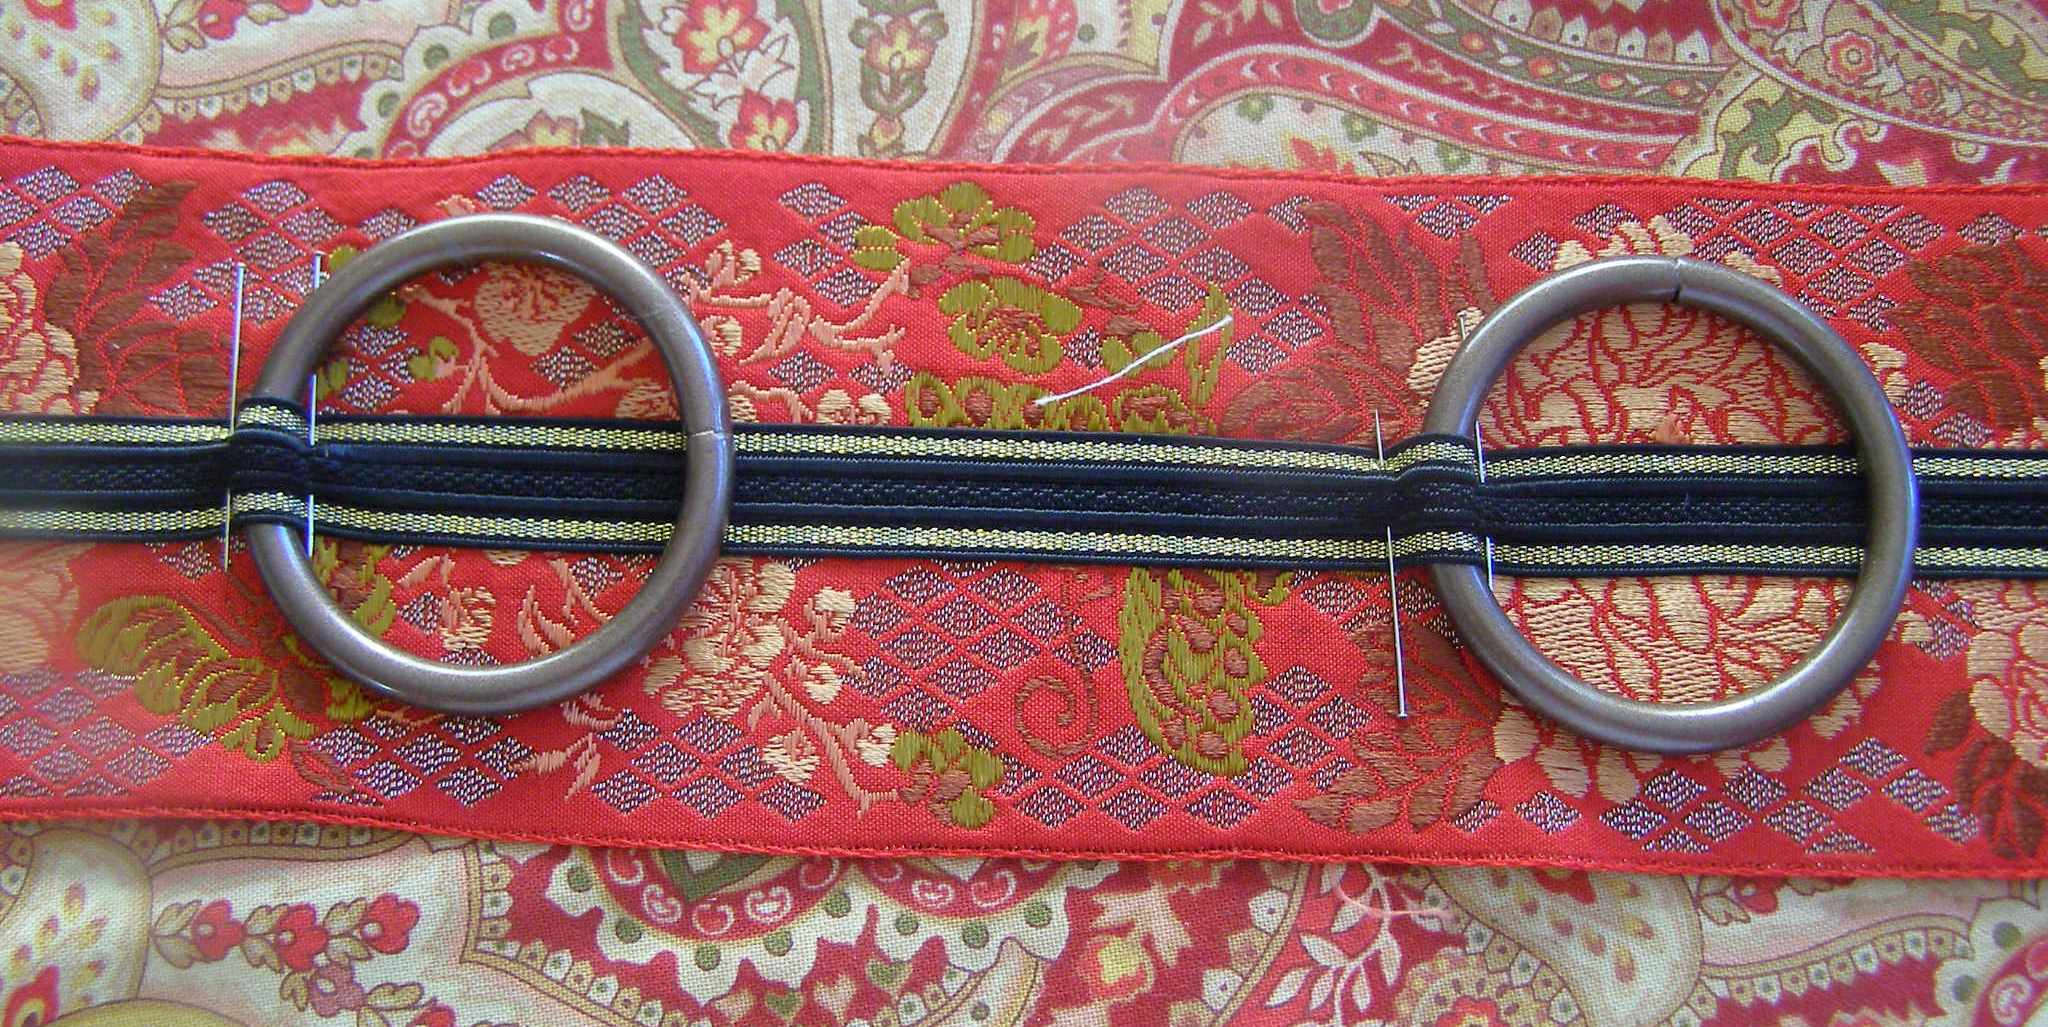
Narrow ribbon placed over fusible web. Rings pinned snuggly in place.
Place ring and pin snuggly.
- Move up 3″ – 4″ and place and pin another ring.
- Continue until all rings are pinned. The narrow ribbon should extend 10″ or so above top of wide ribbon.
-

Adjust ring placement if needed.
Adjust ring placement if needed.
- Iron narrow ribbon to fusible web – use point of iron to get as close to rings as possible. If using plastic rings – avoid touching them with the iron as they will melt.
-

Using Zipper Foot sew back and forth across narrow ribbon to secure rings.
Take to sewing machine. Using zipper foot, sew back and forth across narrow ribbon as close to rings as possible to secure.
-

Narrow ribbon folded to back to form hanger.
Fold extension of narrow ribbon so that 2″ or so is on the back side of the wide ribbon to form hanger. Fold narrow ribbon at bottoom to back.
- Change to “regular sewing foot” and sew narrow ribbon between and above and below rings – back stitch several times when close to rings. Zig zag or straight stitch can be used. Be sure that raw ends of narrow ribbon are secured to back of wide ribbon.
- Cut threads (all zillion of them).
-

Pin backing fabric to back of wide ribbon – wrong sides together.
Fold in edges of backing fabric to width and length of ribbon.
- Place wrong sides together and pin.
- Using a narrow zig zag stitch sew all the way around.
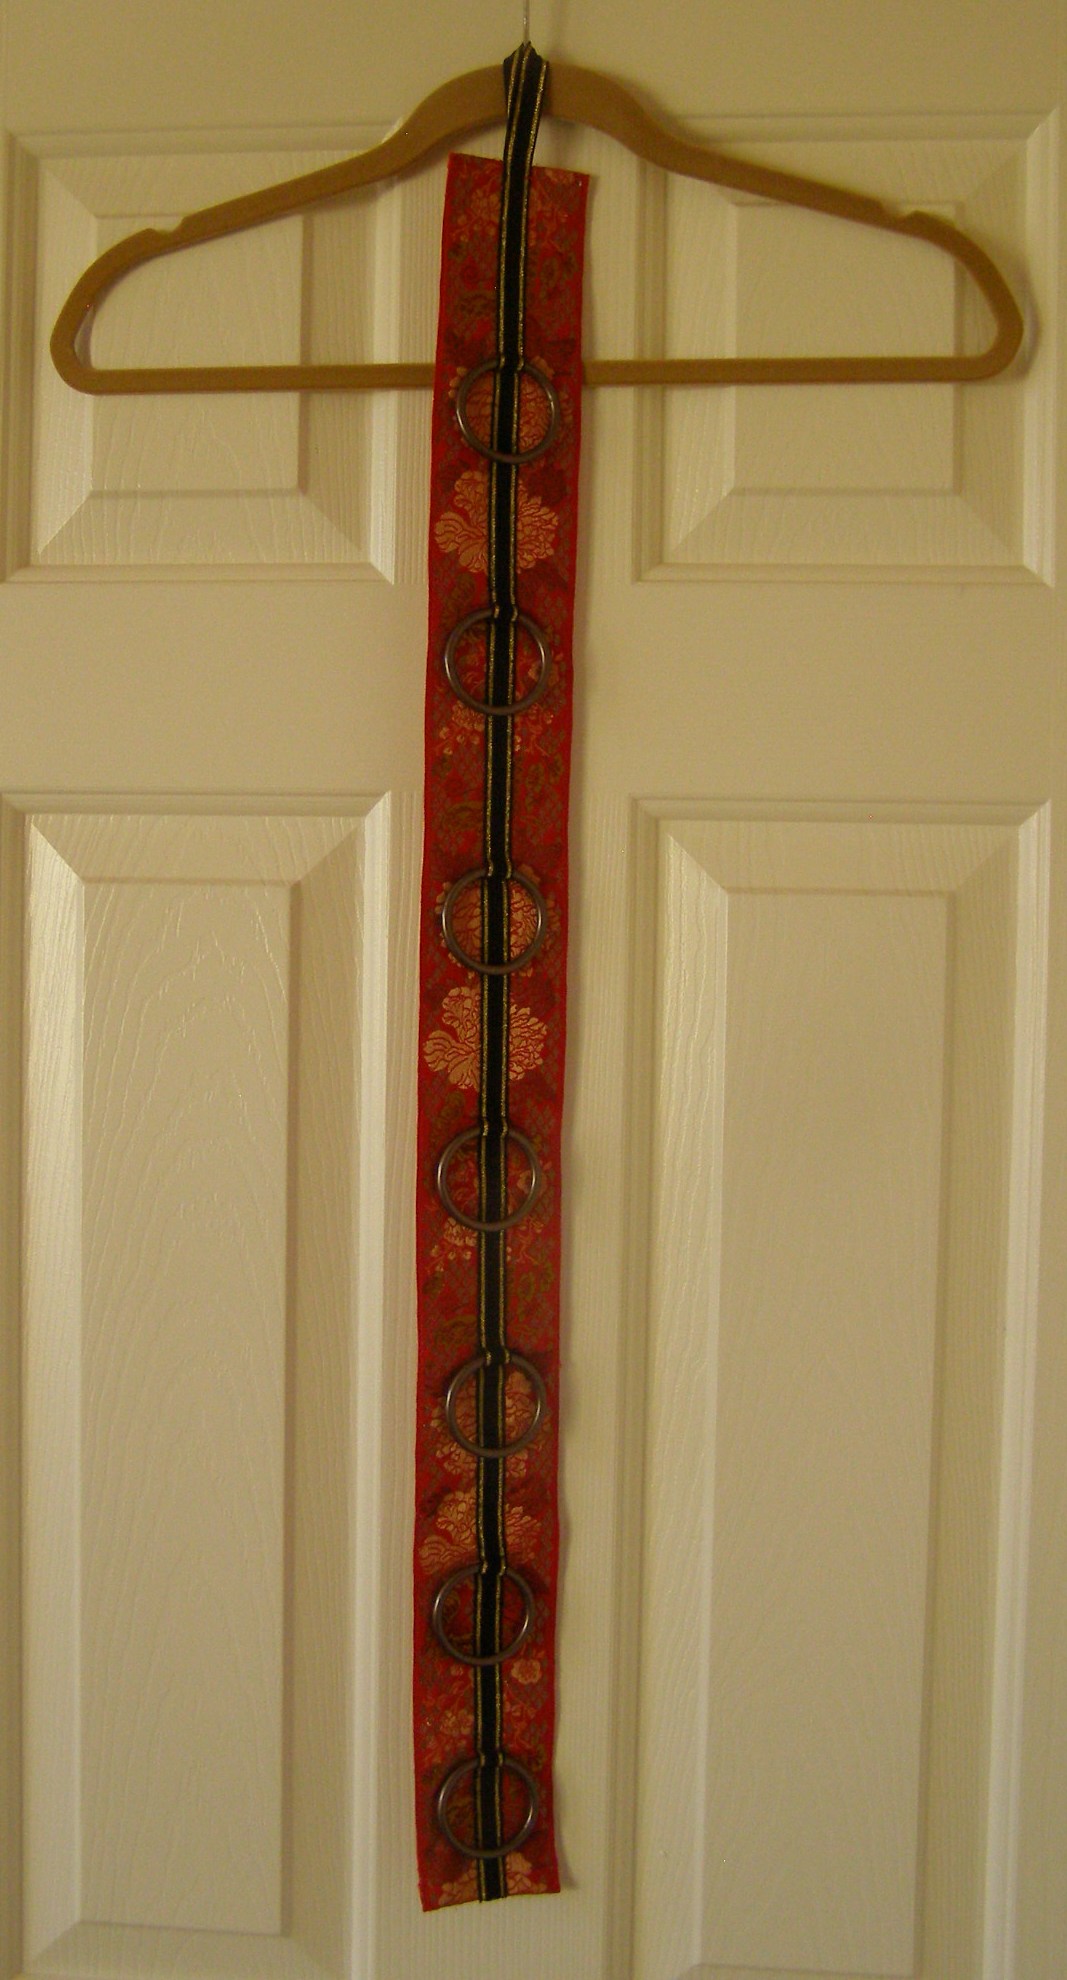
- Done!
-

Completed!
Now all those scarves will hang wrinkle-free!


so clever!