

The Jetson’s Dress
Sewing a dress for my son’s wedding “required” practicing with a few muslins. This one was the first – just to see if the pattern would fit sans adjustments.

Vogue 8764
The pattern seems almost tunic-like, which I did not want, but the empire waist and the cup-size options appealed to me.

The Jetson’s Show used the same ovoid shape in its “futuristic” setting. Here it is used to create trees, the planter and lights.
Among the treasures in the Stash are some-not-so-valued pieces of fabric. I choose one such fabric – a polyester chiffon that spoke to me of mid-century modern due to the “orbit” or ovoid shapes included in the print.
 That orbit shape started in NASA logo – very space-age and futuristic at the time.
If anyone remembers the Jetson’s show, it repeatedly used those shapes.
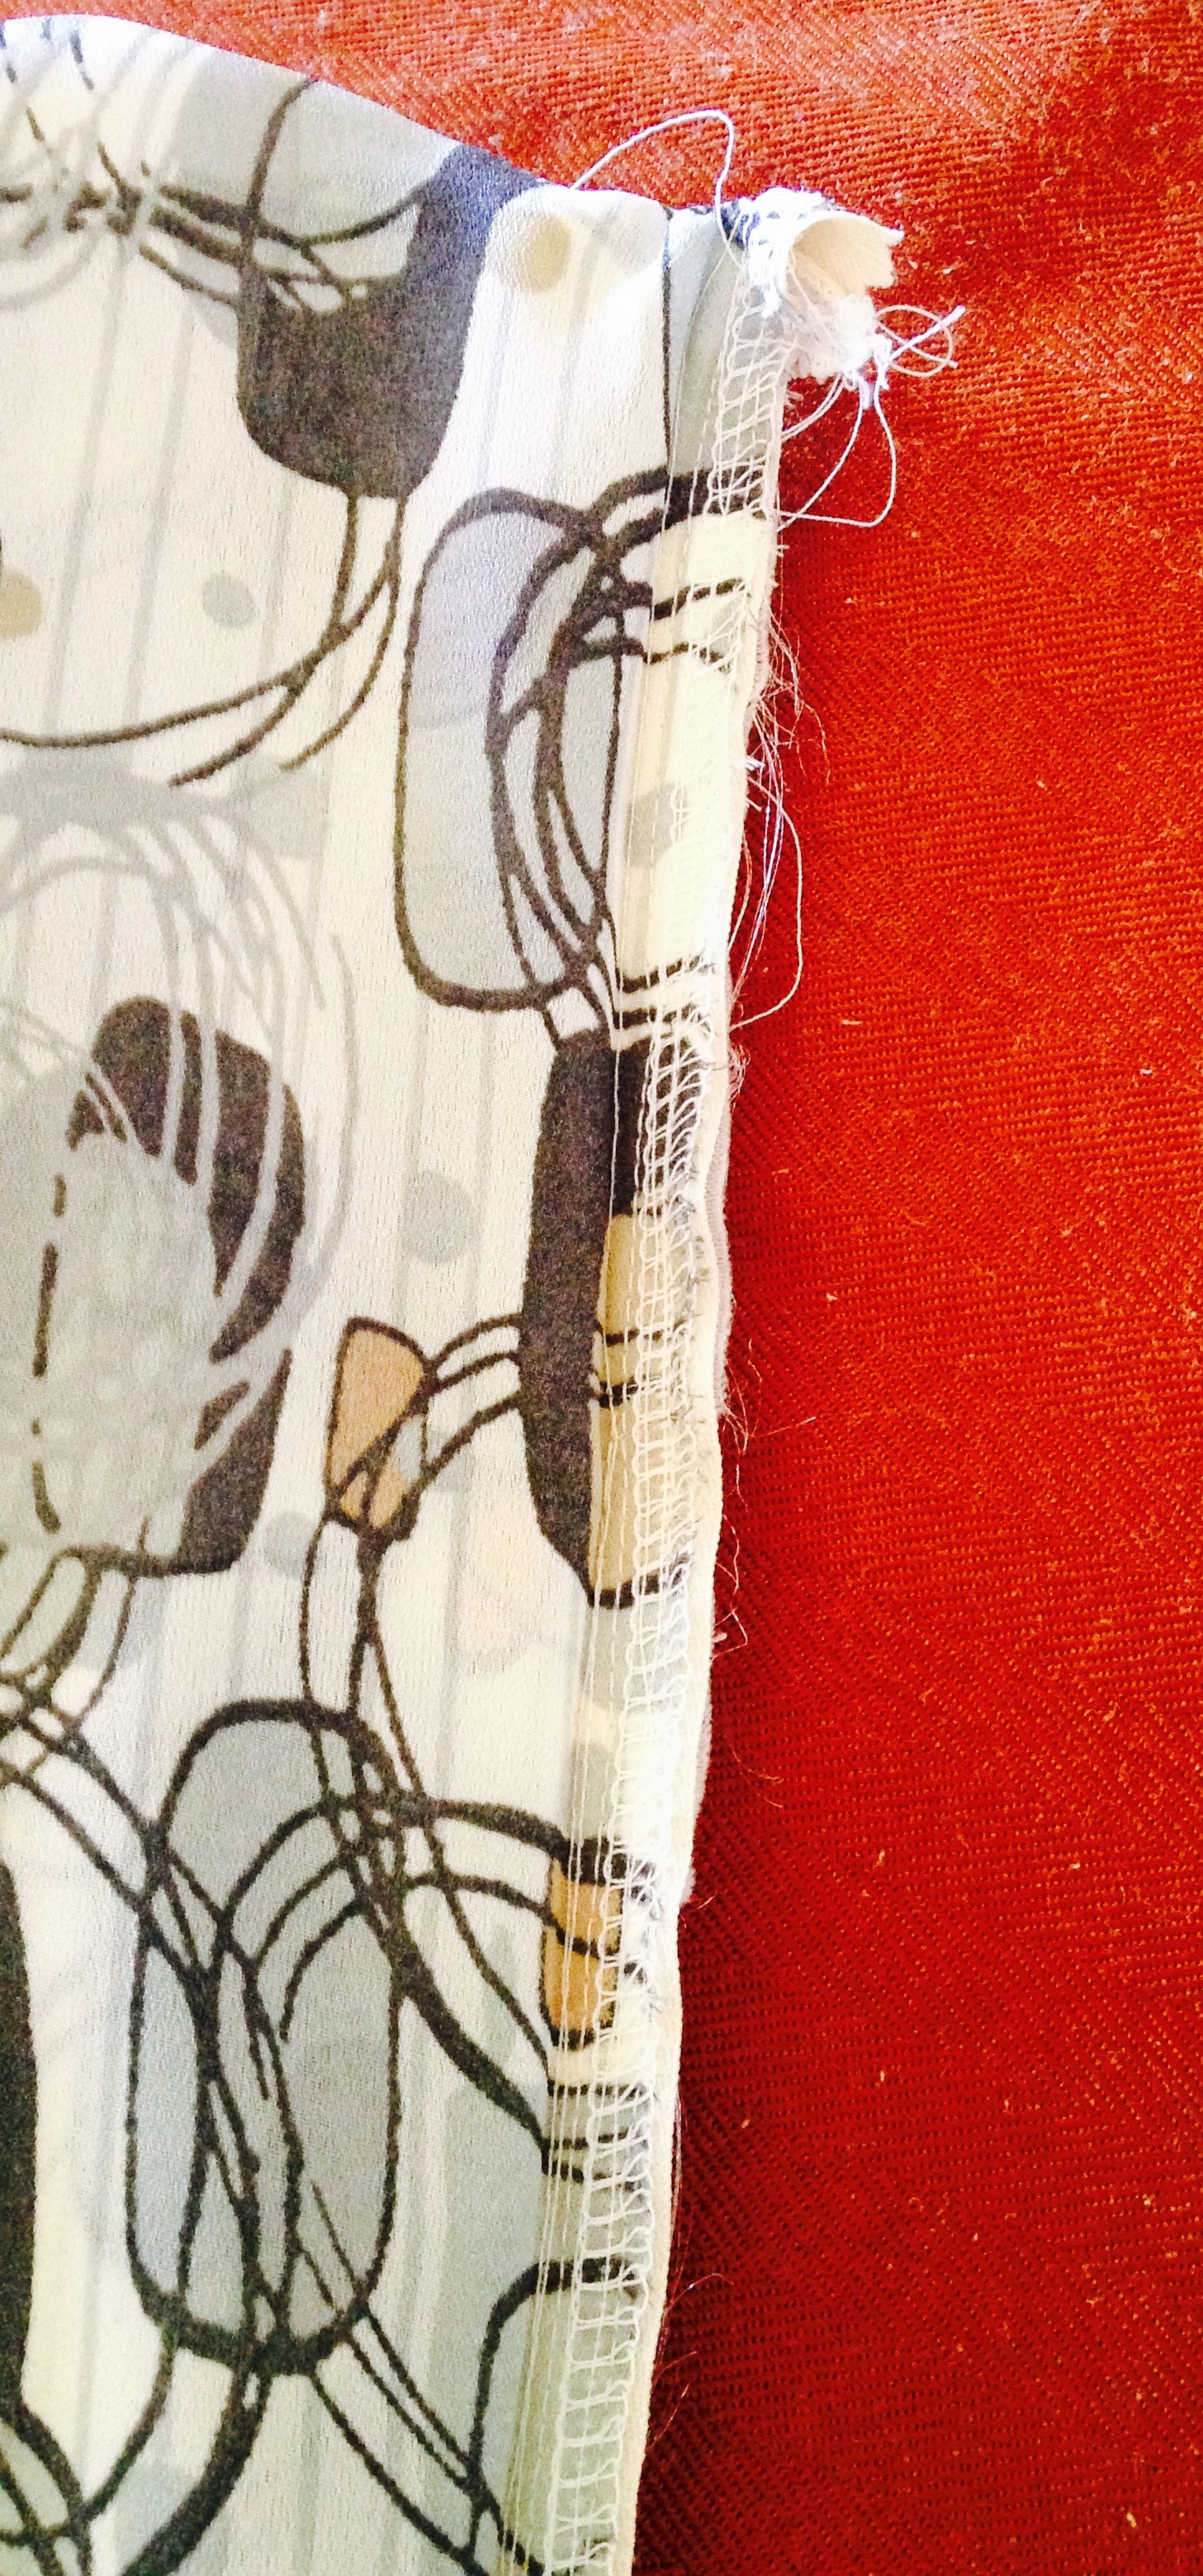
“Polyester chiffon” is another term for “difficult to cut out, ravels easily and requires a lining.”
The pattern was modified to be sleeveless, and have a wide scoop neckline – and it took less than 2 hours to sew.
Love the cup-sized patterns!
It fit without adjustment!
It was originally sewn without a zipper (thus the 2 hours) as it was a muslin and was not intended to really be worn.

Jetson’s Dress
However, upon completion, my family decided the dress deserved to be worn, so after completion of the wedding sewing, an invisible zipper was retrofitted and the dress hemmed.

Invisible zipper detail
The method of invisible zipper installation in a lined garment that I use is all machine stitched and creates a very finished look, inside and out – in about 20 minutes!
1. Sew one side of zipper to right side of back (just the fabric, not the lining) using a regular zipper foot. Machine baste about 1/4″ from zipper tape edge.
2. Close zipper. Align any waistline seams and the zipper top.
“Zipper Sandwich” Note position of top zipper tape end.
Pin and machine baste near seams and top to secure alignment.
3. Open zipper and machine baste as for first side of zipper.
4. Close zipper and check waistline seam alignment.
5. Using invisible zipper foot, seam both sides of zipper close to zipper teeth.
6. Flip lining so the zipper is sandwiched between right side of fabric and right side of lining.

“Zipper Sandwich” from lining side.
This forms the “Zipper Sandwich.”
7. Using zipper foot, stitch close to zipper teeth.
8. Turn right side out – Done!

Completed Invisible Zipper Detail – Lining Side
A finished zipper – inside and out – in less than 20 minutes!
The dress is very light – even with the lining (cotton/polyester leftovers) so has already been worn. With sandals it is a nice casual alternative!

Very nice! (I LOVED the Jetsons!). Thanks for the zipper lesson too!
So very pretty