

CD Quilt
Circle Quilts are a great way to use scraps of fabric – and stay warm while stitching during these colder evenings!
Pottery Barn used to have one, Garnet Hill has one currently – they seem to be available commercially in a number of high end stores.
So, I found a piece of wide muslin and a CD, fabric scraps in the coral-brown-gold colors and followed this simple process to put the quilt together.

Use a CD to create 10 or so cardboard patterns
1. Trace a CD on cardboard to make several CD patterns – cut them out. For cardboard, cereal boxes or old manilla folders work well – I made 10 using old green folders.
Trace pattern on BACK of fabric.
2. Trace around the cardboard on the BACK side of the fabric. I used a dark colored ink pen on the dark fabrics and a pencil on the light fabrics. If tracing several at a time, leave at least an inch between circles.
3. Cut out the fabric circles, 1/4″ to 3/8″ BIGGER than the traced circle line.
4. Using a running stitch, stitch around circle between the edge and the line. Do not secure the end of the thread when finished – leave a tail (and the needle if possible!)

Back side of fabric showing running stitch gathers.
5. Place the cardboard circle against the backside of the fabric circle and pull the thread tail until the fabric gathers around the cardboard circle. Secure thread by taking a few small stitches.
6. Take circle to ironing board and steam on front and again on back.
7. Being careful not to distort gathers, remove cardboard circle.

Steamed Fabric Circle
8. Steam again front and back.
One Circle ready! Many more to go! (Cardboard pattern may be reused.)
Prepare quilt top:
1. Determine size of quilt (sheets, especially those of high thread count are not recommended). Quilting stores (and my stash) have muslin and other fabrics in wide widths, if desired. A crib quilt can be created using 45″ wide fabric.
2. Determine center lines (horizontally and vertically) of fabric. Press to identify.

Circle pinned in grid square.
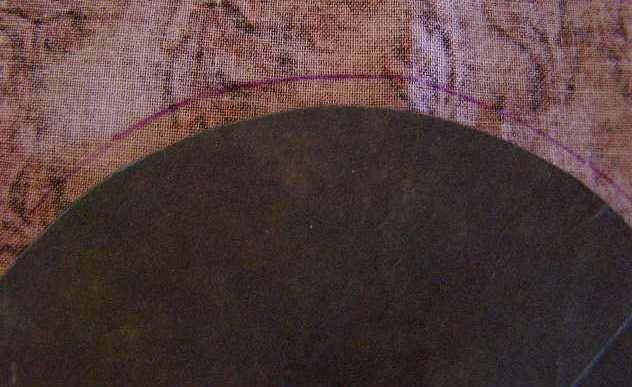
3. Starting from the center of the fabric, draw a grid on the fabric using a pencil. These are the quilting lines – and determine placement of the fabric circles.
CD circles are about 4.75 inches. I wanted 1/2″ between the circles, so I used a 5.25″ or 5 and 1/4″ grid. If more space is desired between circles, draw the grid lines further apart.
4. Place circles within grid squares and pin. Safety pins are recommended, but if one is immune to pin pricks, straight pins will work.
If one is creating a specific pattern with the circles, it is recommended that a photo of the layout of the circles be taken. There is always an errant circle or two (or 6) that seem to escape no matter how securely pinned.

CIrcles appliqued on. Hand quilted along grid lines.
5. Using an invisible stitch, applique each circle to the fabric.
6. Sandwich quilt batting between quilt top and back. Using safety pins, pin at least once in each circle through all layers. Also pin frequently at edges.
7. Quilt through all layers following grid lines. This can be done by hand (great way to stay warm on cold nights) or by machine.
8. Trim and bind edges.
If desired, additional quilting can be added – even after adding the binding.

Additional quilting within circles (coral solid and small floral print).
Many of the commercially available circle quilts have a circle of quilting about 1/4″ – 3/8″ in from the edge of the fabric circle.
Adding these is simple to accomplish and a great way to stay warm!
My CD quilt has about 20% of its circles quilted. If the weather stays cold, that number will increase!

Love this quilt
LOve love love this!!! Thanks bunches for this lovely tutorial.
Finally a quilt that I might be able to do!! I have not ever really quilted because looking at all those intimate, interminable small pieces has me screaming just looking at the pattern. This I could manage – with less circles however.
Thanks.