

A Sketch of how the pieces all for together to make the bag.
All pieces, batting and lining have been cut out. Pockets have been “topped” with a contrast fabric….let the sewing begin.
Sorry. The sewing has to wait – just a bit longer. Fusing comes first.
Following manufacturer’s instructions, fuse the batting to the WRONG side of the Side and End pieces. (But not the Top at this time.)
To mark Pocket placements – mark the Handle and Pocket Placement Lines shown on the Printed and Tape Side Pattern onto the RIGHT side of the Side fabric pieces.
This is simple to accomplish by just poking a hole in the printed pattern and marking the blue diamond location with a pin. Making a small snip (less than 1/4″ long) is an easy way to mark the placement line at the lower edge.

Pockets located on both Sides.
Place top of Pockets so edges meet pins marking blue diamonds and lower edge snips.
Press.
Sewing the Pockets to the Sides requires sewing though a number of layers of fabric – and a layer of batting. If you have a walking foot – using it would be a good idea.

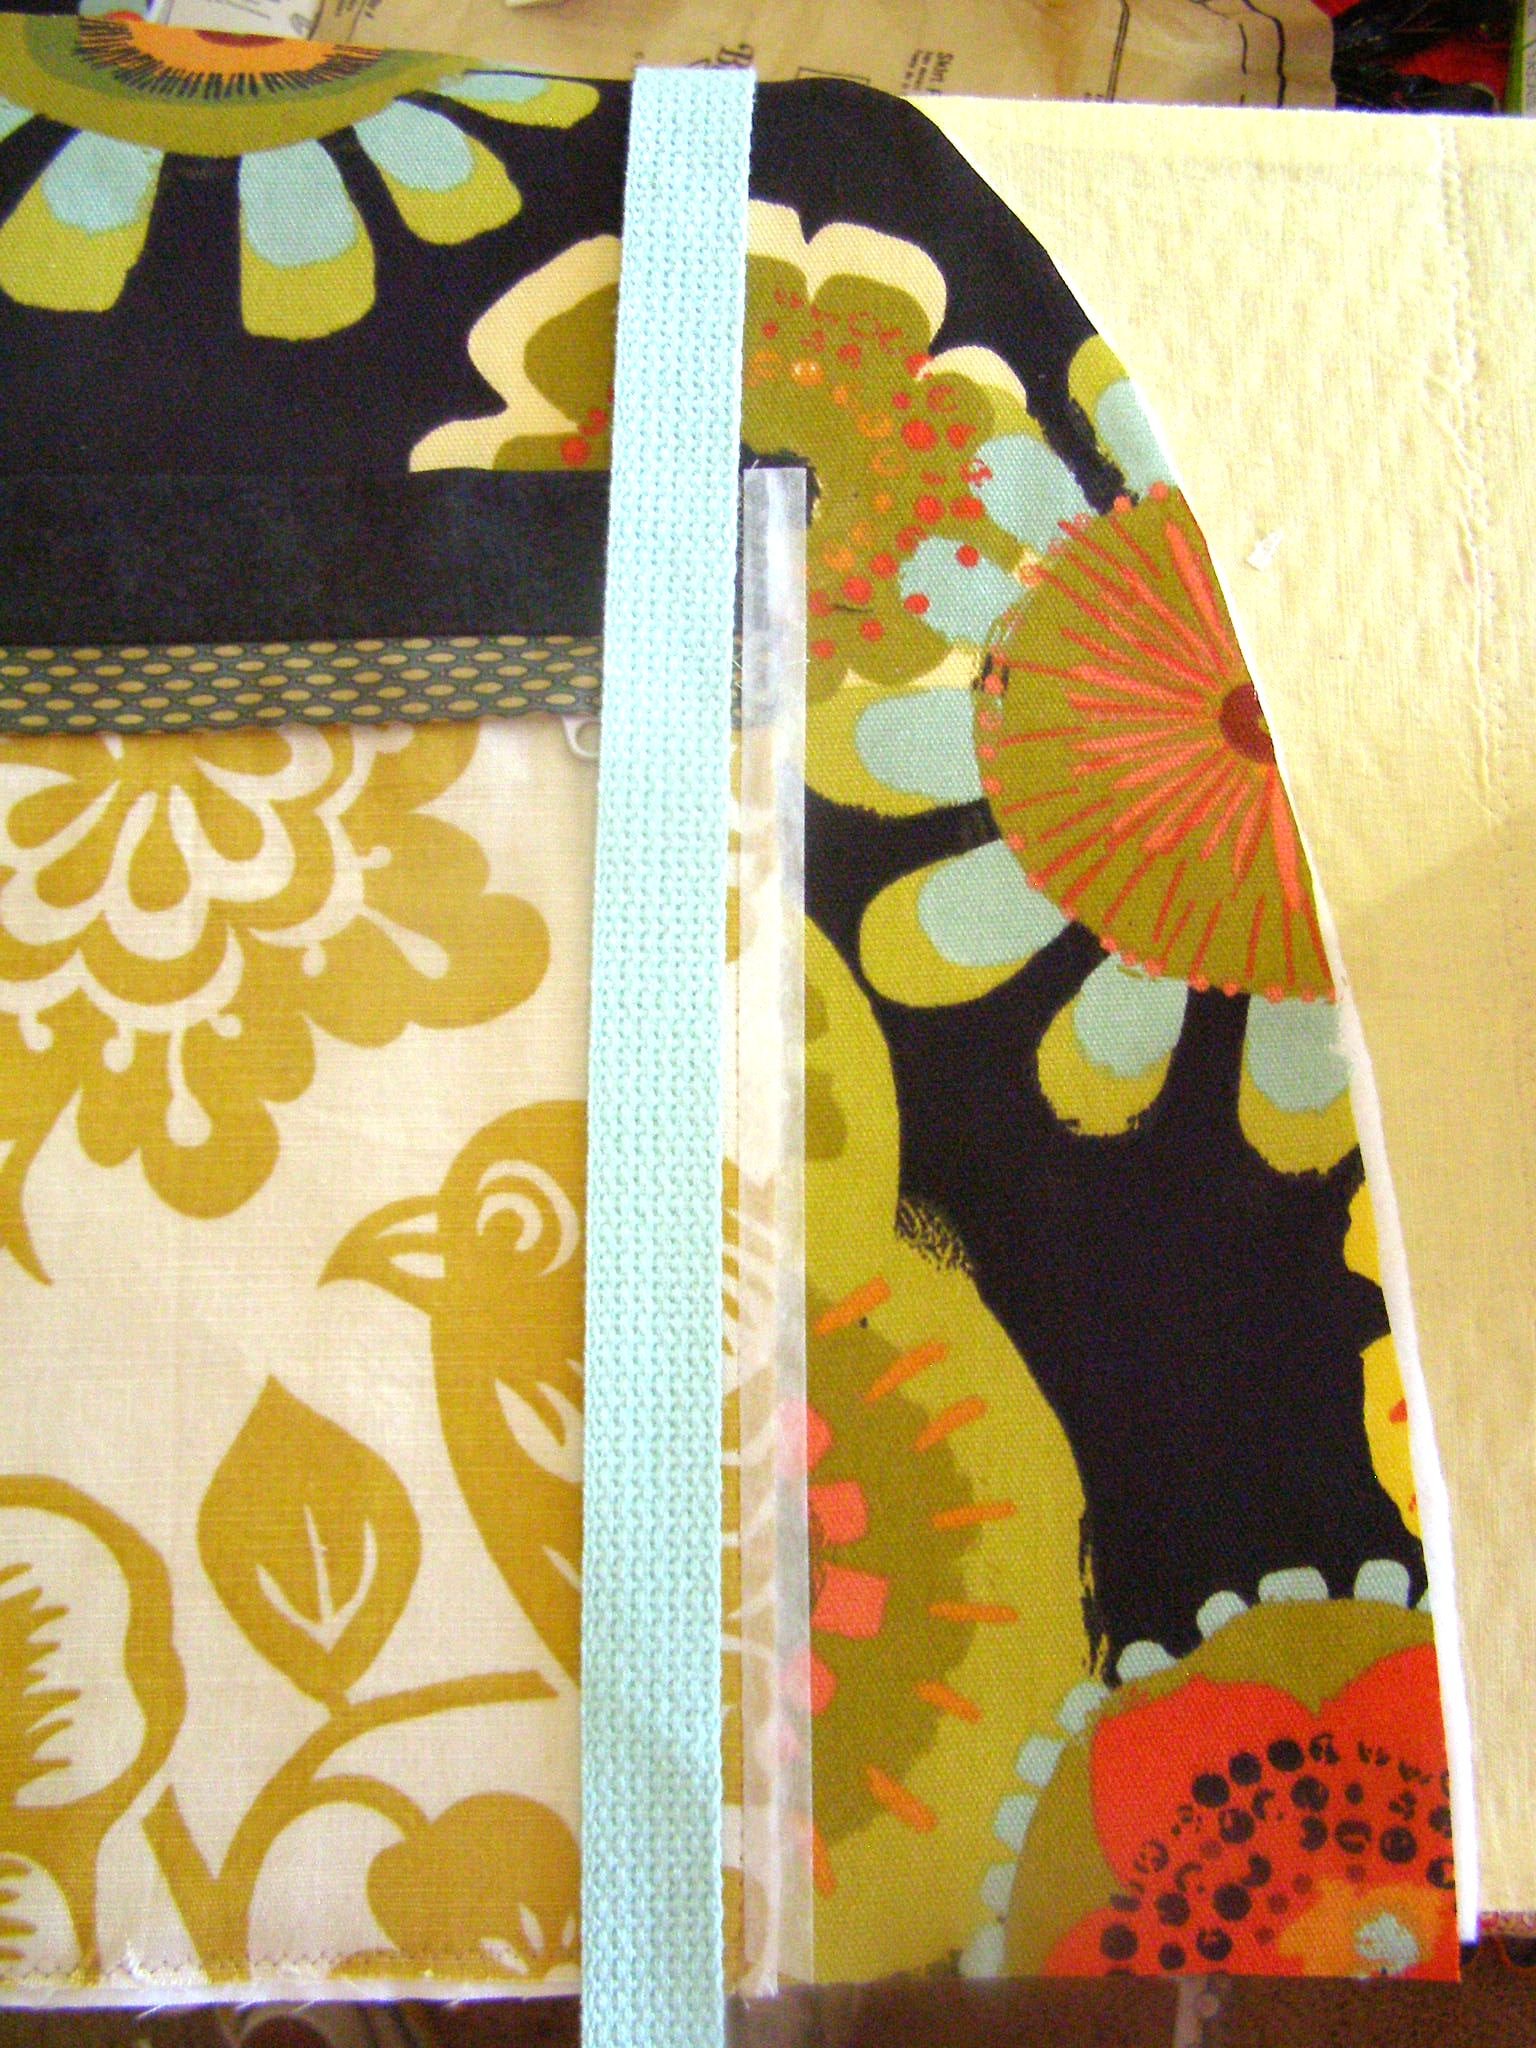
Narrow fusible web used to hold pockets in place for stitching.
Alas, I do not own such technological advancements. So, I resort to fusing (repeatedly).
I use 1/2″ wide fusible webbing that comes in a roll. I use it to fuse the raw left and right edges of the Pocket to the Sides.
Because the Pocket has a lining, a multi-layered “sandwich” is formed: Side – fusing – Pocket Lining – fusing – Pocket Fabric.
This multi-layered fusing secures all the layers together nicely so that sewing the pockets will be pucker free – for those of us that are “sans walking foot.”

Zig-zag Pockets to Sides – note raw edges.
Note that the raw edges of the Pocket and Pocket Lining are NOT turned under.
Zigzag down the right and left edges of the pockets about 3/8″ from raw edges as shown in photo.
Handles:
To avoid confusion, the cotton or nylon webbing that is used for the handles will be referred to as “handles”. The fusible webbing will be called “fusible webbing”. Who knew? Two different webbings in the same project?
Cut two handles about 48″ long.
Fusible webbing and Pocket edges that will be covered by handles.
Place handles over Pocket right and left edges, covering zig zag stitching and raw edges – and being careful not to twist.
Fuse handles to Pocket side edges using fusible web (yes, another layer to the fusing sandwich). This fusing will prevent movement of handles while sewing.
Topstitch handles in place. To do this, I stitch from bottom edge up to top of pocket along outer edge of handles, across handles, and then down inner edge of handles.

Handles fused and topstitched.
As the top of the stitched portion of the handle is a “stress point”, sewing an “X” across the handles at that point will provide more strength.
Base:
If your Really Stiff Stuff is fusible, fuse it to the WRONG side of the Base. If it is not fusible, use a few small pieces of fusible webbing to secure it the Base.

Bag Sides and Base aligned. ITS A BIG OVAL!
Align the Base and the two Sides together to see how large the completed piece will be.
If your sewing machine backs up to a wall, it might be a good idea to move it a few inches (or more) away from the wall. The size and the stiffness of the large piece require space for maneuvering!
Match Centerpoint notches of one Side Piece to Centerpoint notches of the Base RIGHT SIDES TOGETHER, and stitch seam using a 1/2″ seam allowance. Stitch again using 1/4″ seam allowance.

Base/Side seam with topstitching.
Press seam toward base. Topstitch close to seam and then again 1/4″ away.
Repeat for other Side piece.
Printers may slightly shrink or enlarge the Side pattern. The sides and the base may not line up perfectly – which is not a issue. Trim excess so edges are even.

Trim Sides and/or Base if they do not align.
Stitch around entire piece 1/4″ from edge (Yes, the whole big oval shaped thing!).
This stitching line will form a guideline for the piping. It also secures the not-always-100% fused-fusible-batting to the edges.
Piping:
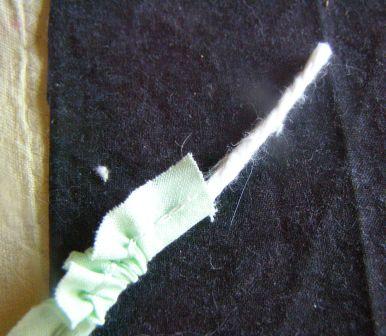
Pull cording about 1″ out of piping fabric and cut the cording.
Pull the white cording out of the cording fabric about 1″ and cut the white cording off. The inch of piping without the cording will allow you to stitch over it to start.
Change to piping or zipper foot on sewing machine. Place piping, raw edges outward, so the raw edge lines up with the stitched 1/4″ guideline.

Start stitching piping by sewing over portion without cording.
Start stitching by sewing over the first inch of piping with no cording at an angle – as shown in the photo. Then straighten piping and stitch it around entire outer edge of large oval piece – starting and ending somewhere within the Base.
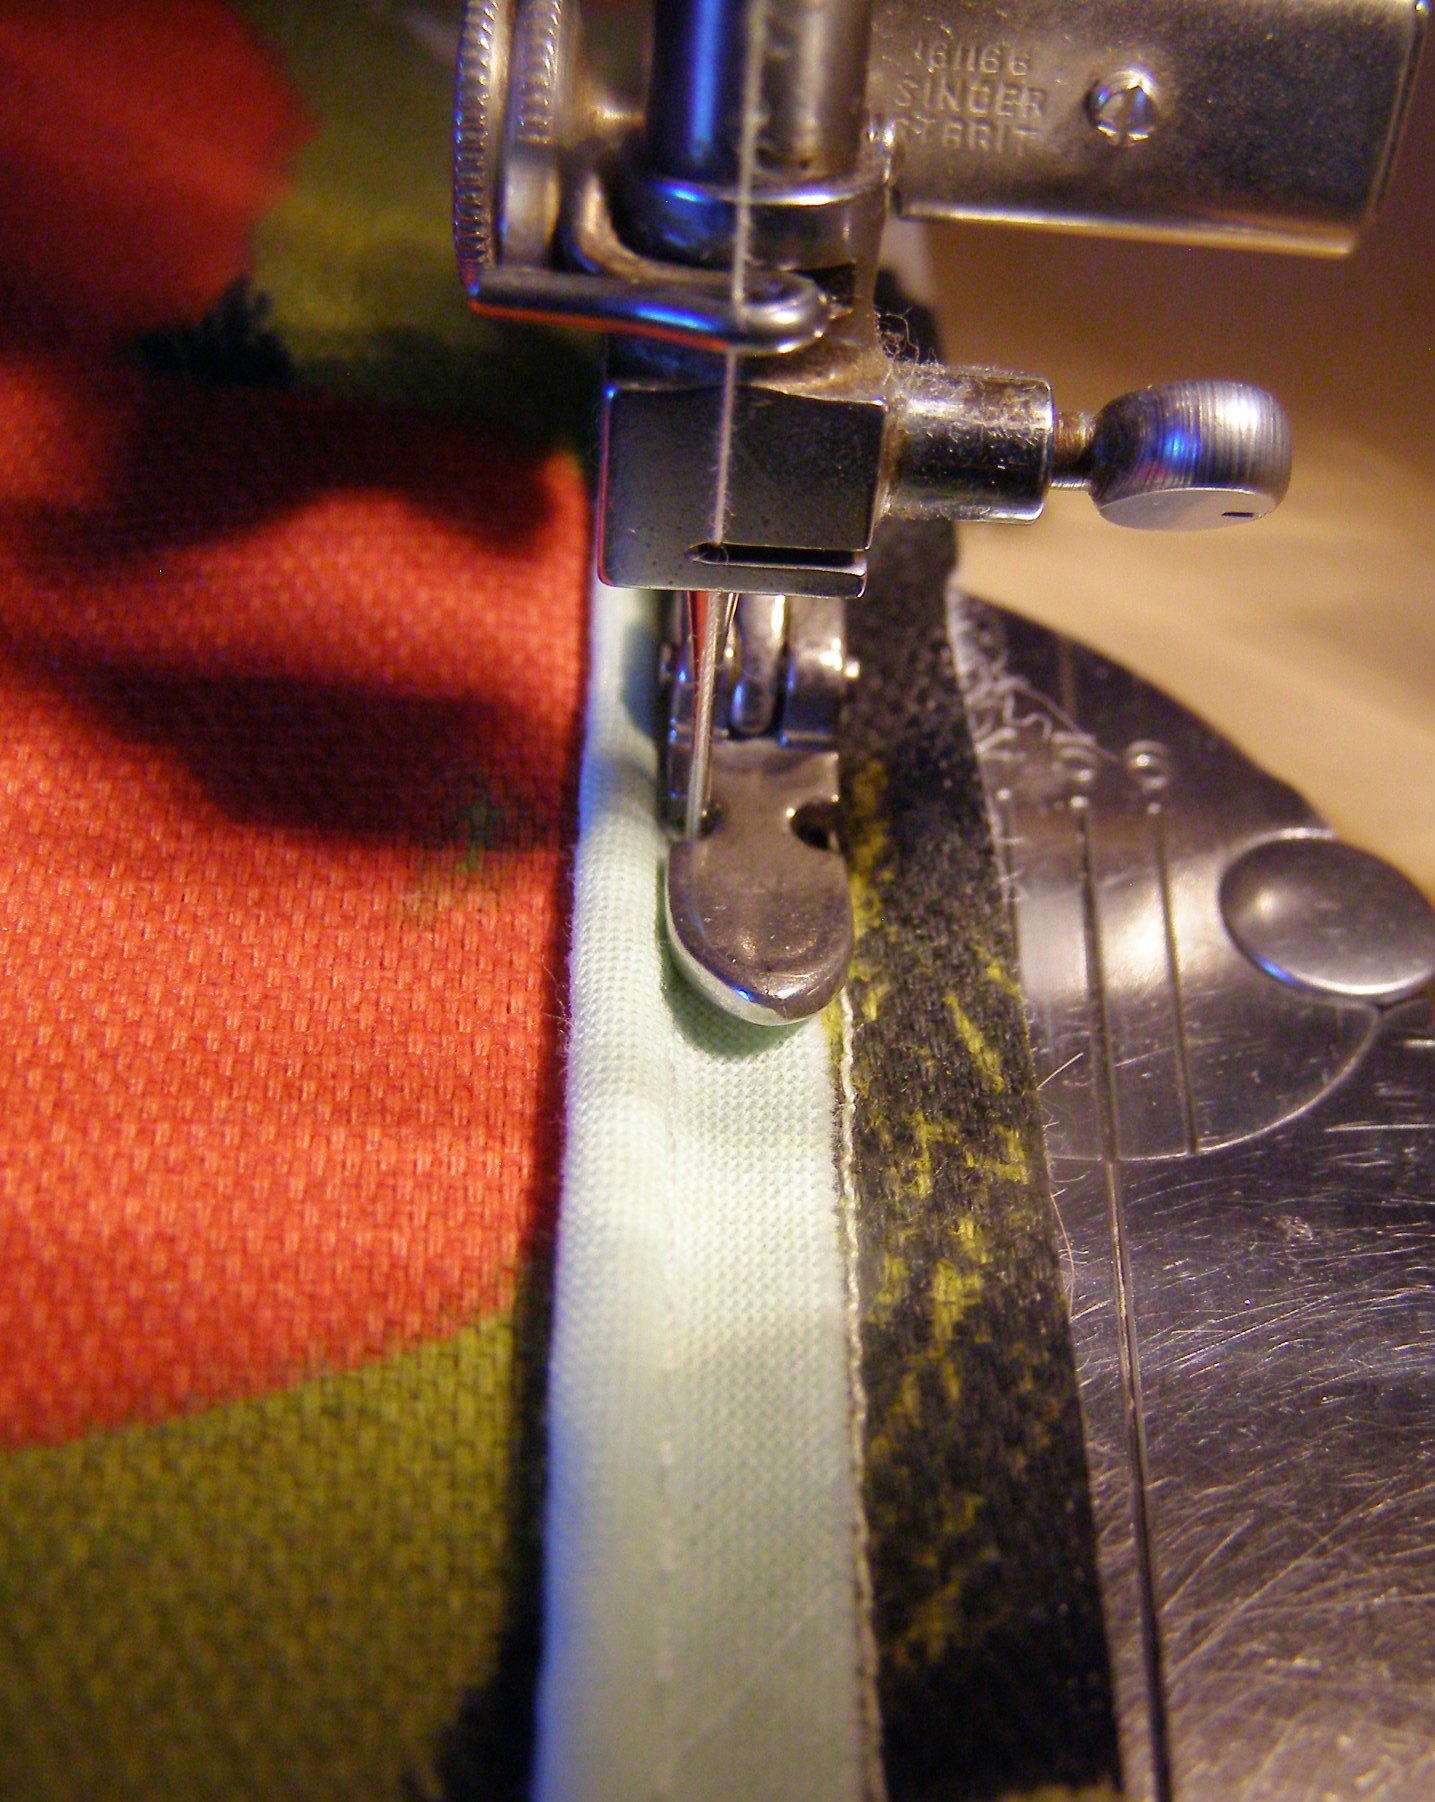
Stitch piping by aligning raw edge to 1/4″ guideline stitching.
When there is about 5″ of left to attach piping to, stop stitching and cut the piping about 1″ longer than required.
Pull out about 1″ of cording and cut it off. Overlap the end over the start at an angle and continue stitching.

Green rectangle shows overlap of piping start and finish.
This will give a nice, barely visible finish to the start/finish of the piping.

Pockets, Handles, Sides and Base Complete and finished with Piping!
Now the large oval piece is complete…and beautiful.
The next post will focus on the Tops, Zipper and Ends.
