

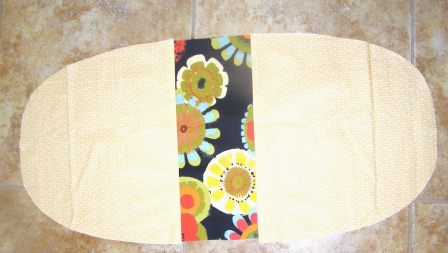
Two Major pieces assembled!
The two major outer pieces have been sewn. Now time to sew the lining – and that all important curved seam.
Lining:
Lining Sides sewn to Lining Base – another large Oval!
Lining Sides and Base: Matching Centerpoint notches, sew lining Sides to lining Base using 1/2″ seam allowance RIGHT SIDES TOGETHER.
Lining Top and Ends: Fold under 1/2″ of long straight edge of lining Tops.
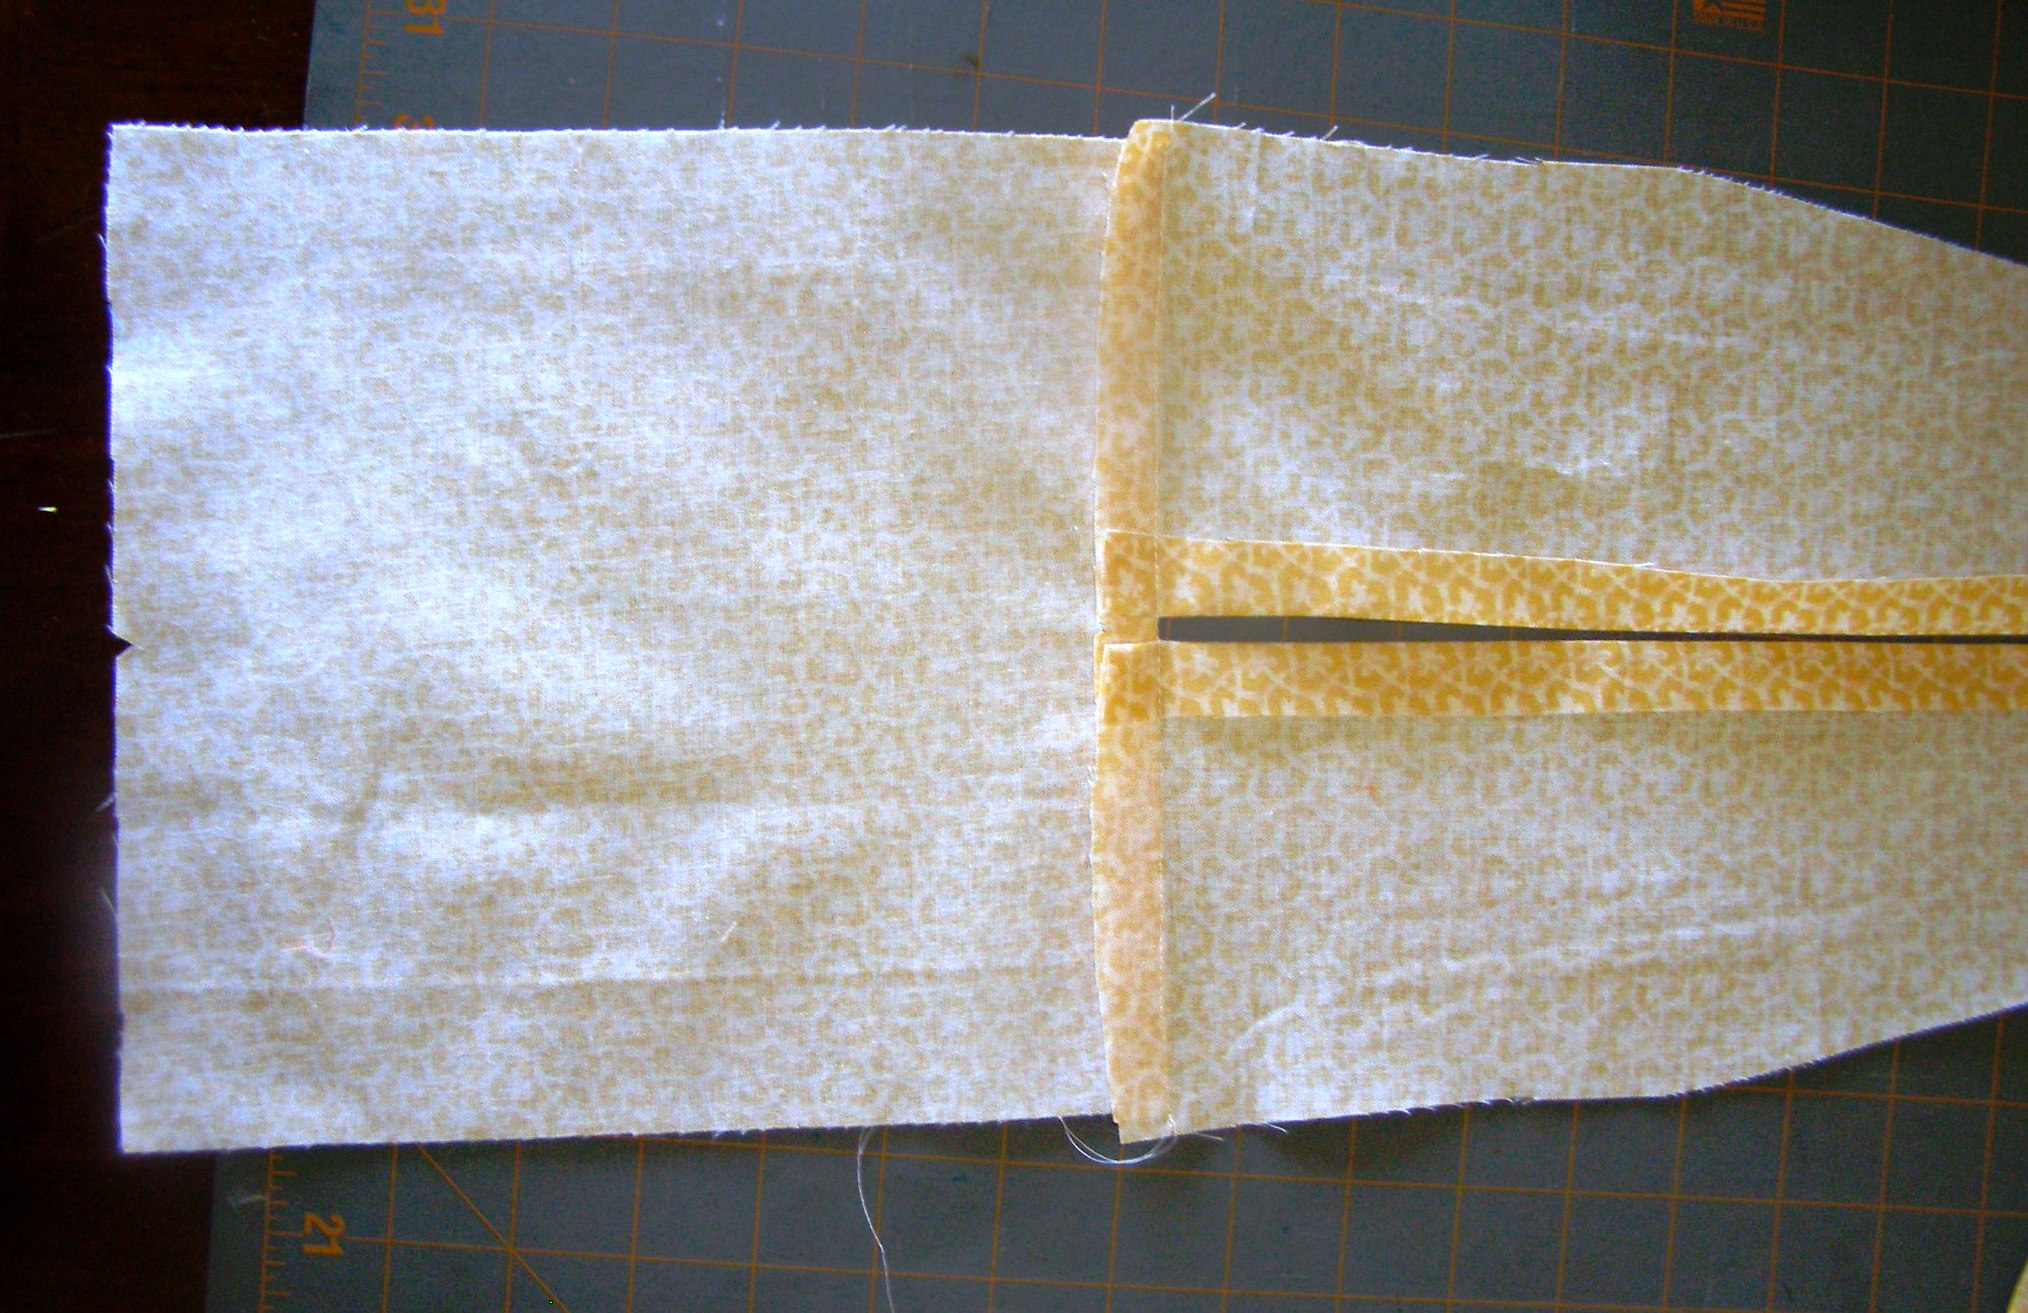
Lining Ends to Lining Tops – with 3/8″ space between folded edges of lining Tops.
Leaving about 3/8″ space between folded edges of Tops, stitch Tops to Ends RIGHT SIDES TOGETHER.
Now the two major pieces of the lining have been sewn.
WOW! That was much easier than the outer fabric pieces!
Because of the ease of sewing the lining, the curved seaming of the two major pieces will first be accomplished with the linings.
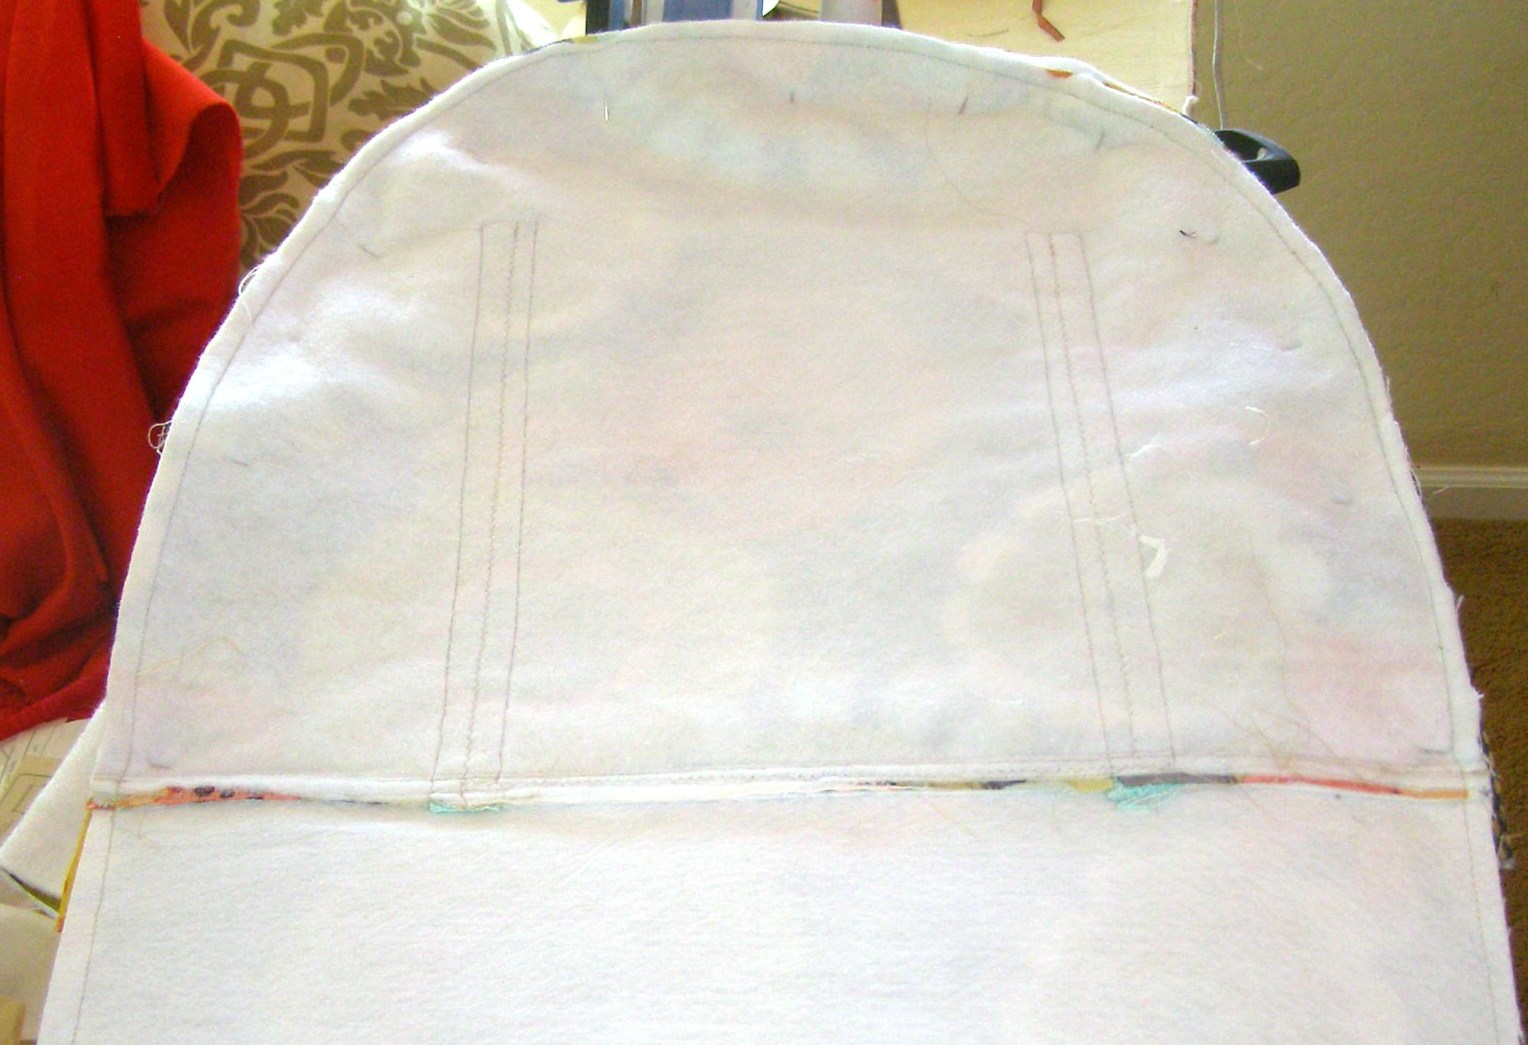
Pin and sew Top to curved edge of Side.
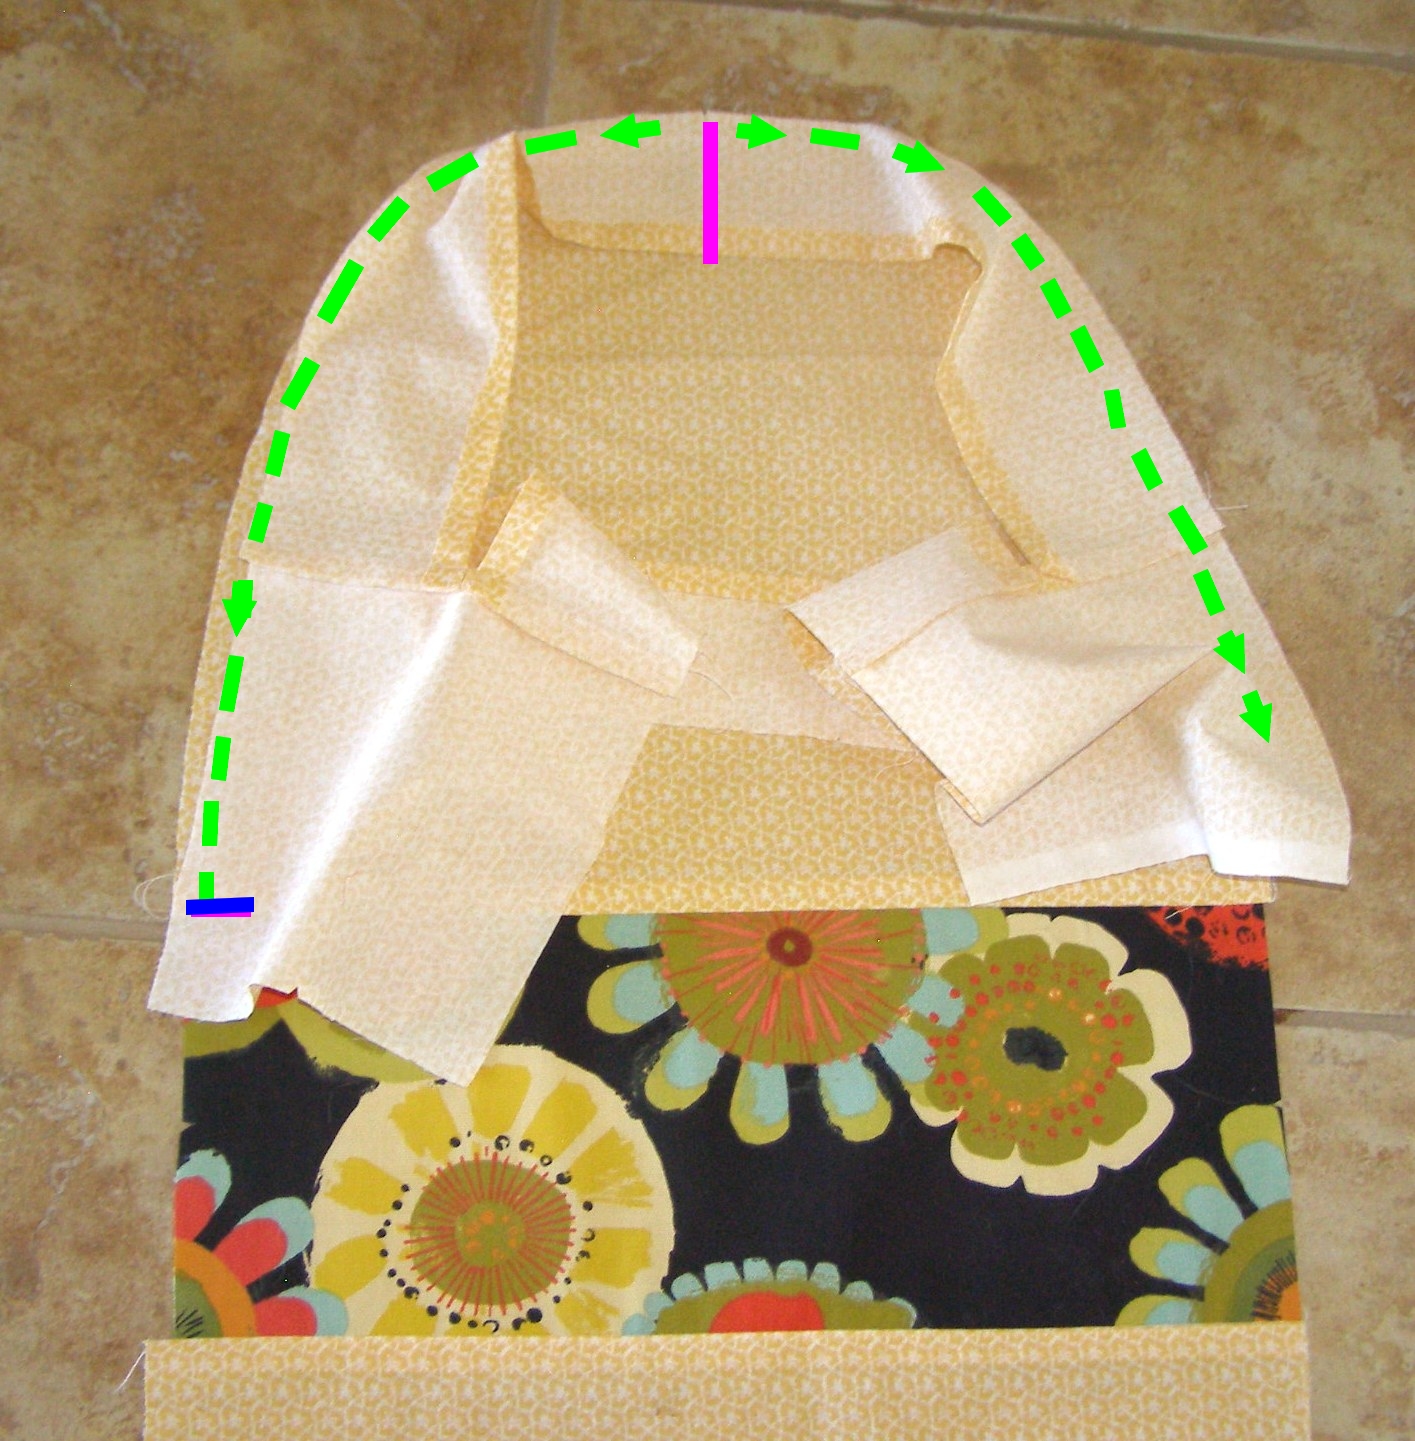
Match centerpoint of long curved edge of lining top with center point of curved edge of one of the lining Sides RIGHT SIDES TOGETHER.
Centerpoint is marked in pink in the upper portion of the photo.
Pin from Center points toward base.
Using 1/2″ seam allowance, stitch from Centerpoint to Base/Side seam on both sides. Stop at Base/Side seam – shown in blue in the lower left of the photo. Repeat for other Side.
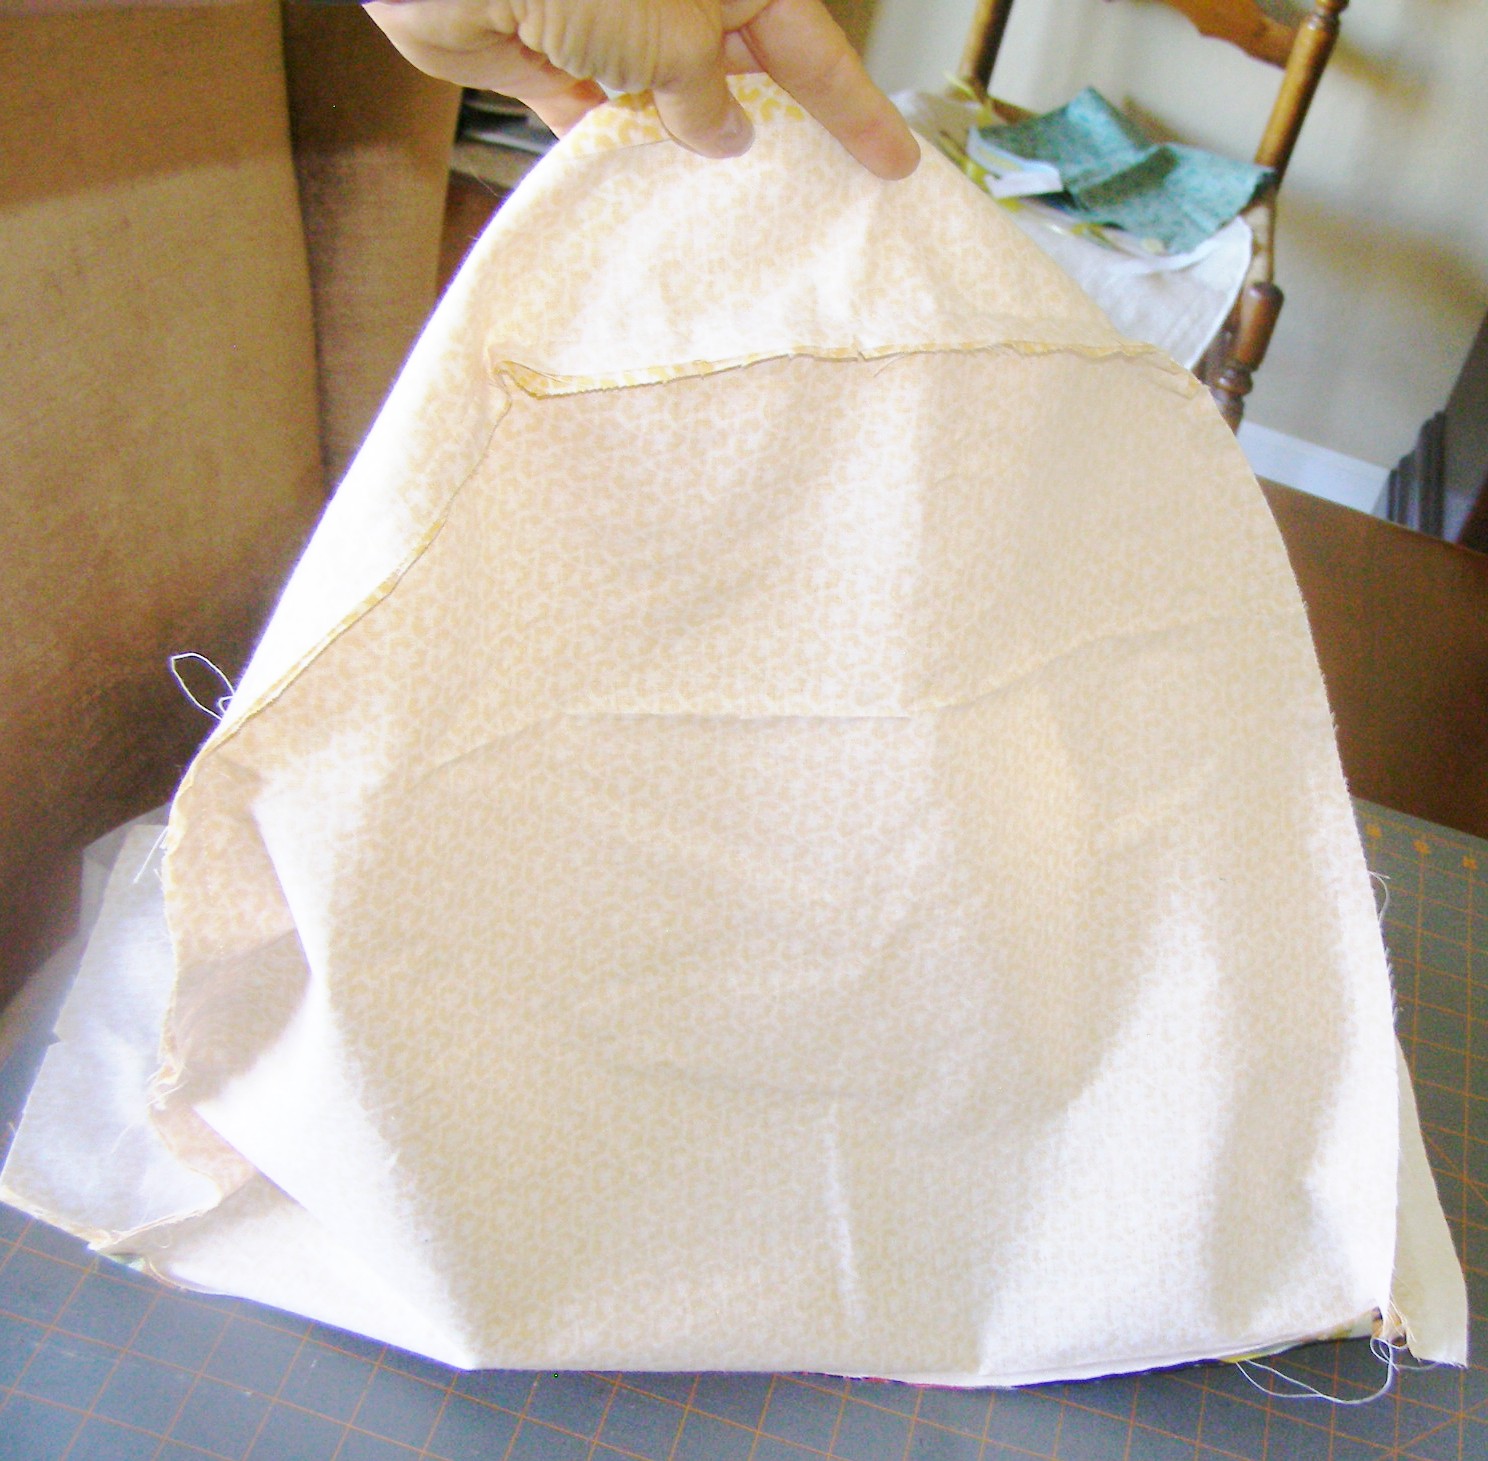
Floppy – but Bag-like!
Do not turn right side out.
Held up – the rather floppy piece almost looks like a bag now.
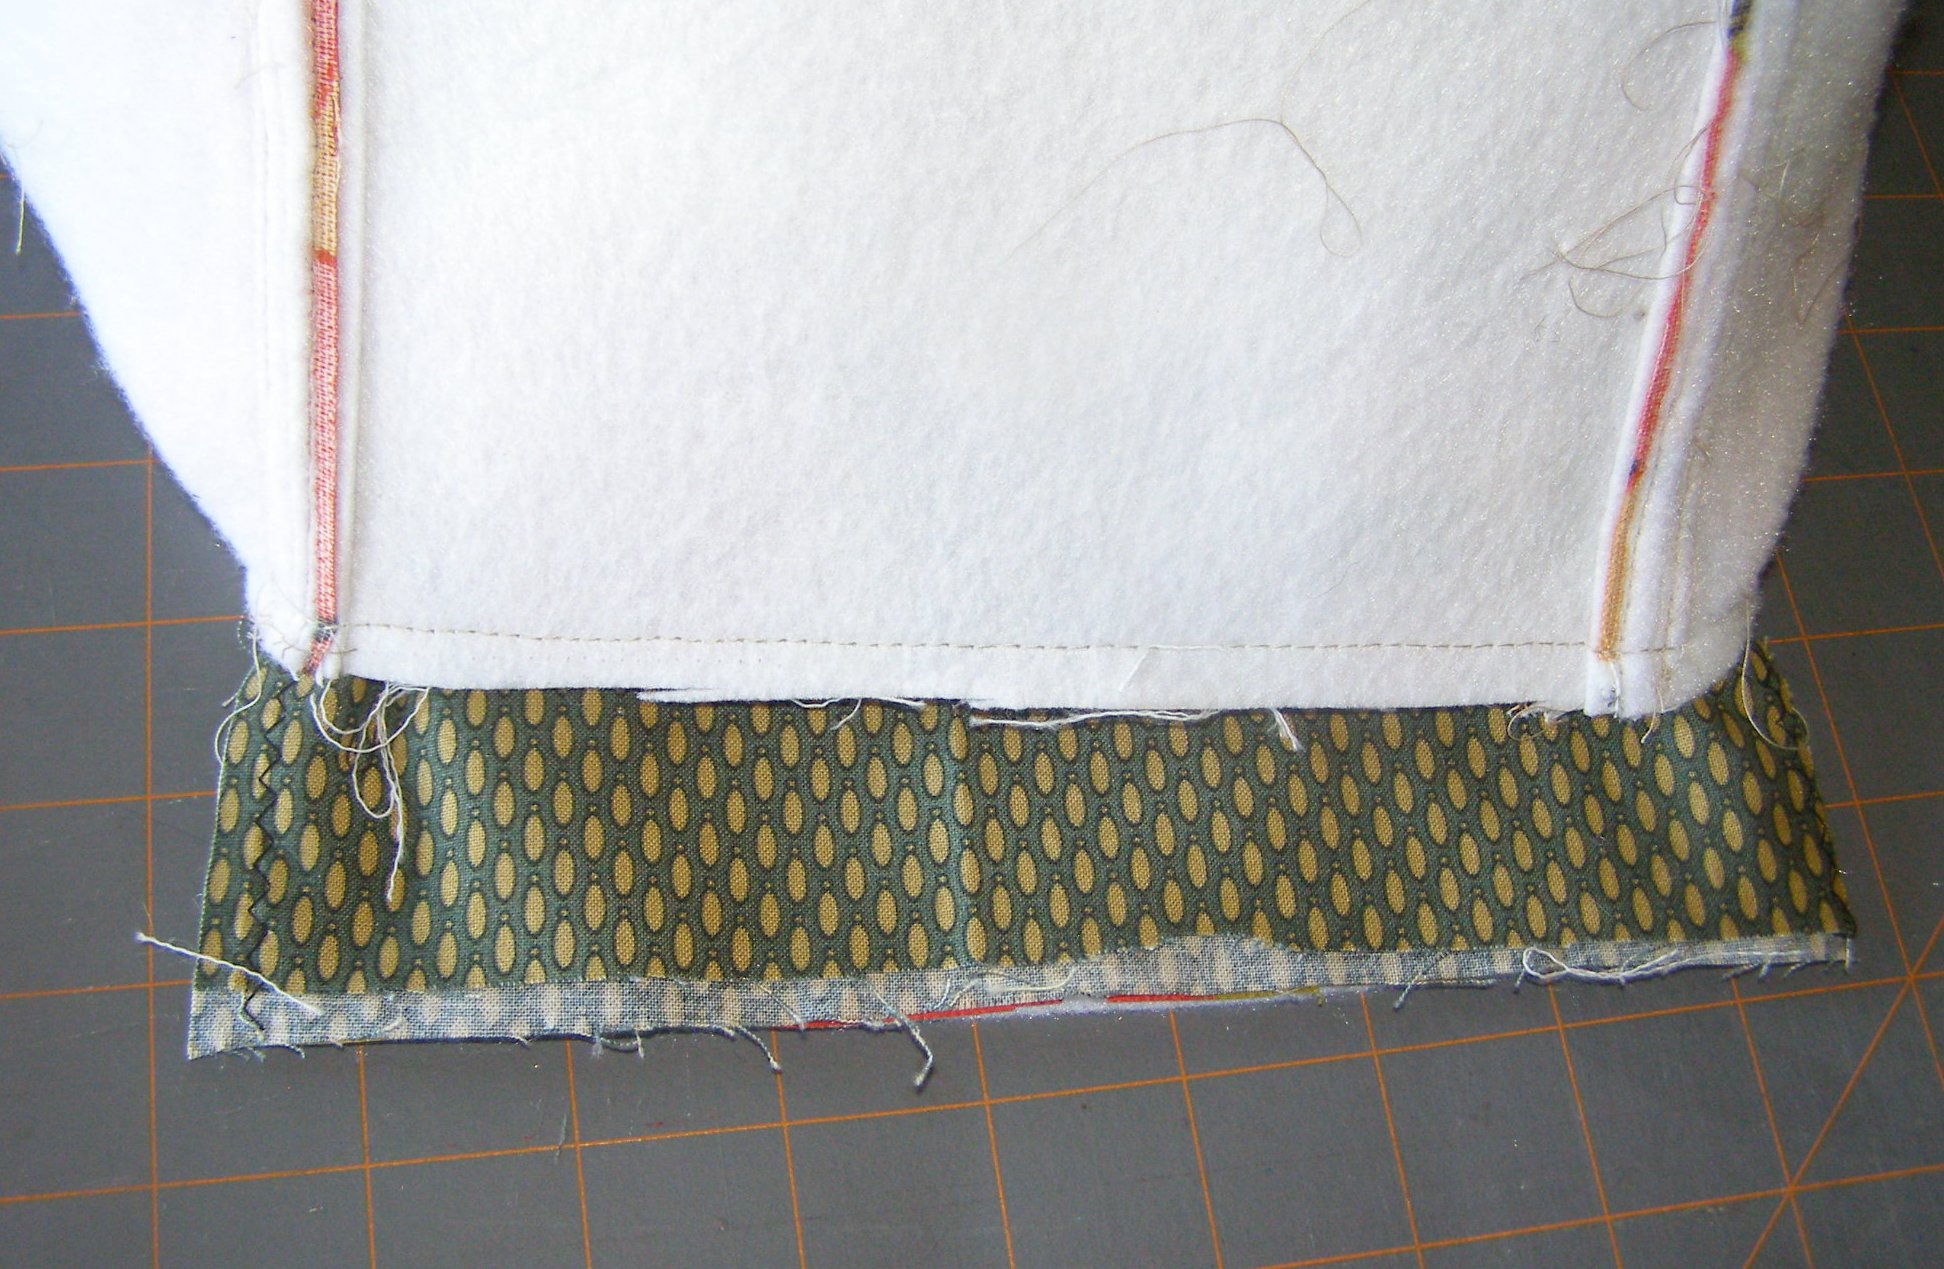
When the Bag-esqe lining is set on its base, the bottom of the End pieces should look like they need to be sewn to the lining Base – and…. they do!
Hold the left and right side of the Base lining end and pull outward slightly. The End pieces should align parallel – but the Ends will extend out a bit – see large photo below.
Sew across the Base and End 1/2″ from edge of Base. The stitching line is shown as the green dotted line in the following photo:

Sewing line to sew Base to Ends.
There is no need to trim the excess.
Now the process of sewing the two major pieces together along the curved seam has been mastered – time to do it again – with the outer fabric pieces.
Important: Unzip the Zipper!
Just as was done for the lining pieces, match the centerpoints of the curved Side to the centerpoint of the Top. Pin from centerpoint toward Base. Because of the batting, I use large pins for this.
While this curved seam was most likely sewn from the Top side of the lining, the piping requires it be sewn from the Side side of the outer fabric. (The top is pinned to the side in the following picture – it is just hard to see from the Side side.)
Top pinned to Sides – sew along piping seam from centerpoint toward Base.
Change to zipper or piping foot on sewing machine. Stitch Top to Sides by sewing directly over Side Piping Seam ending at Base Seam with an inch or so of backstitching.
Repeat for other Side.
Sew Base to Ends directly over Piping Seam.
Pull Base as with lining to align Ends – again there will be excess Ends. Stitch Ends to Base as with lining – but this seam will again be directly over Piping seam.
Because of the stiffness of the base and all the batting – it will not be possible to stitch all the way to the corners. Don’t even try (Many needles have been broken attempting to do so!). Getting within 1″ of the corners is even close enough – they will turn just fine.
Turn bag right side out.
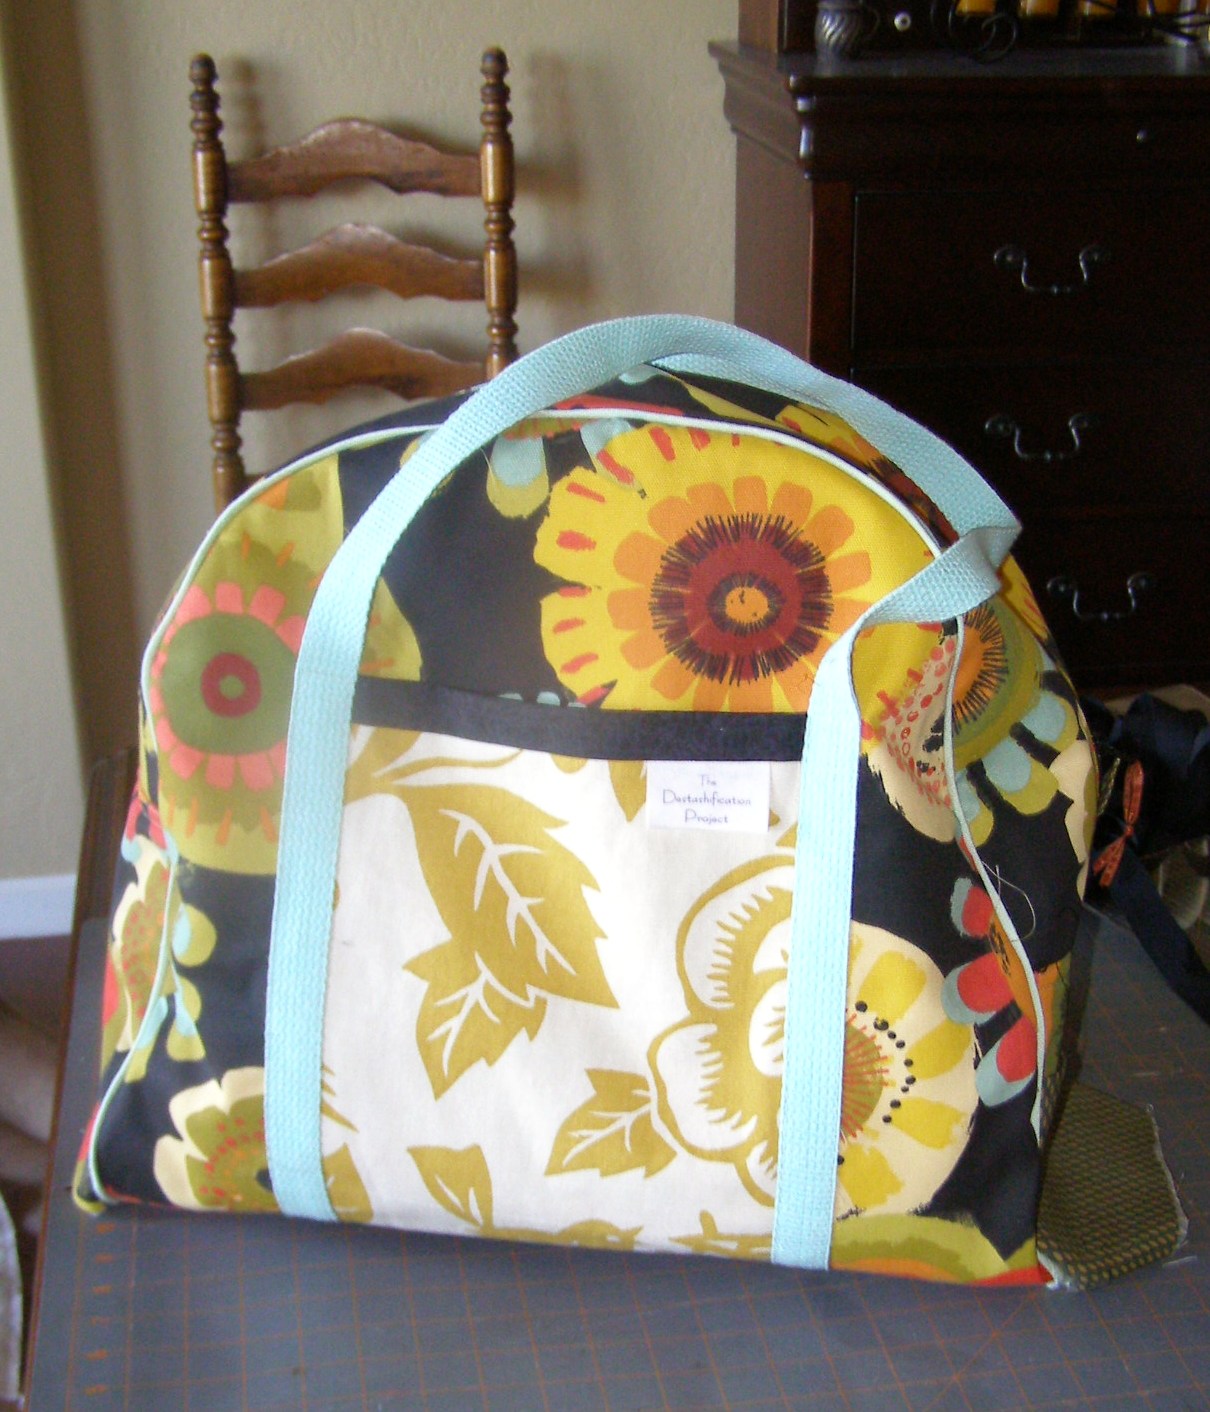
Bag looks complete from the outside….
It looks just like the finished bag from the outside!
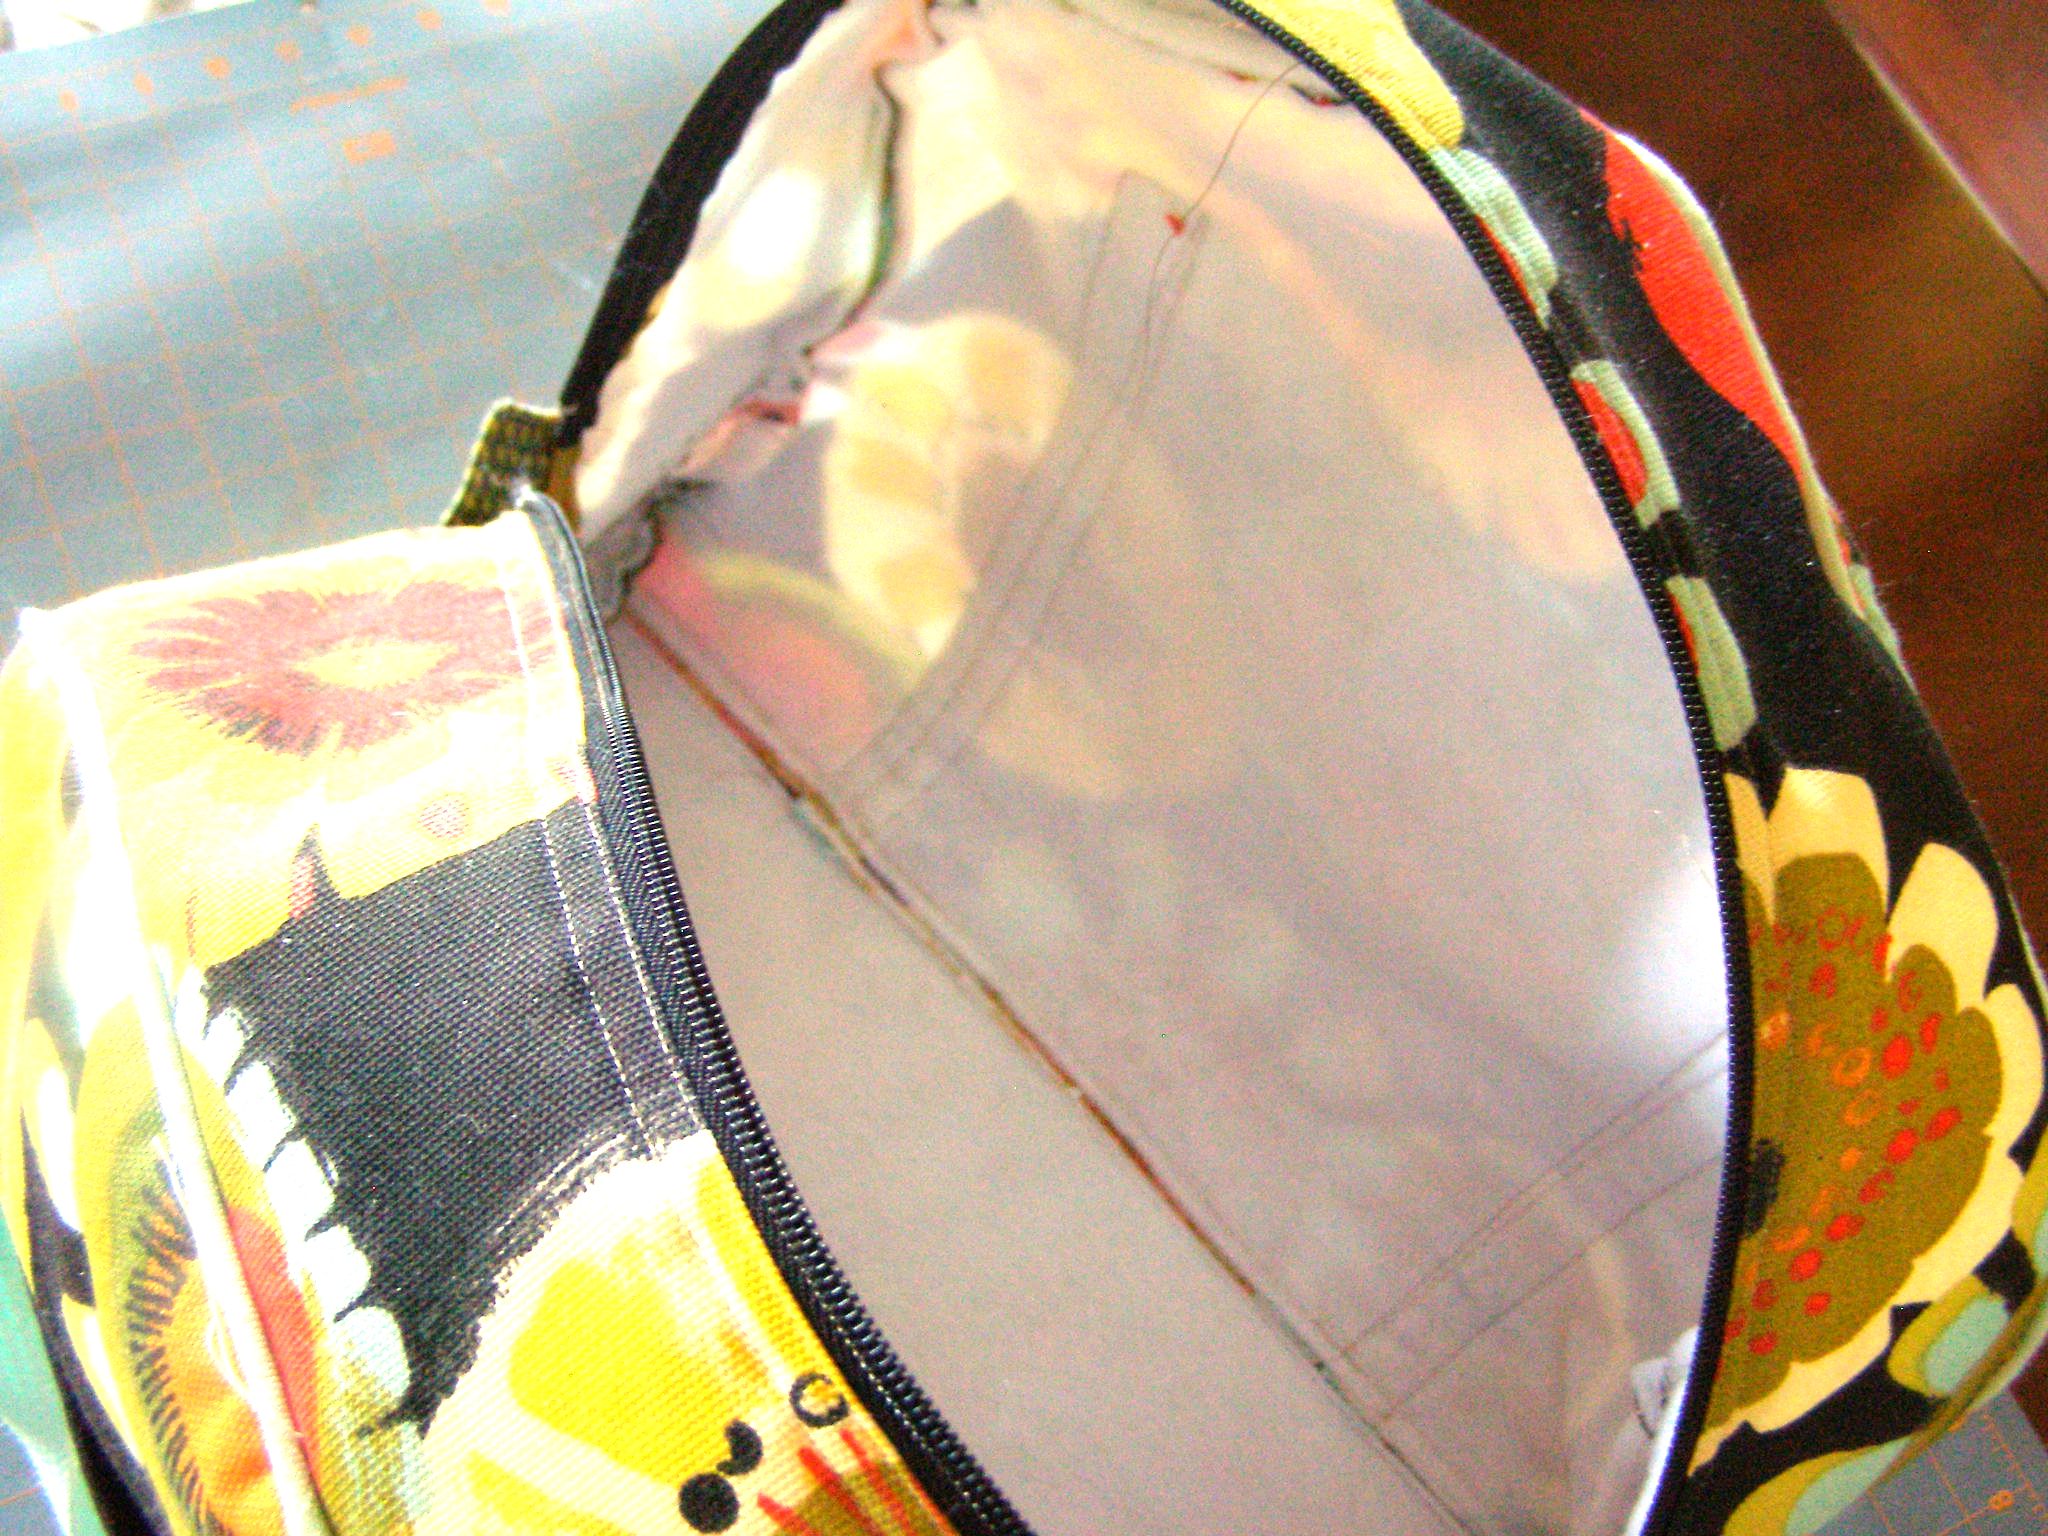
But not finished inside!
YAY!
But not so much on the inside!
Next Post: Attaching the lining to the bag!

Loving your tutorial. Don’t think I’ve any suitable fabric in my stash to make one, note to self – MUST go shopping soon!
My Stash runneth over, so I must NOT go shopping…I must NOT go shopping…I must NOT…
Haha…!!