
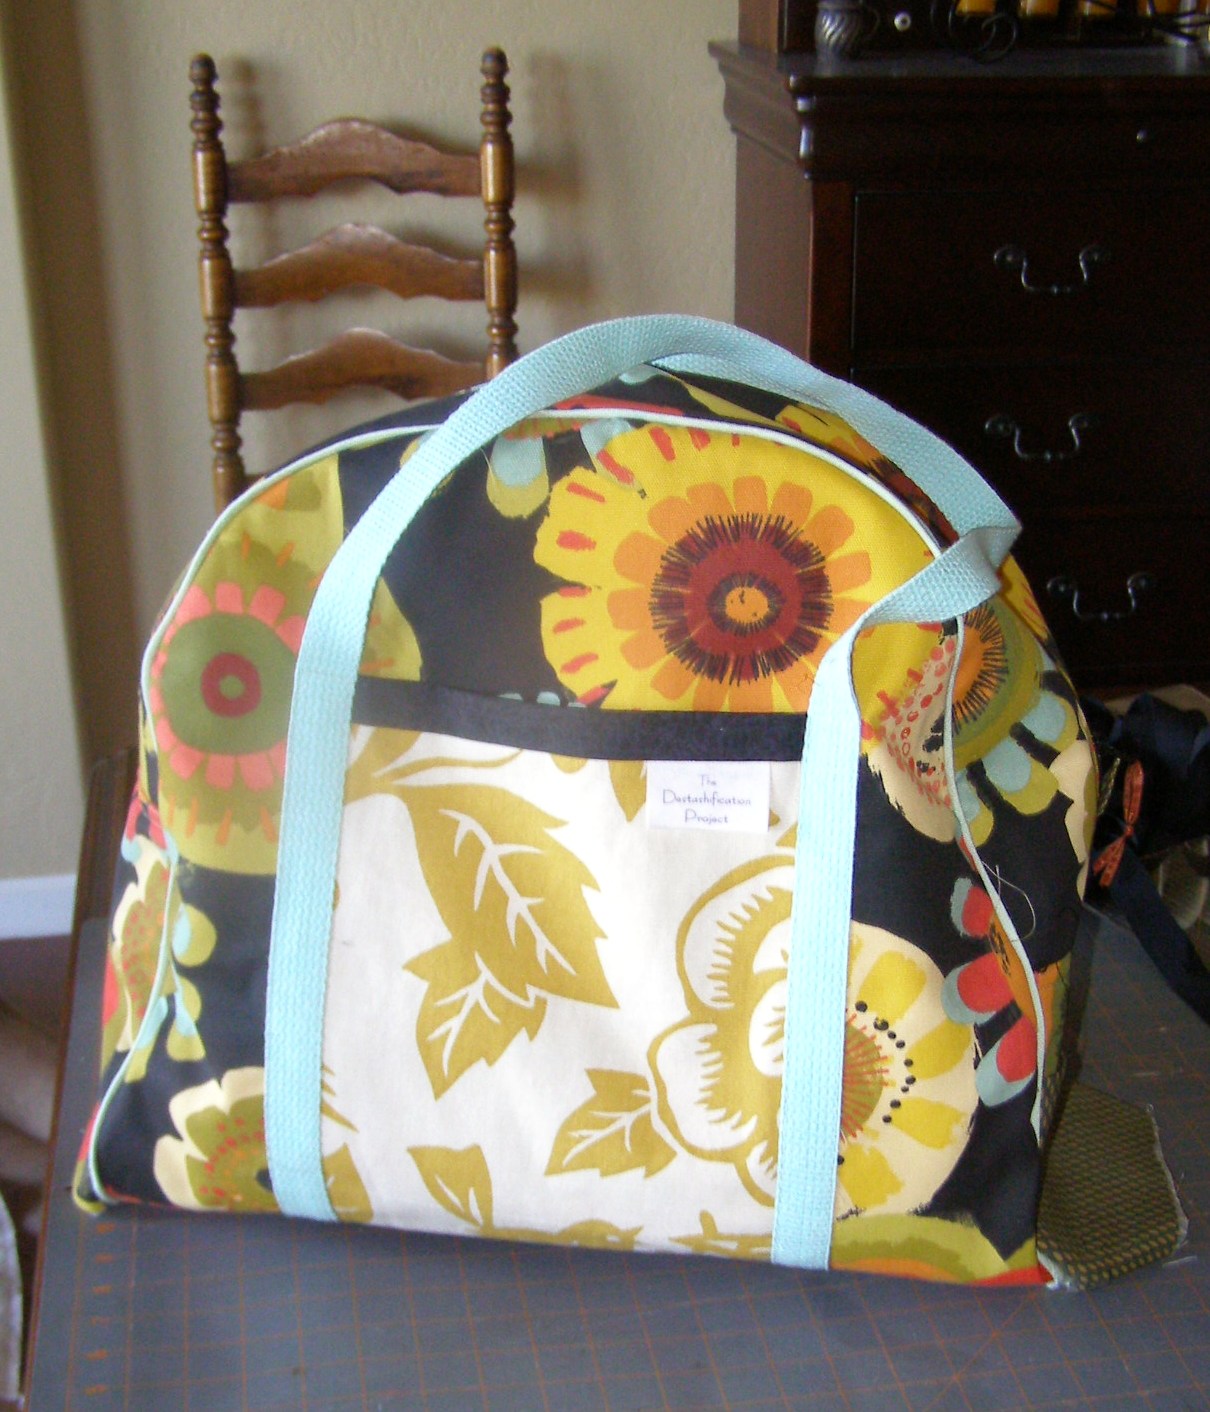
Bag looks complete from the outside….
The bag sits nicely. The zipper works well.
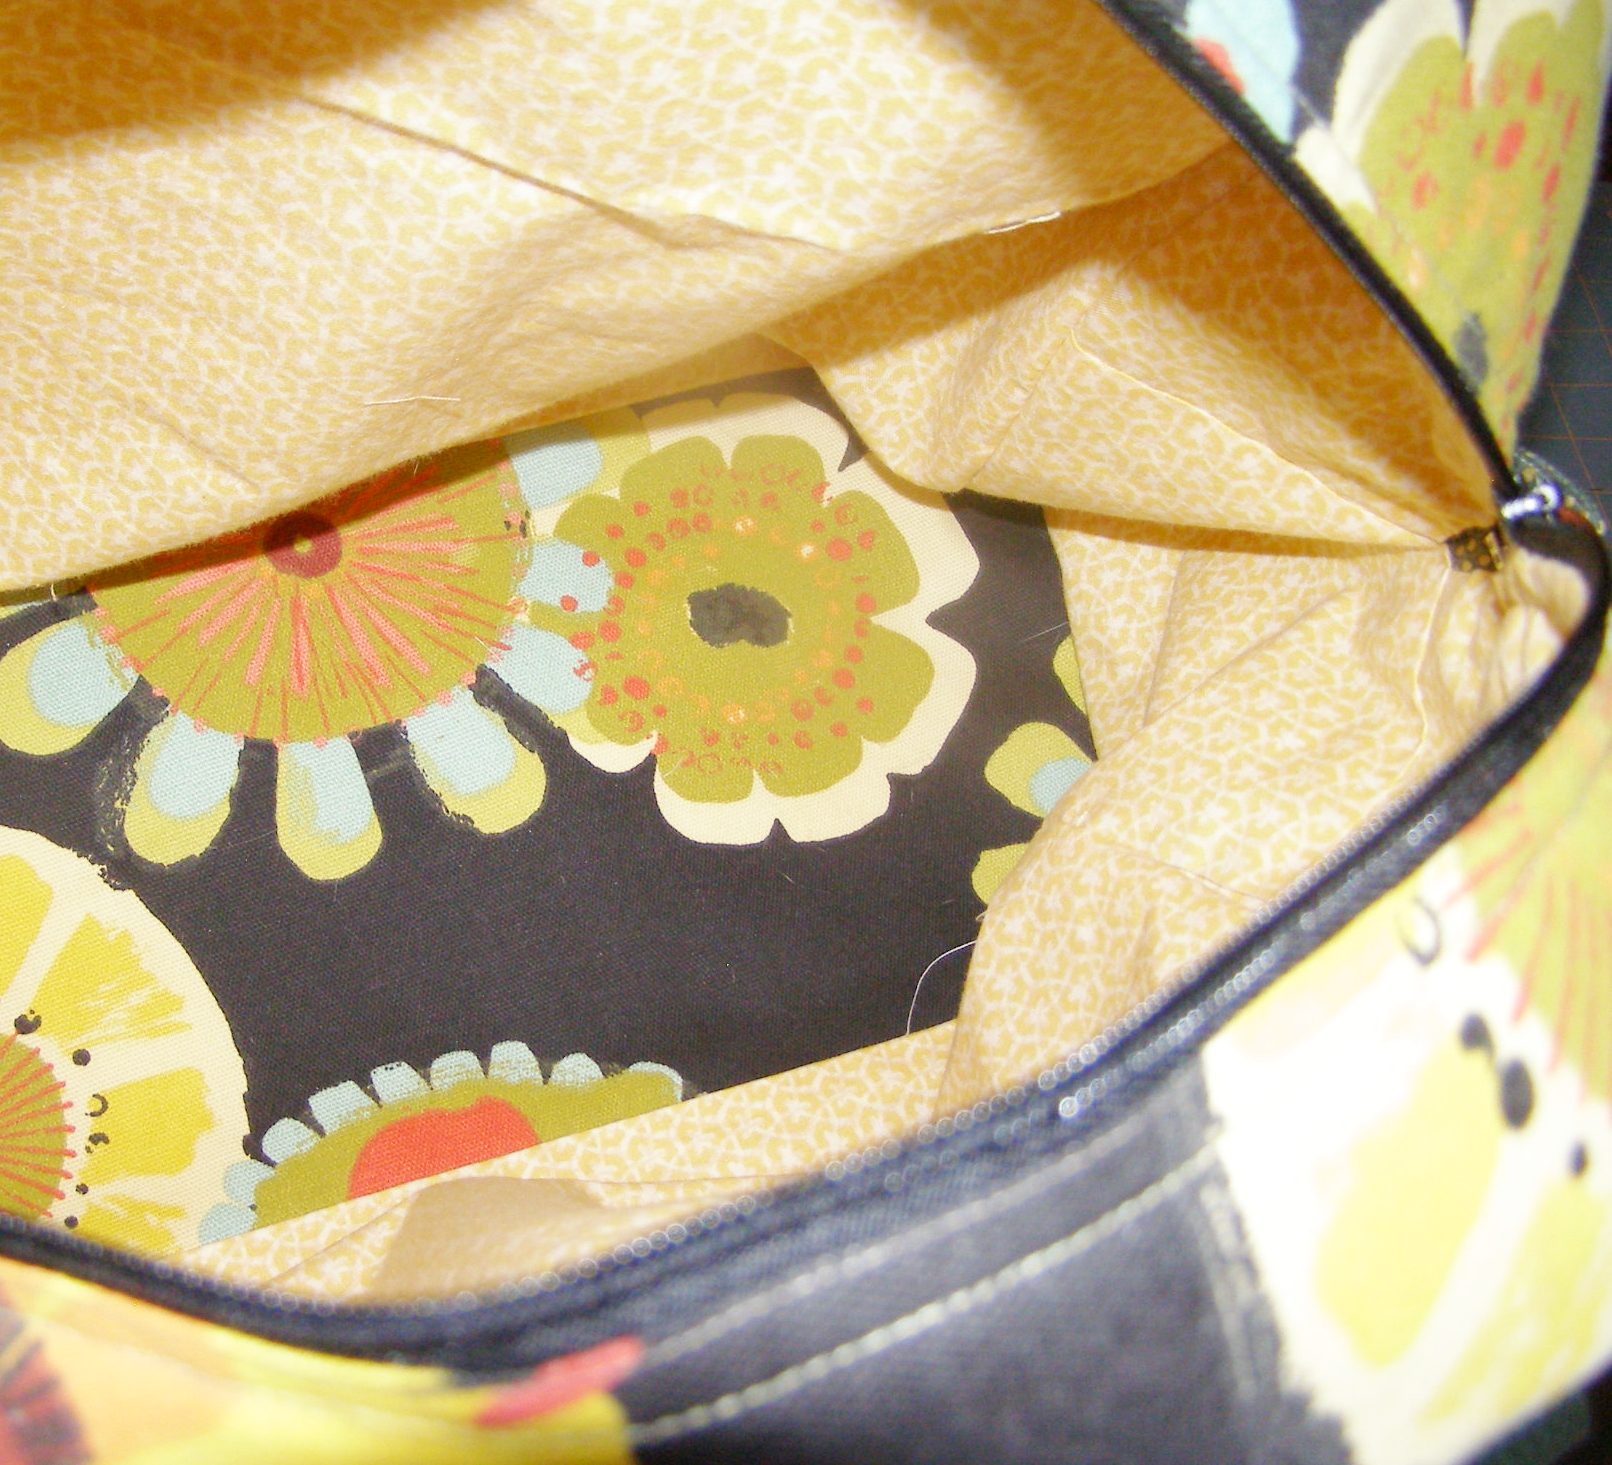
But not finished inside!
It just needs a lining.
Which is already constructed – it just needs to be secured to the inside of the Bag!
Holding lining still inside-out, place it into outer bag.

Place lining into bag.
The lining will be secured to the bag in 3 places:
- along each End/Base seam,
- the curved seam
- along the zipper.
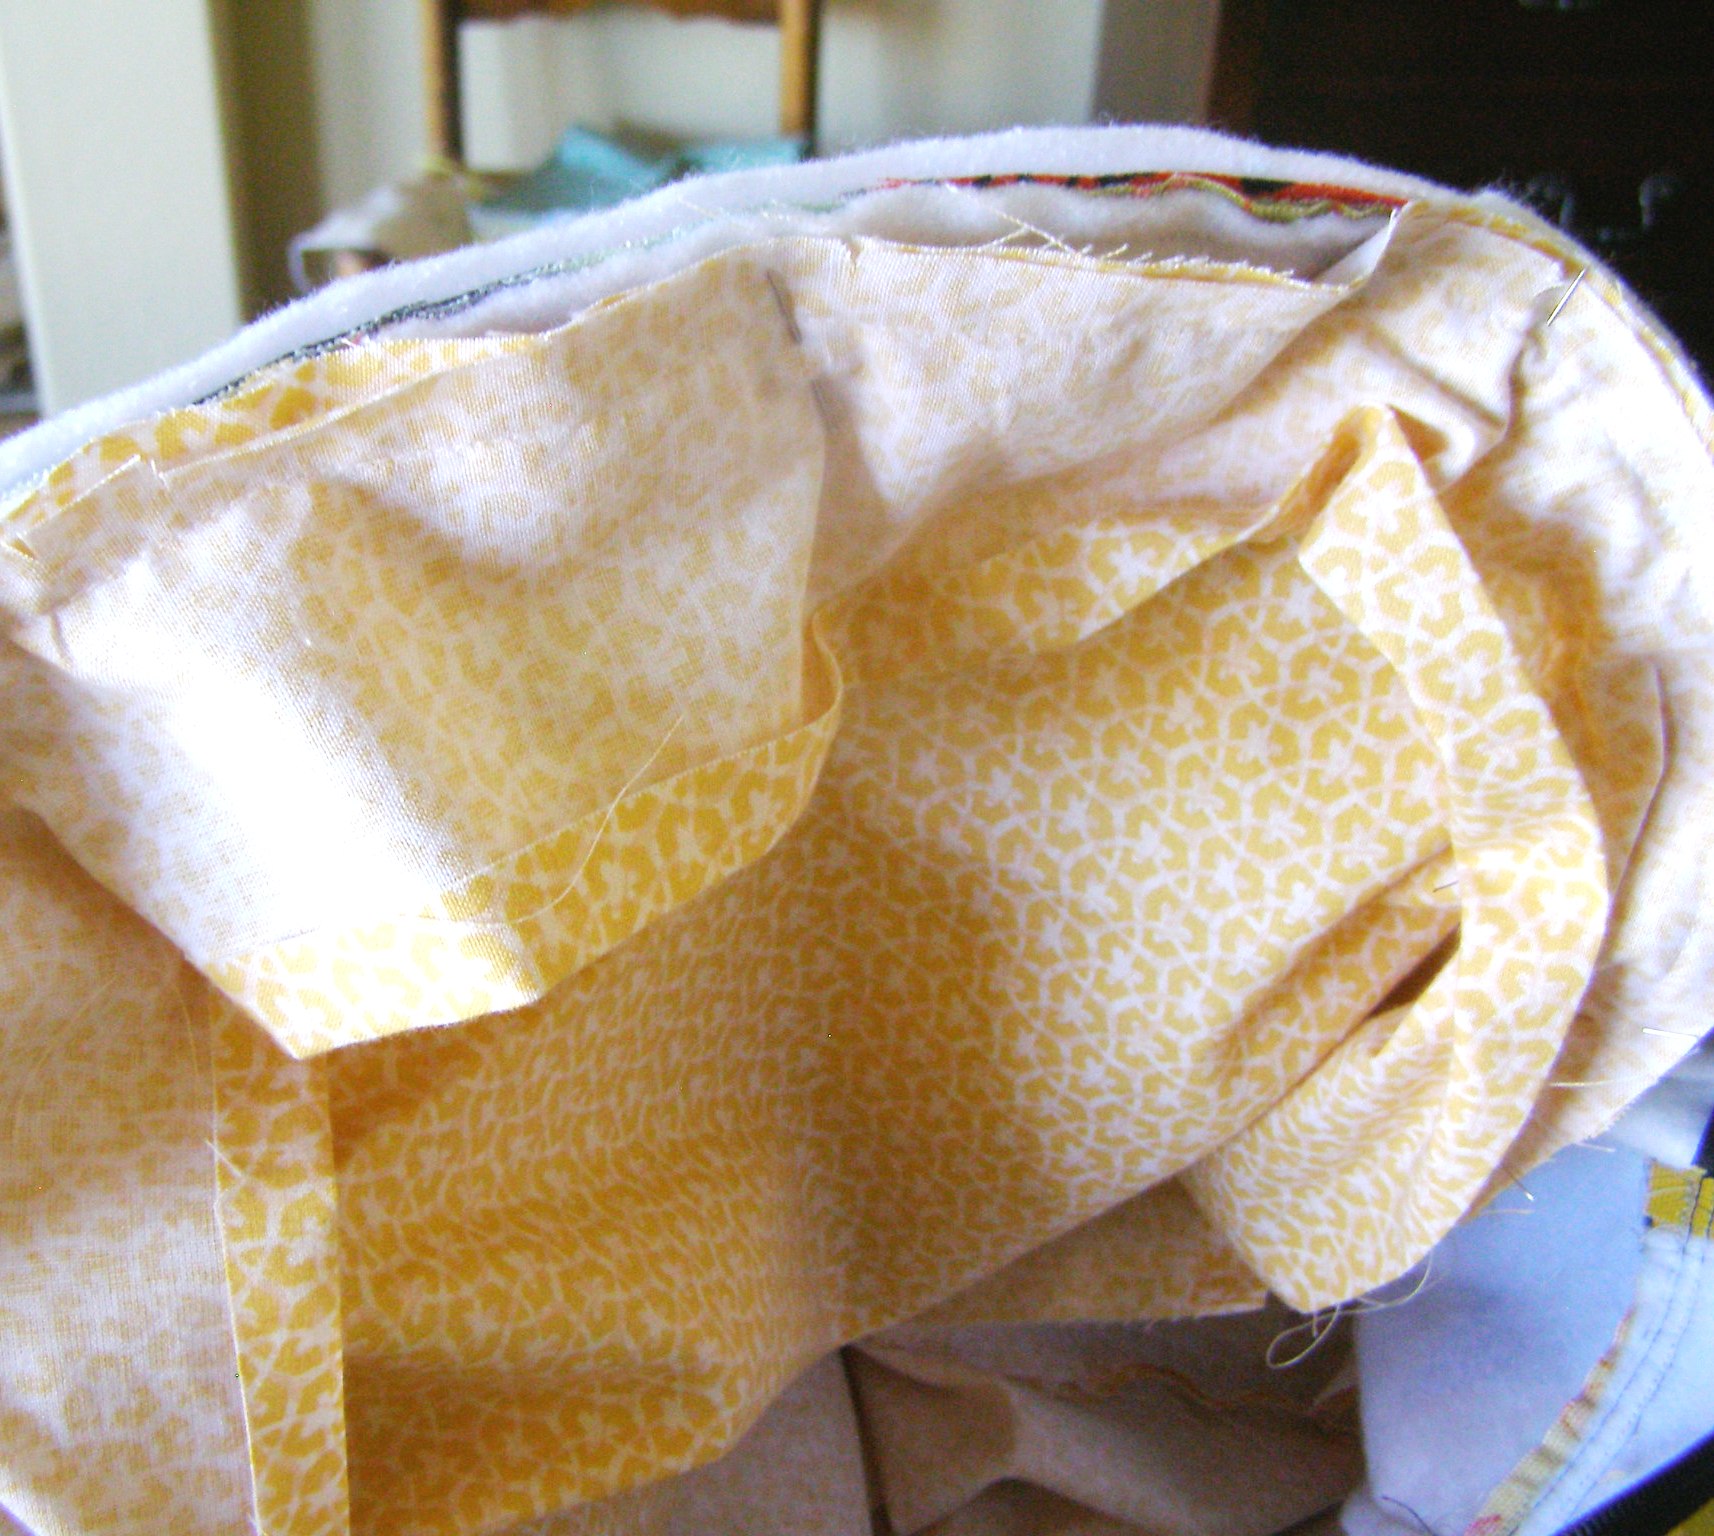
First the End/Base seams:
Flatten lining Base against outer Base – specifically in all four corners.

Lining pushed down so that Base/End Seams are visible.
Push upper portion of lining down and away until End/Base seams are visible.

Free the lining and Outer Fabric Base/End seams and align them.
Holding onto both the lining and the Outer Bag End/Base seams – pull them up through the zipper so they are are “free” and can be sewn.
It may be necessary to turn the bag partially inside out to free the seams.
As seen in the photo, the untrimmed End pieces extend over the Base pieces. Align the Base/End Seams and pin.
Using a zipper or piping foot, stitch through all Base/End layers.
The seam should be just a bit closer to the raw edges than the existing seams. It does not need to be directly over the existing seams.
It is also not necessary (or possible) to sew all the way to the corners. Within 1″ of the corners will secure the lining to the Bag.
Repeat for other end of Base. Push Base back into bag.
Pin lining curved edge to Outer Body curved edge – wrong sides together.
The Curved Seams:
Find Centerpoint of curved Side of Outer Bag and Centerpoint of Lining Side. Pin wrong sides of Sides together along top.
Using Zipper/piping foot, stitch just closer to raw edges along top of curved edge of Sides.
This seam will not extend all the way down the Sides.
Repeat for other Sides.

Side curved edge seams sewn
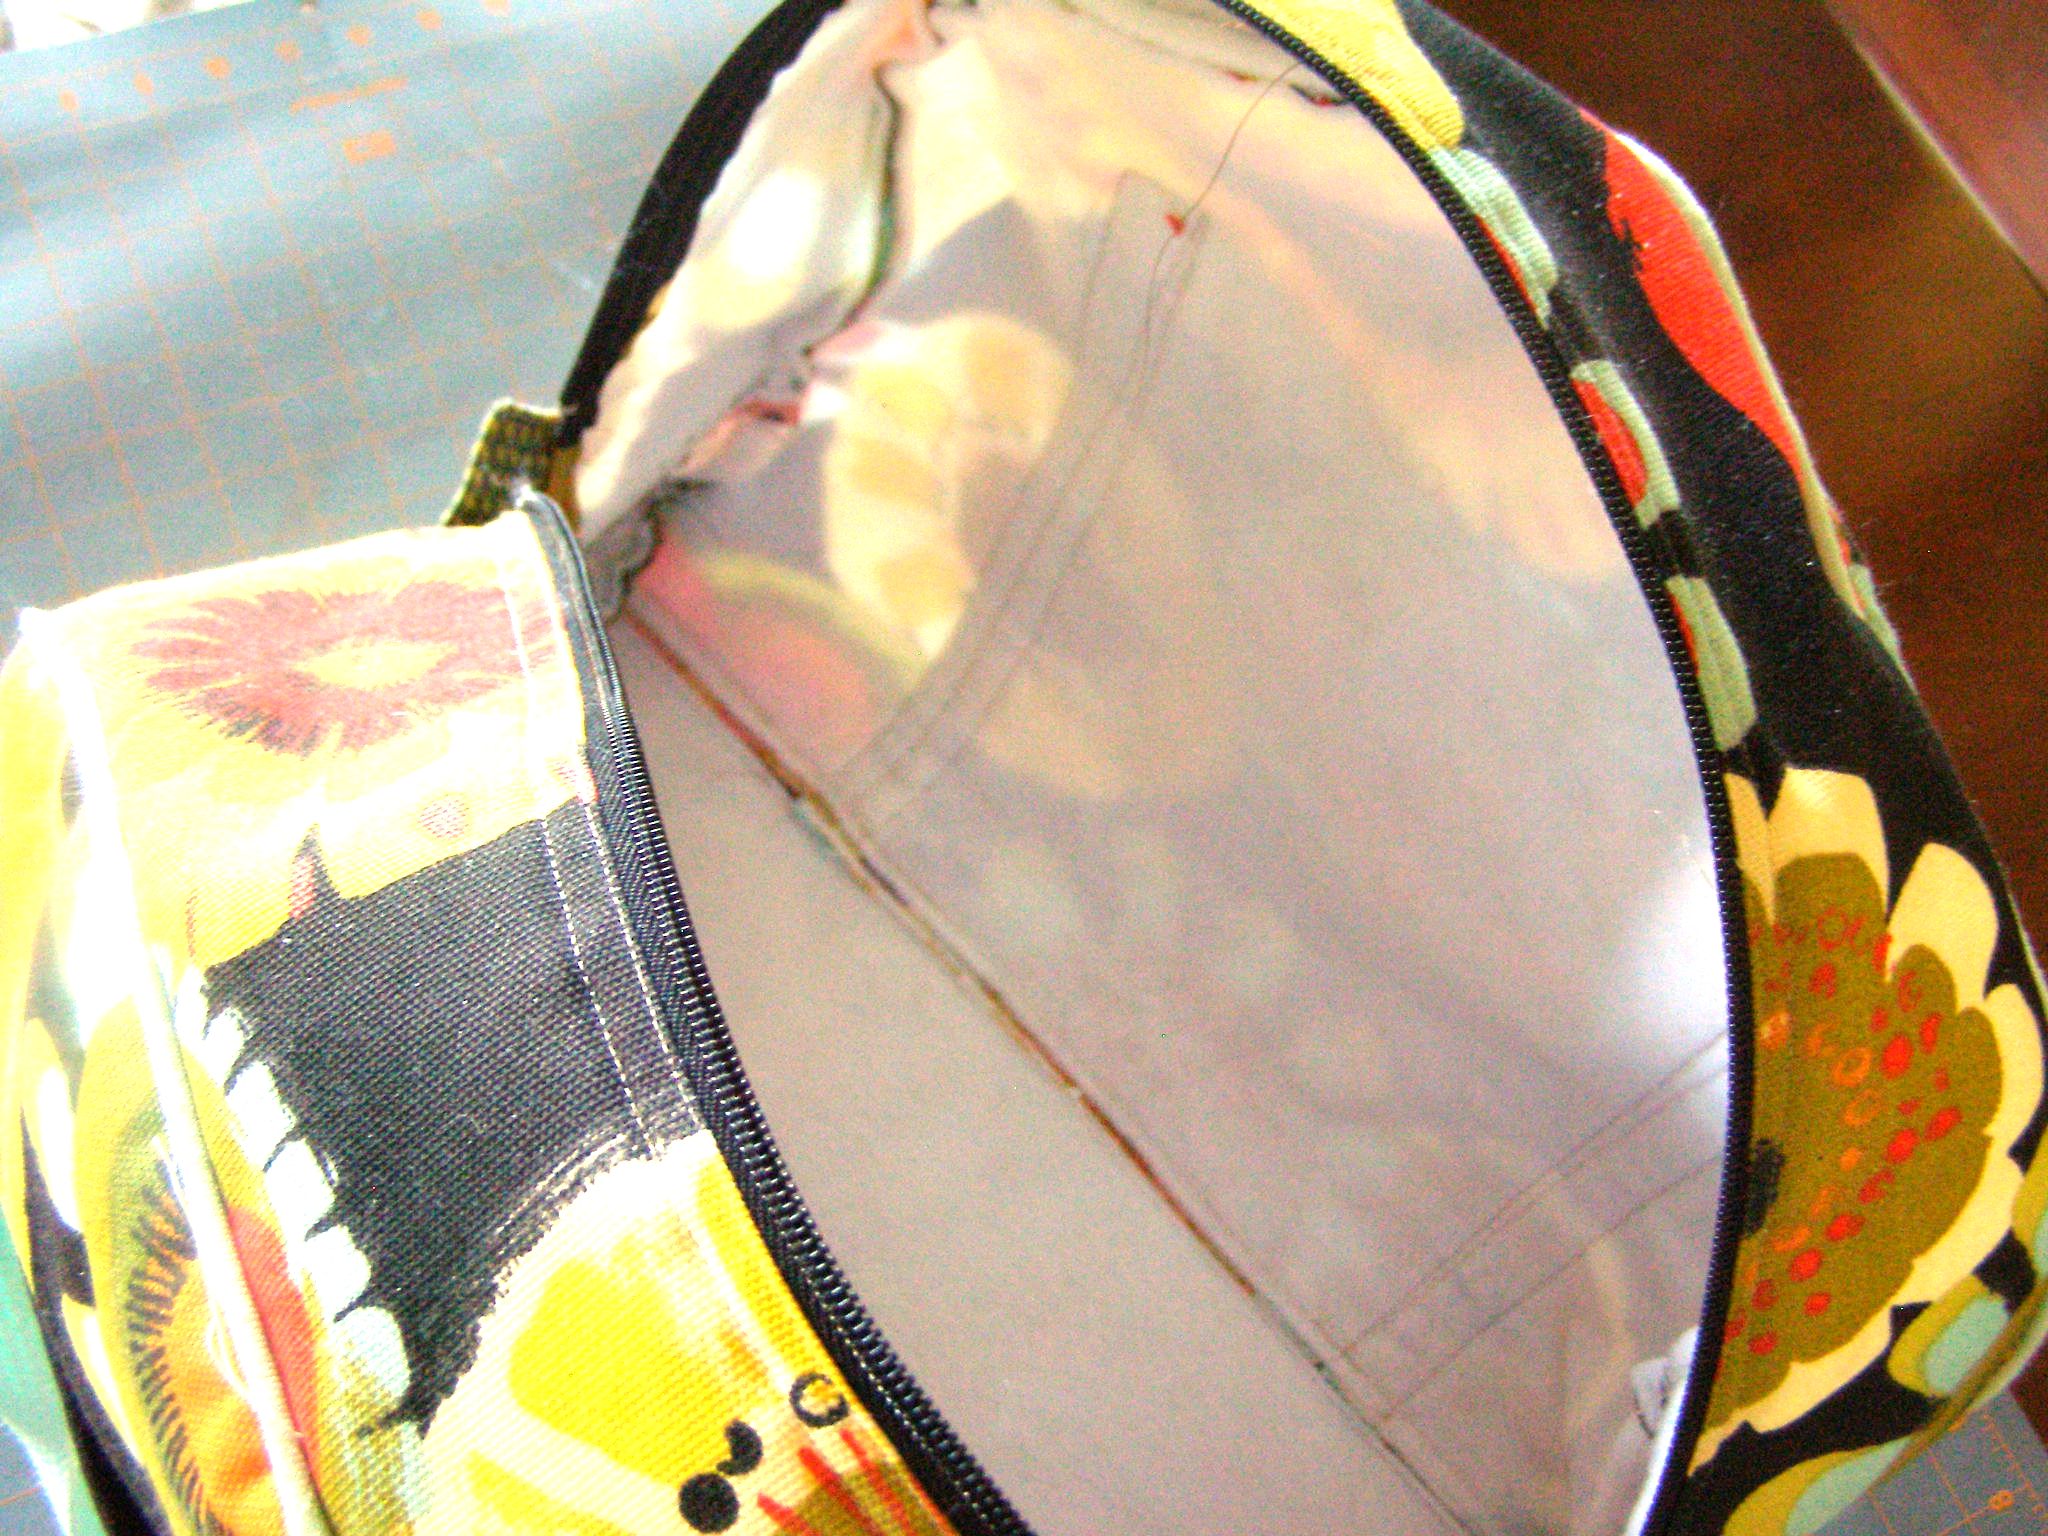
Along the Zipper:
The final step is to secure the lining along the zipper.
It may be easier to turn bag inside out for this final step.
Matching centerpoints, pin the folded long edge of the lining Top to the Zipper along the topstitching seam used to sew in the zipper.
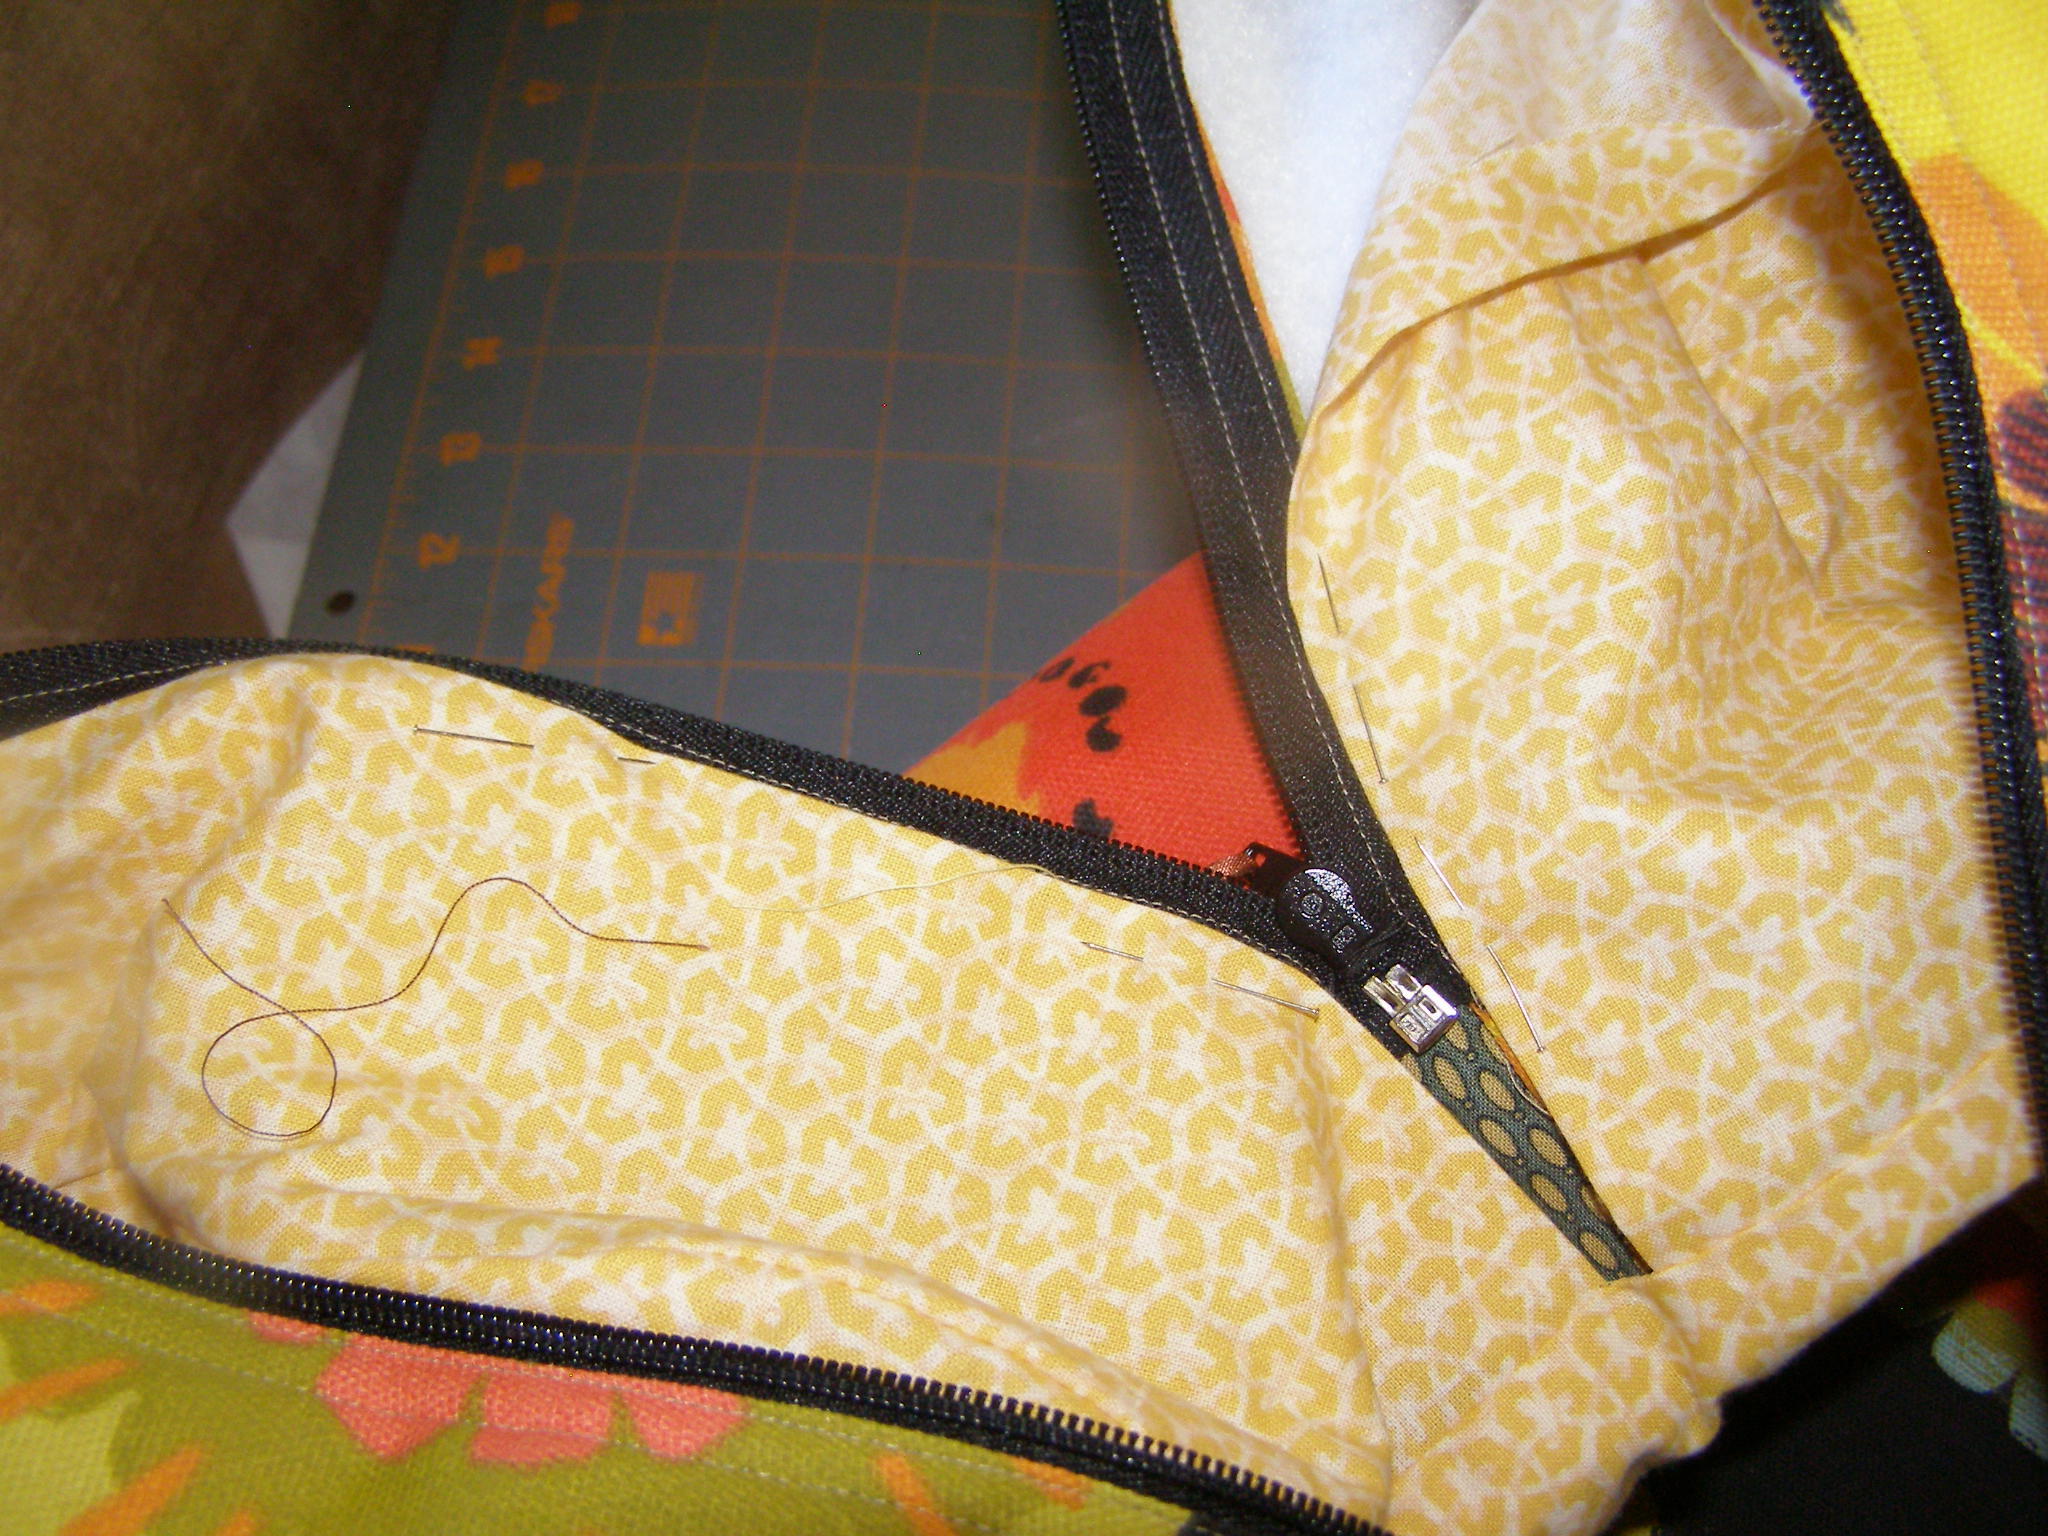
Pin folded edge of lining to Zipper.
Pin securely along both long edges.
Hand stitch lining to Zipper Tape to secure lining. (Yes, stitching by hand is required.)
Turn Bag right side out.
Using Zipper foot, stitch a second topstitching along zipper, approximately 1/4″ from topstitching done when zipper was installed.
Zipper topstitching completed – lining secured to Bag!
This topstitching will secure the lining – and is far enough away from the zipper teeth that none of those annoying “lining stuck in the zipper” episodes will occur!
And now your Scrap Bag Bag is complete – except maybe it needs a Secure Luggage Tag!

Tutorial Bag – Done!
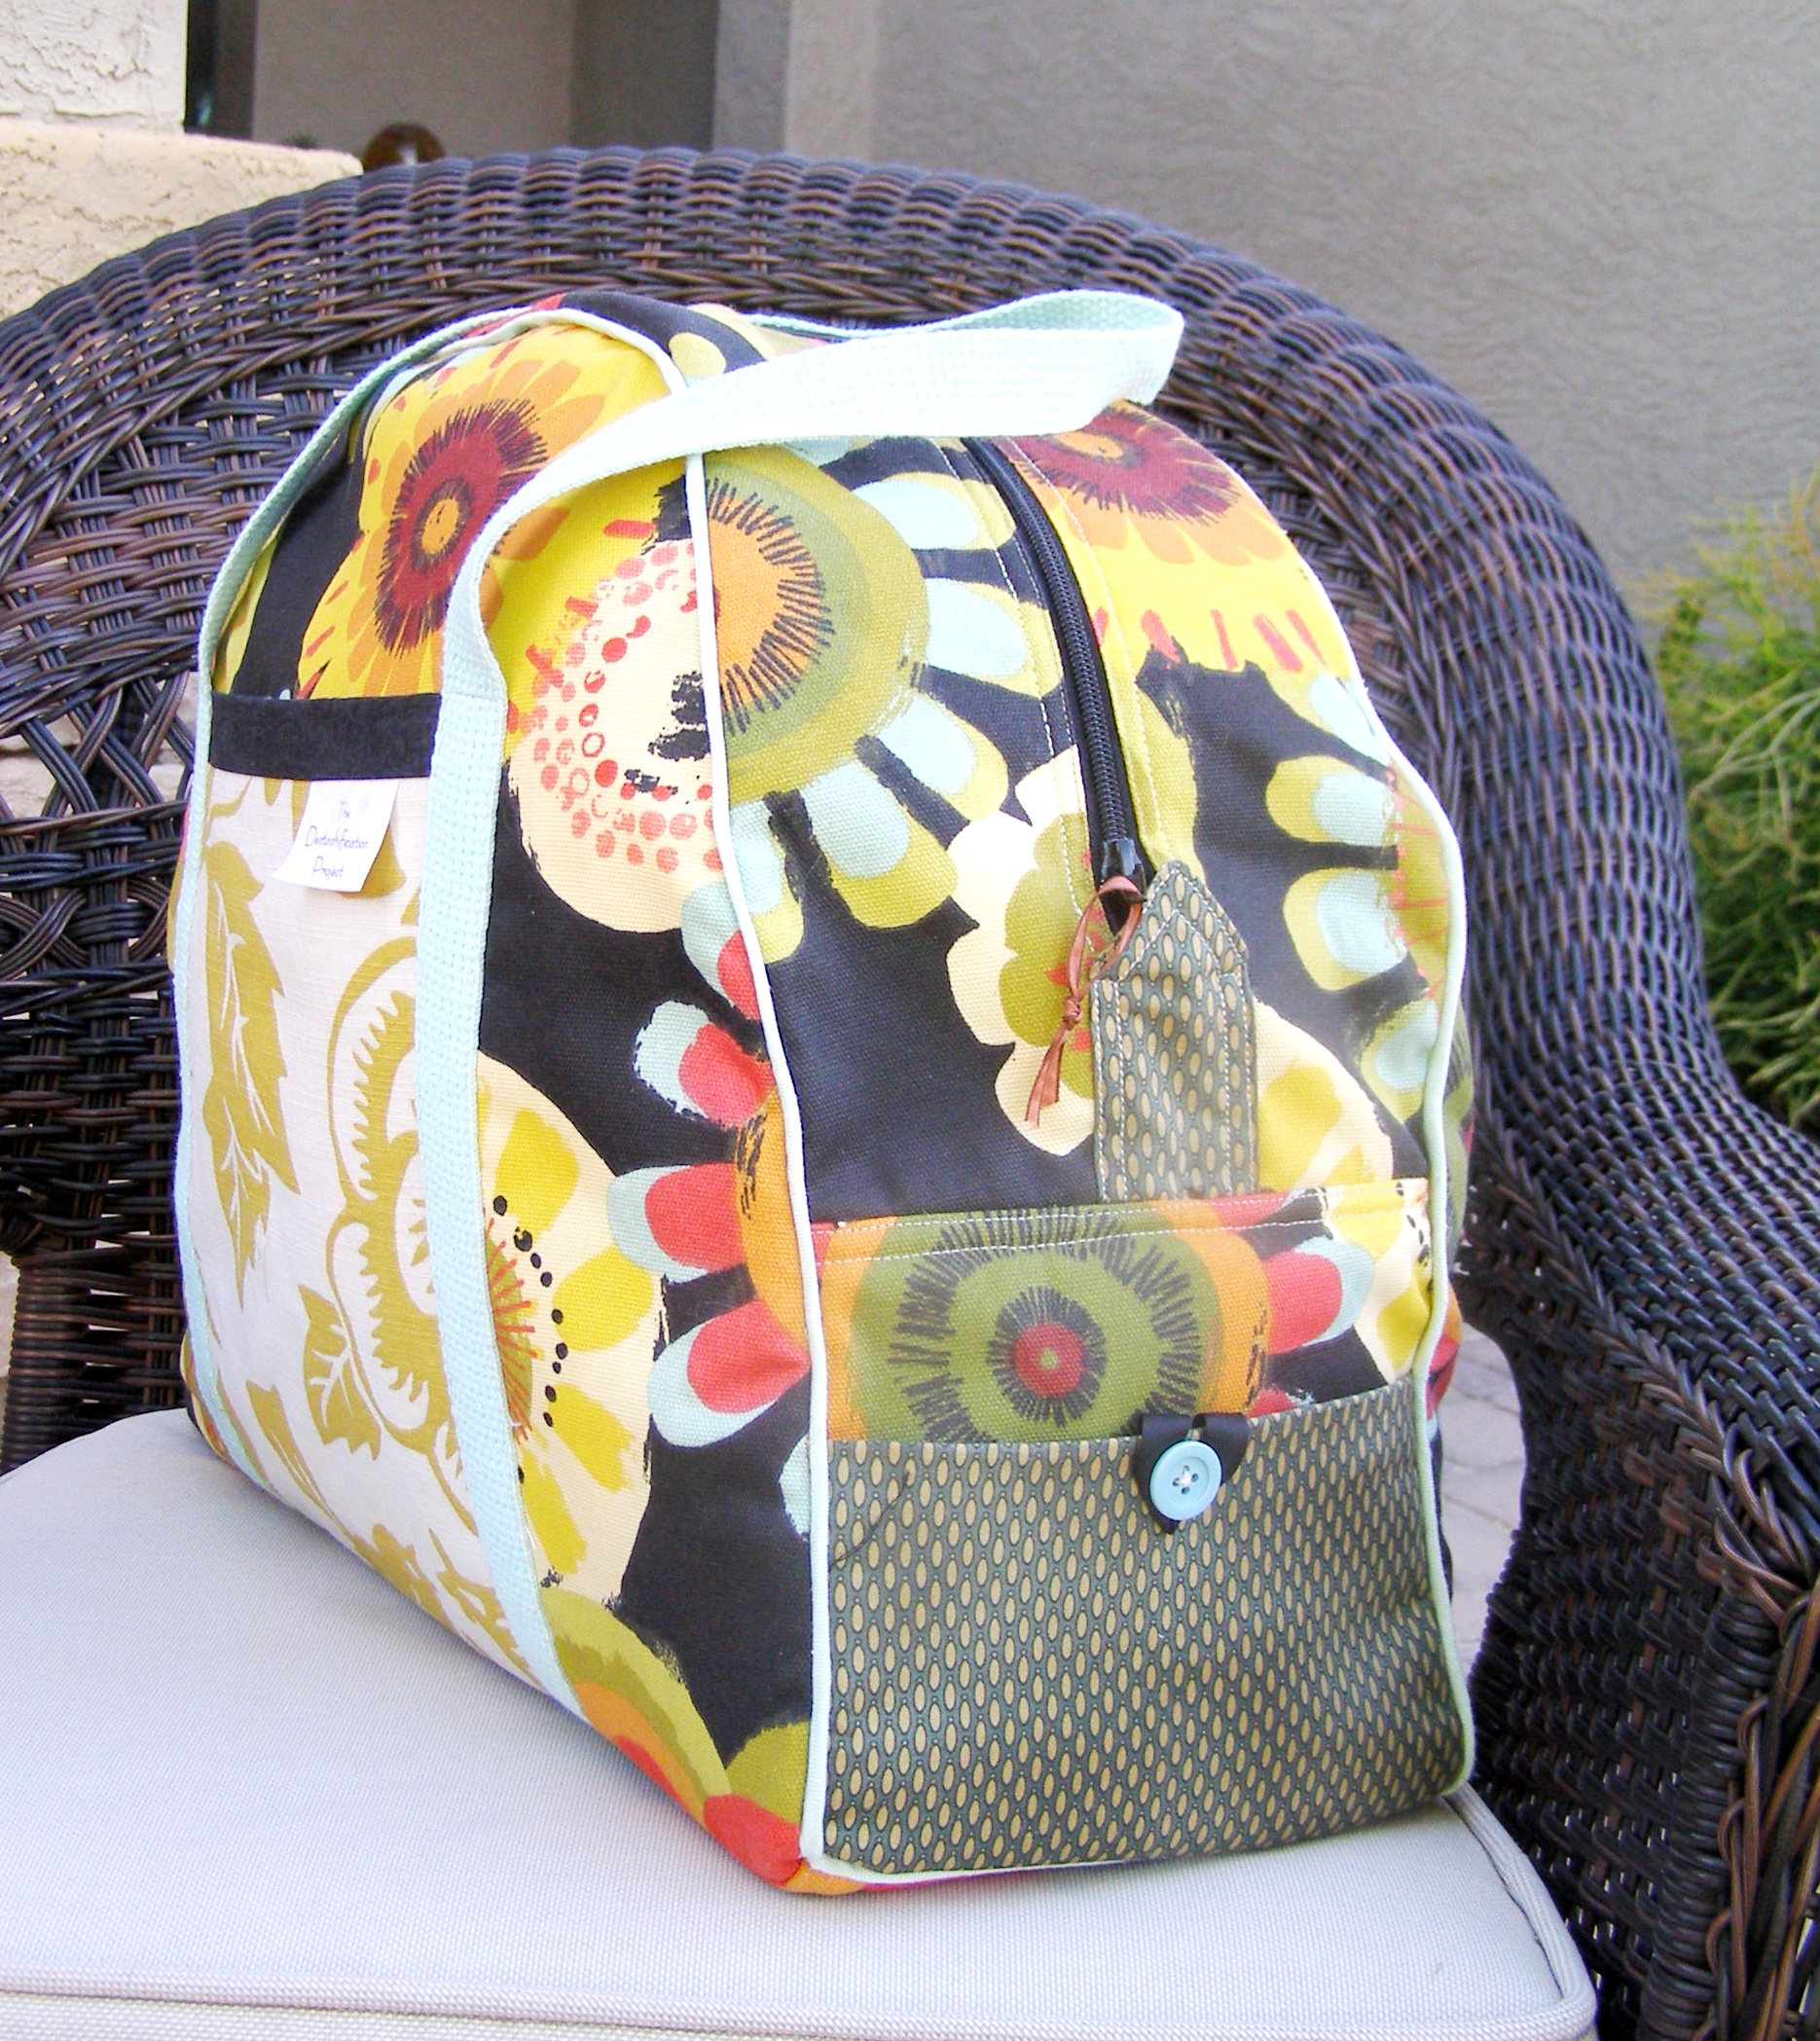
Completed Bag – Side View
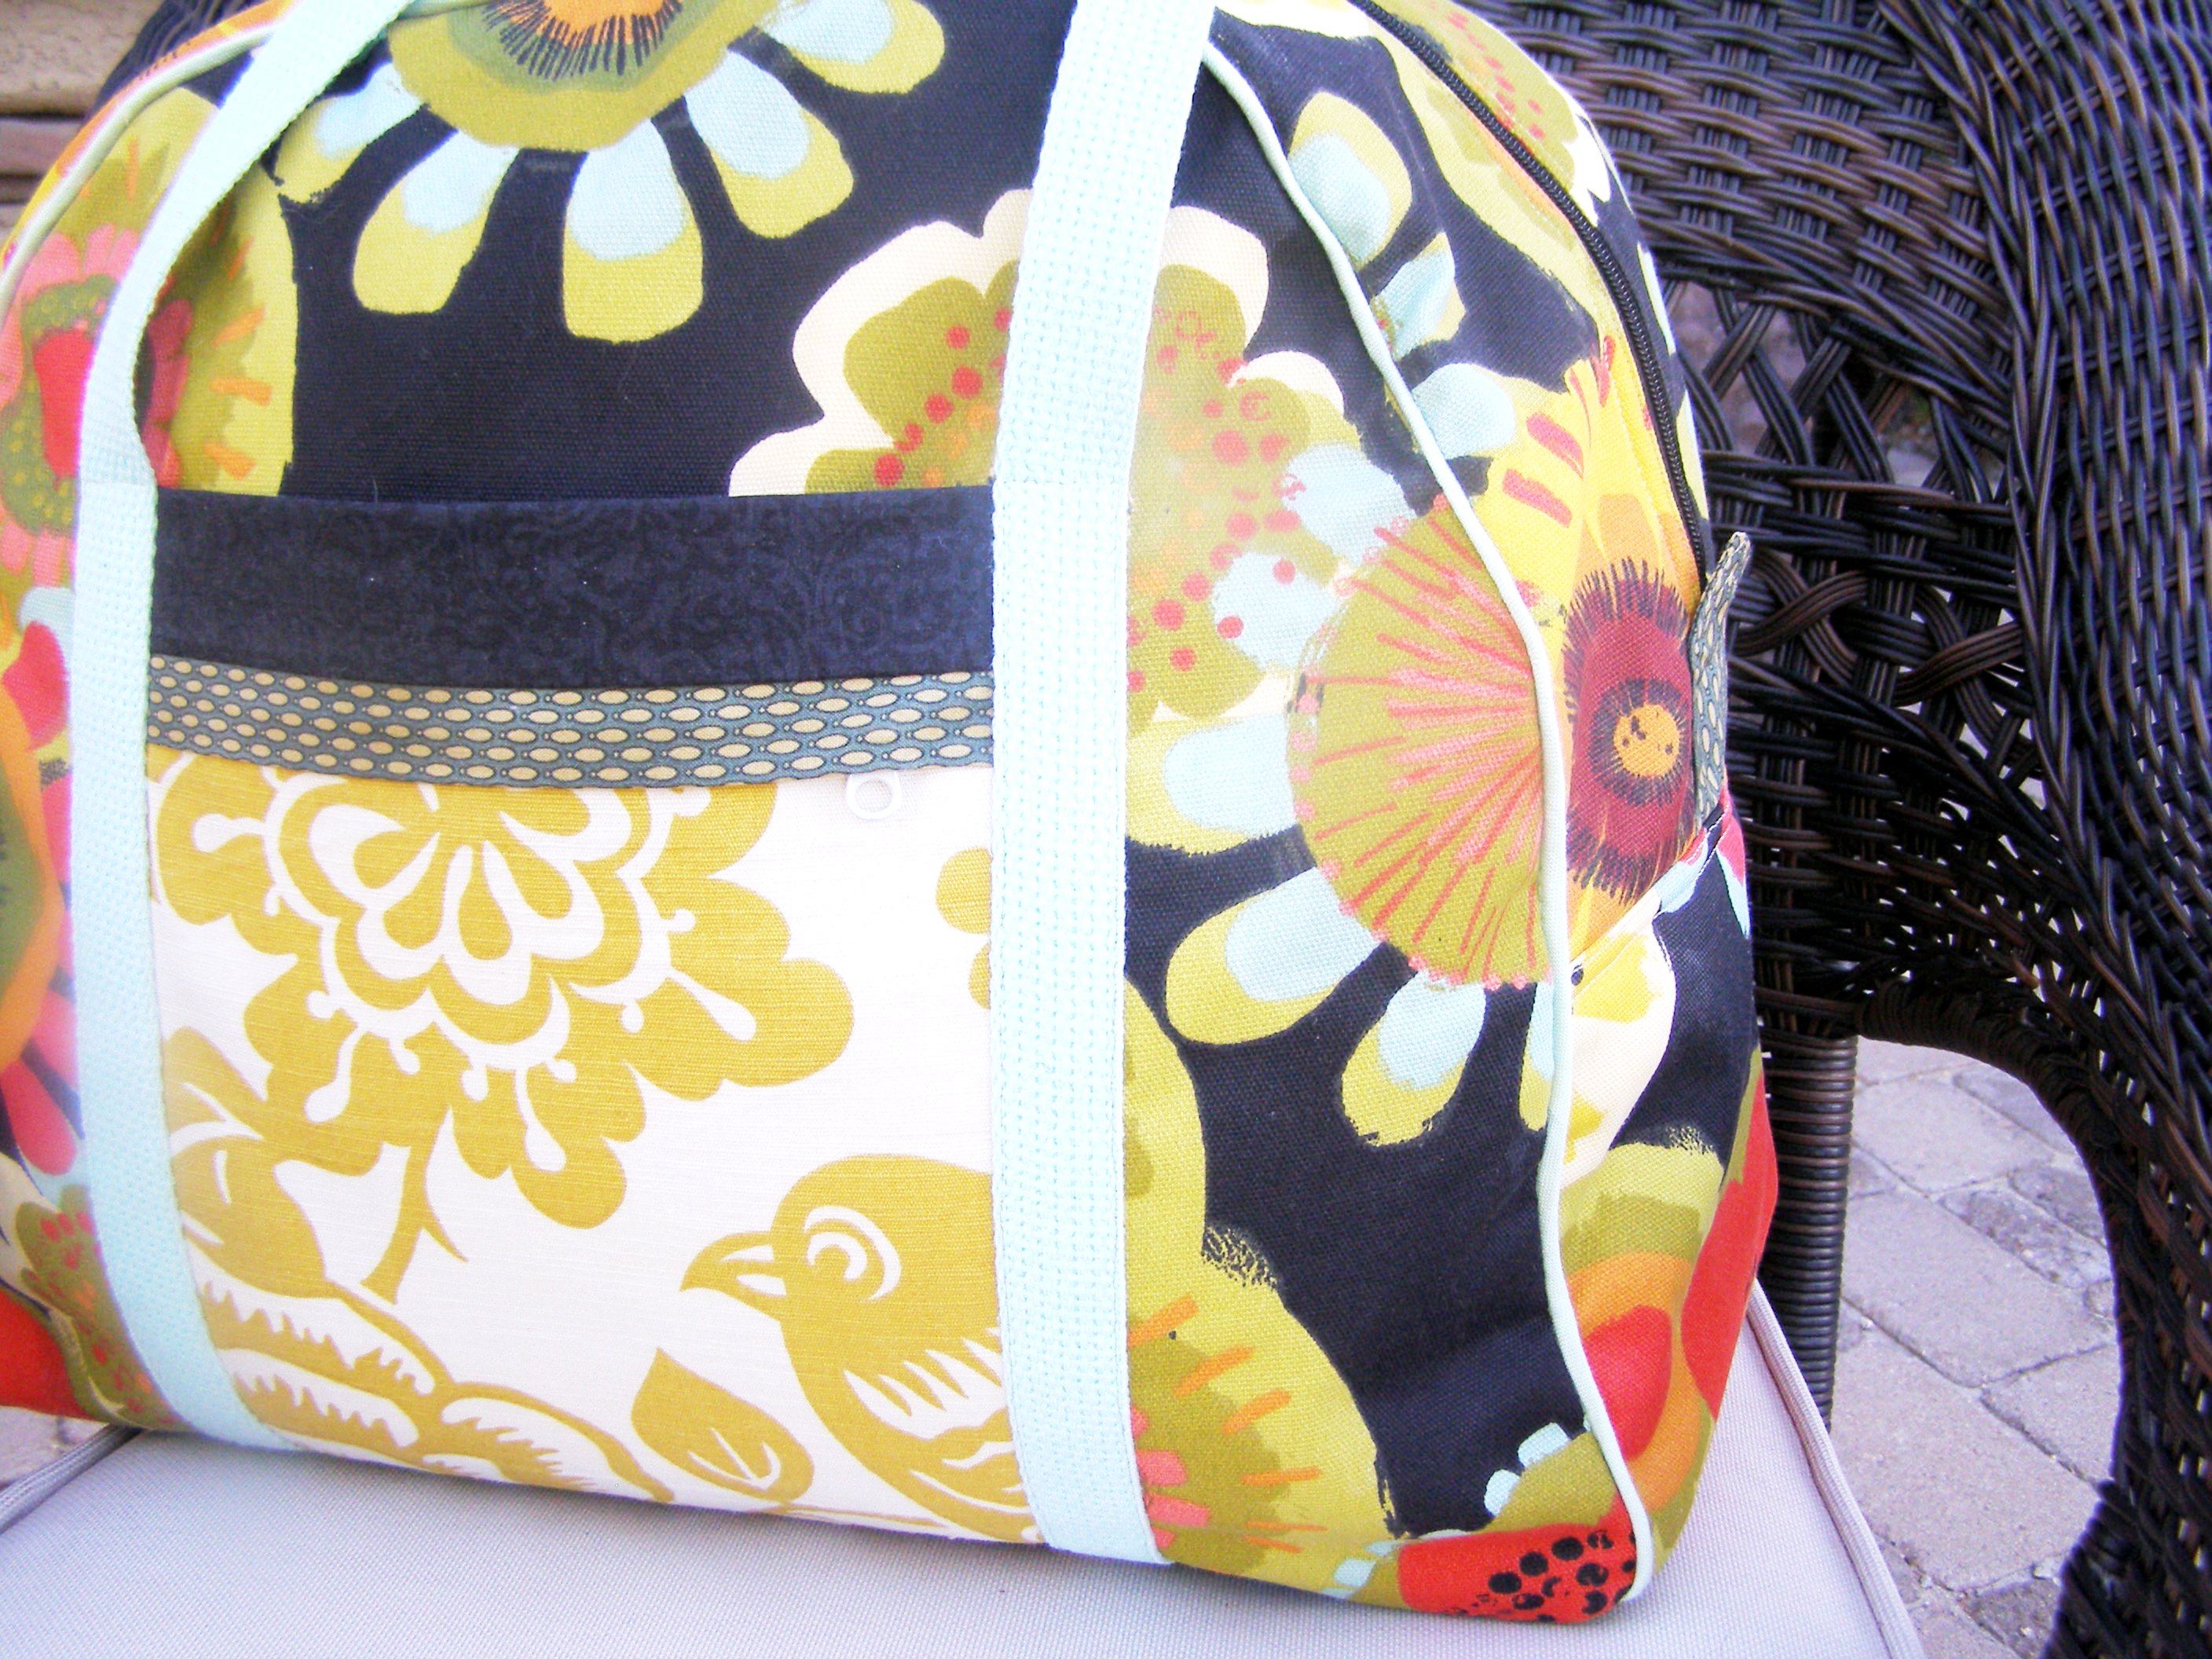
Another View
Enjoy!

Brilliant tutorial!