

Ohio Star Block
The Ohio Star Quilt Pattern is beautiful and can be sewn Math and Frustration-Free!

From Part 1.
After finishing the Double Half-Square Triangles (DHST) from Part 1, it is time to sew up the blocks!
Each Ohio Star block will require the four DHSTs from Part 1, one 5″ square of the print for the center square and four 5″ squares for the corners.

4 DHSTs, 1 center square and 4 white corner squares.
The squares being 5″ is just to simplify things. Since the squares used to make the DHST were 5″, consistency just makes things simpler. They are trimmed to approximately 4″ later.
Carefully cut a 3″ square from see-through plastic. I used template plastic from The Stash and cut it using a rotary blade that was too dull for fabric. (Does anyone else save dull blades?)

3″ Template and finished block
This template will be traced on the back of the fabric pieces.
The tracing lines will be the sewing lines.
Sew Simple!
Draw diagonal dotted lines on the template from corner to opposite corner. This will help make the DHST “square.”
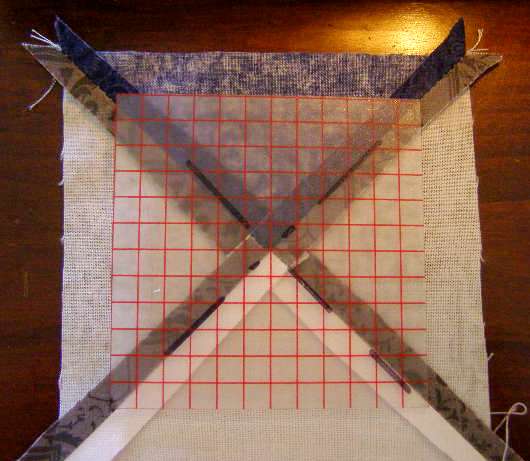
3″ Template on DHST. Align centerpoints and corners.
Place the template on the back side of one of the DHSTs. Line up the center point of the diagonal lines with the center point of the stitching and the template corners with the seams.
Trace around the template being careful to mark corners well.
Traced sewing lines.
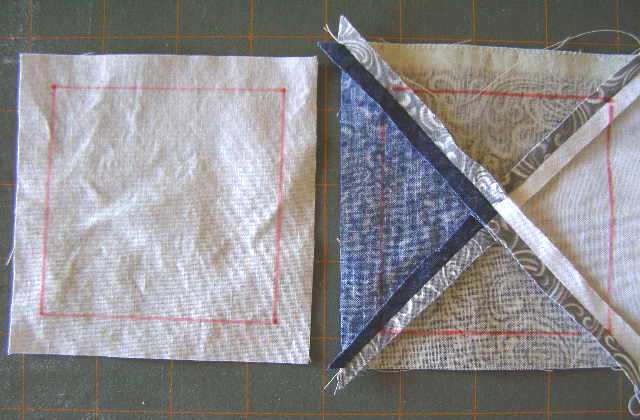
Trace the template onto the corner and center “plain” squares as well (‘plain’ meaning ‘not pieced’). Trim the plain squares to 1/2″ or so beyond the traced lines.

Lay out squares in pattern.
Lay the squares out in the Ohio Star pattern.
Notice that all DHST pieces will be sewn to a plain square. (see Oops Photo below)
Using the Poke and Pin method used in the DHST, align the corners of two adjacent pieces.

Poked and Pinned
Poke a pin through the line marking the corner of the DHST into the line marking the corner of a plain square – RIGHT SIDES TOGETHER. Keeping those “pokes” vertical, pin to secure.
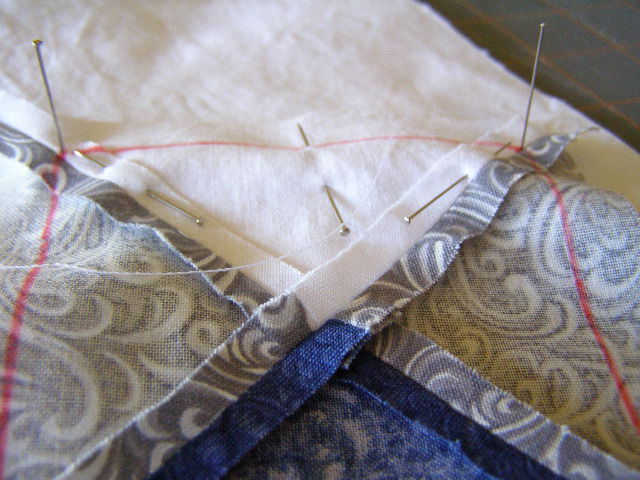
Poked and Pinned, ready to sew.
Sew along the traced line.
I typically sew on the DHST side rather than the plain square side.
Flip piece over and verify that seam is on (or approximately on) the traced line. Remove pins, trim seam allowance slightly and press seam open.

Three strips ready to be sewn into complete block.
Repeat until three “strips” of three squares are complete. Sewing the strips together following the same Poke and Pin process – poke and pin the corners and sew along the lines.
And then take a moment to congratulate yourself on your first completed block!

Oops! Mistakes happen!
As I needed 25 blocks, a trip to The Stash was required for blue and grey fabrics.
This piecing method is Math-Free. But, one would think that if each of the squares were traced from a 3″ square the finished block would be 9″, right?
Not quite. Pencil width, specific seam placement, etc., all add (or subtract) minute measurements.

Poked and Pinned Corners align so nicely!
So, measure a few of your blocks from star point to star point (that is the finished size). Mine were 9 and 1/4″ (except for one that was 8 and 7/8″ – and discarded). Then cut a paper or cardboard square to that measured size. I used quilting graph paper from The Stash – again cut with that dull rotary blade.
On Point separated by plain blocks
At this point one must decide how the blocks will be laid out in the final quilt top.
Squared separated by plain blocks
There are many options.
Squared and Sashed
A quick Google search produces a myriad of options.
My quilt was On Point separated by Plain Squares. But I would recommend Squared and separated by Plain Squares or Sashed. On Point requires bias cuts and seaming.
Create the plain blocks by tracing the paper/cardboard square on the back of the fabrics chosen for the plain squares – and on the back of the Ohio Star Blocks.

9.25″ square traced on back of plain fabric
Unless you are a perfect seamer, a bit of “fudging” will be required to draw the lines on some the pieced blocks. One star point maybe slightly higher or lower than the other on the same side. The priority is to draw the lines at the star points.

Ohio Star Block and plain block poked and pinned.
Then Poke and Pin the Ohio Star Blocks to the plain blocks. Sew along the lines. Verify the seam is correct. Trim seam allowance slightly and press seams open.
Repeat until quilt top is complete. Add borders if desired.
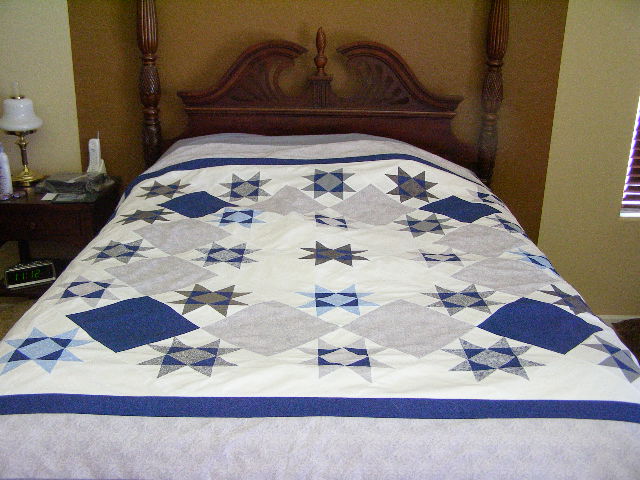
Completed!
Place on a bed for all to see and congratulate yourself on a beautiful job!
Then pack it up and ship to the Long Arm Quilter so she can work her magic!

Pingback: Ohio Star: Math-Free Version. Part 1: Double HST. | The Destashification Project
Pingback: Baby Quilts from Daddy’s Shirts | The Destashification Project