

Simple and Secure – and Stash Couture!
Secure and Simple: The best type of Luggage Tag!
Because the tag is made to hang closed, your personal information is not available while traveling!
All that is required for this very simple (and secure) luggage tag is:
- Fabric Scrap 10″ * 7″
- Scrap of Heavy Weight Interfacing 3″ * 9″
- Grommet or Buttonhole
- Scrap Piece of Plastic 3.5″ * 2.5″ (The plastic cases blankets and sheets come in is great!)

Photo 1: Interfacing Cutting.
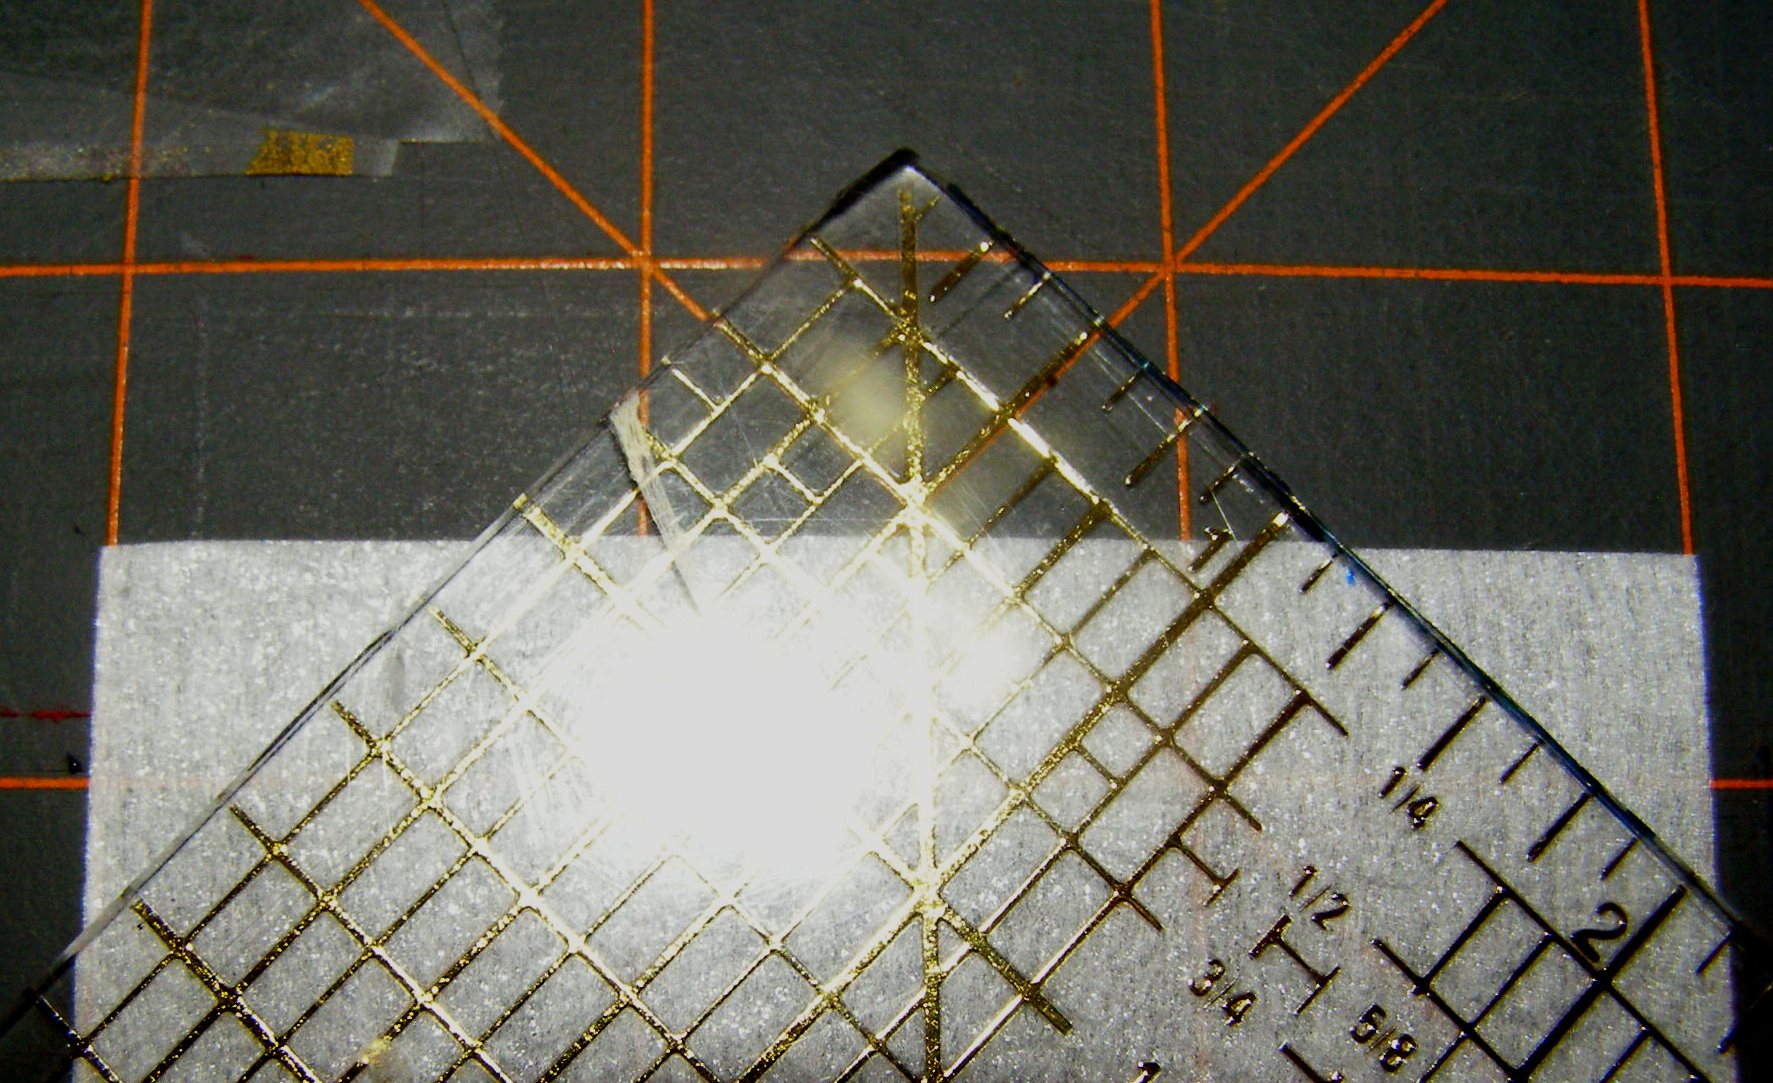
Photo 2: Cutting angles into ends of interfacings.
1. Cut interfacing as shown in Photo 1. Use Photo 2 as guide to cut angles into one narrow end.
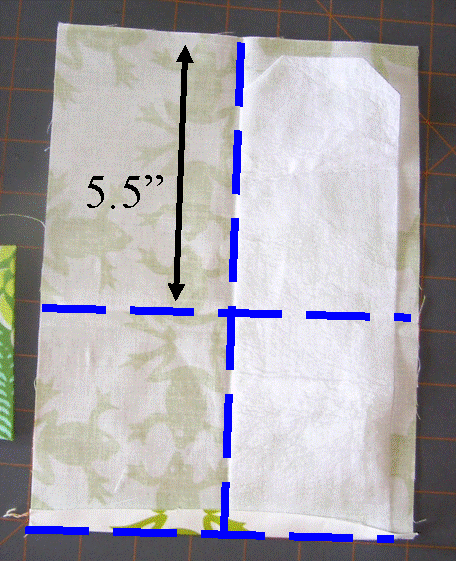
Photo 3: Fold lines and interfacing placement.
2. Iron fabric rectangle flat, then fold in half lengthwise and press (this will be referred to as the “Center Line”). Then open and fold along line 5.5″ from one of the narrower ends. Press again (this will be referred to as the “5.5″ Line”). Open and fold up 1/2″ from other narrow end. Press again. Place interfacing piece, fusible side down, against center fold line and 1/2″ bottom fold line. Fold lines and interfacing placement are shown in Photo 3. Fuse interfacing to fabric.
4. On right side of fabric, place plastic rectangle 1/4″ from Center Line and 5.5″ Line. Using zig-zag, if possible, stitch plastic rectangle to fabric. – only on 3 sides. The side closest to the 5.5″ fold should not be stitched (so ID can be slipped in and out)

Photo 4: Sew long and angled edges. Trim.
5. Fold right sides together along center fold line. Stitch up long side and angled edge as close to edge of interfacing as possible. Do not stitch 1/2″ folded edge. Trim angled corners. Fold up 1/2″ folded edge as shown in Photo 4.
6. Turn tag right side out. Press from fabric only side (pressing the plastic is not a good idea).

Photo 5: Inside Tag showing zig-zagged plastic, grommet, ribbon and top-stitching
7. Fold 22″ piece of ribbon in half. Place 1/2″ into opened end of tag as shown in Photo 5. Topstitch close to out edge all the way around tag.
8. Make a button hole or place a small grommet into angled end of tag. Thread ribbon through button hole or grommet.

No one can see your personal information!
Your Simple and Secure Luggage tag is ready for your next trip – and they are so simple – you can create new ones for every trip!

Awesome idea! Thanks! 🙂
Great quick and easy luggage tags. Very clear instructions, thank you.