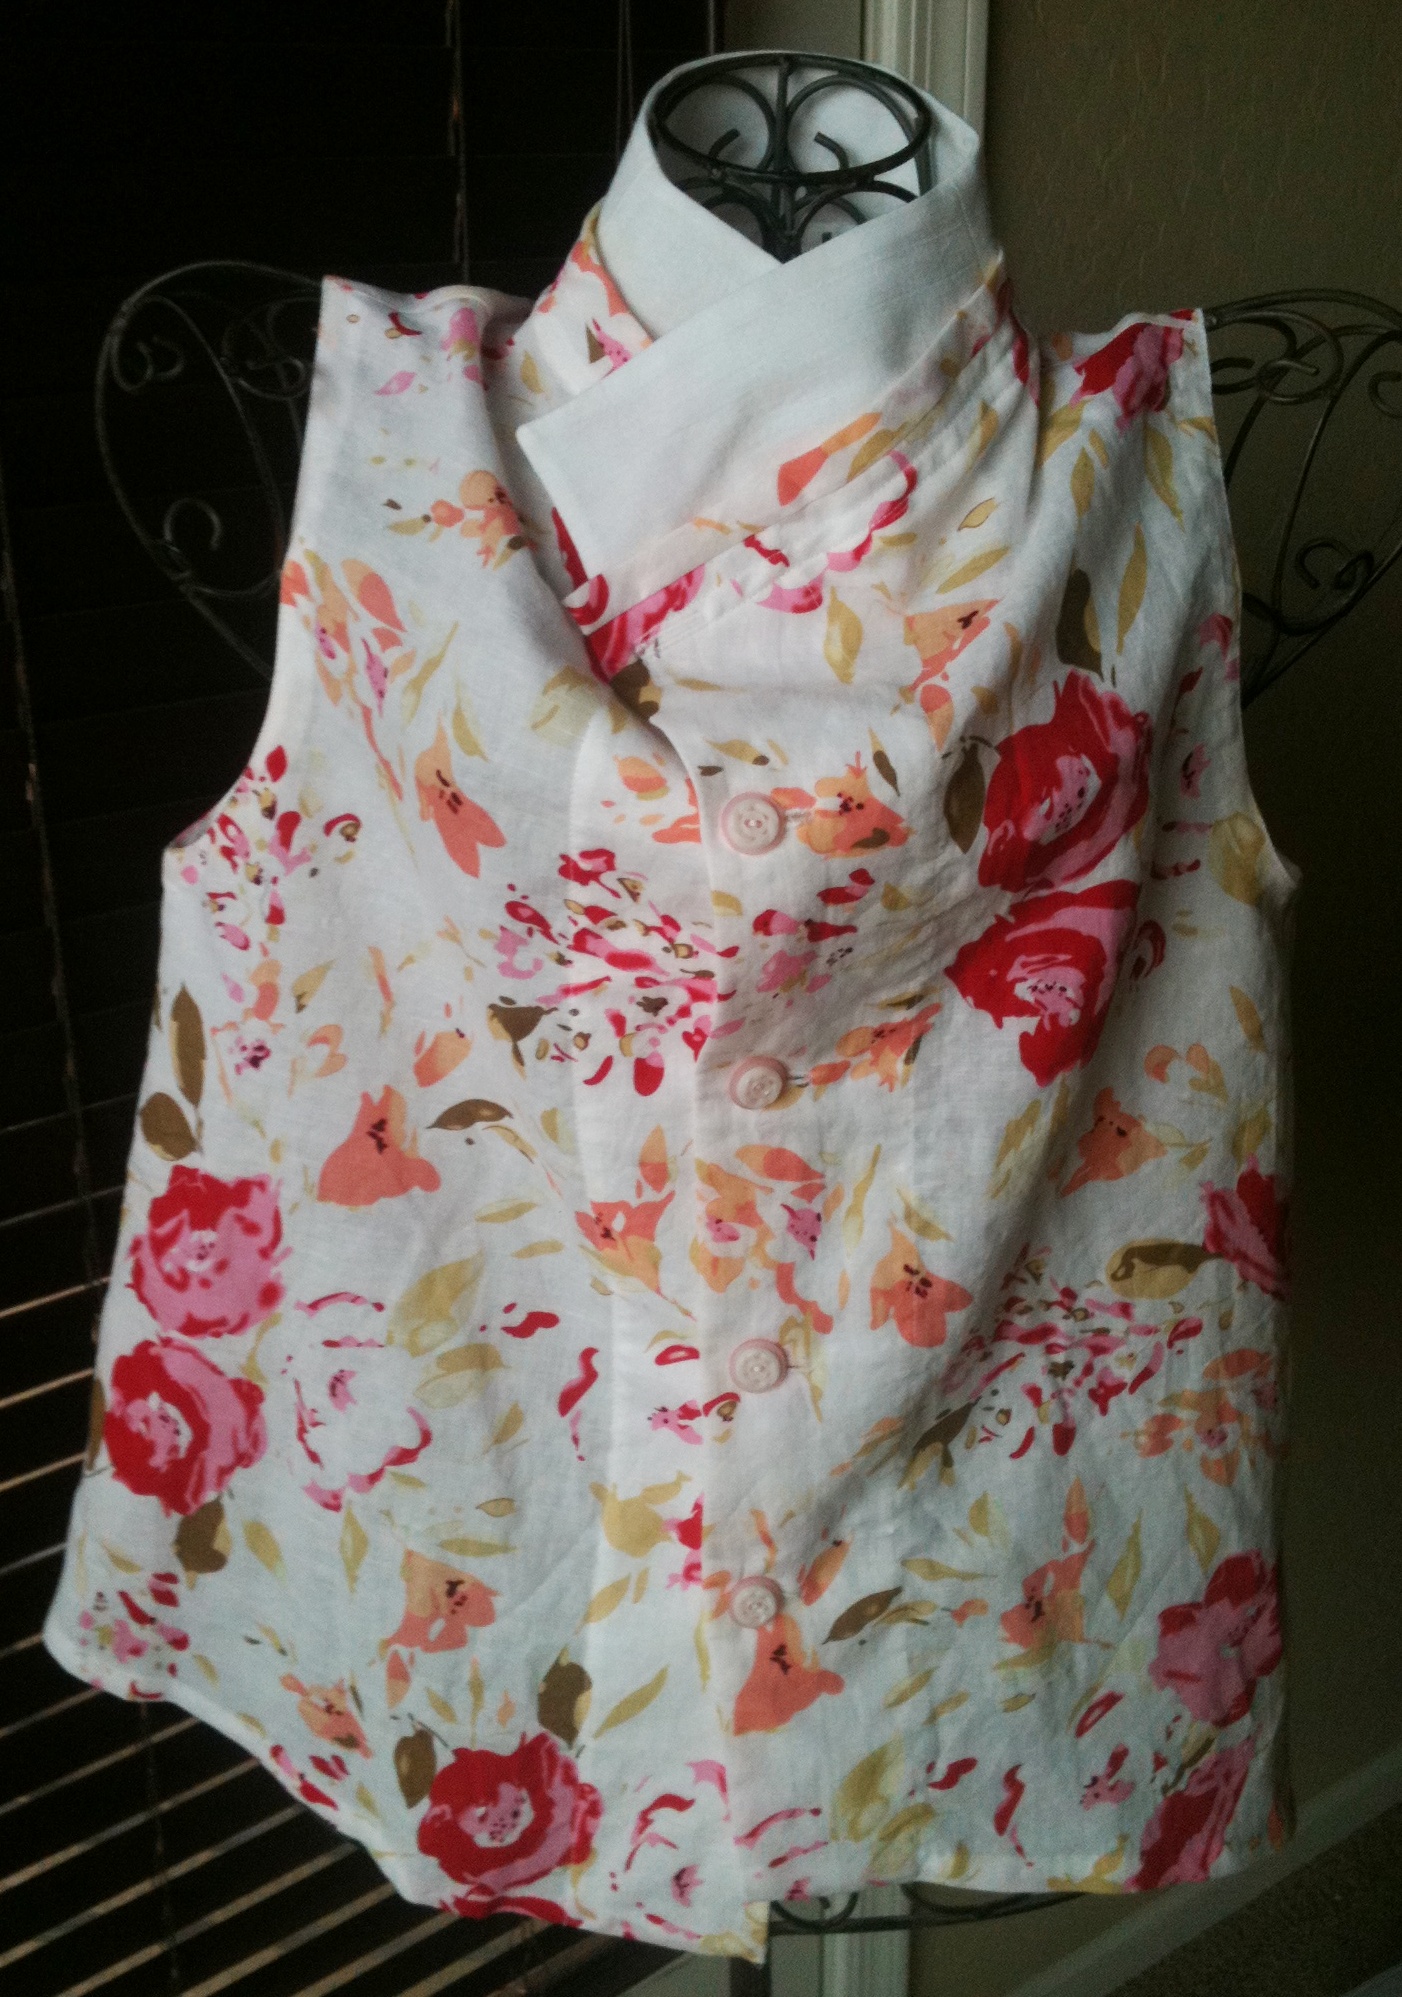
Floral Linen Tunic
Different Fabric and Different Pattern.
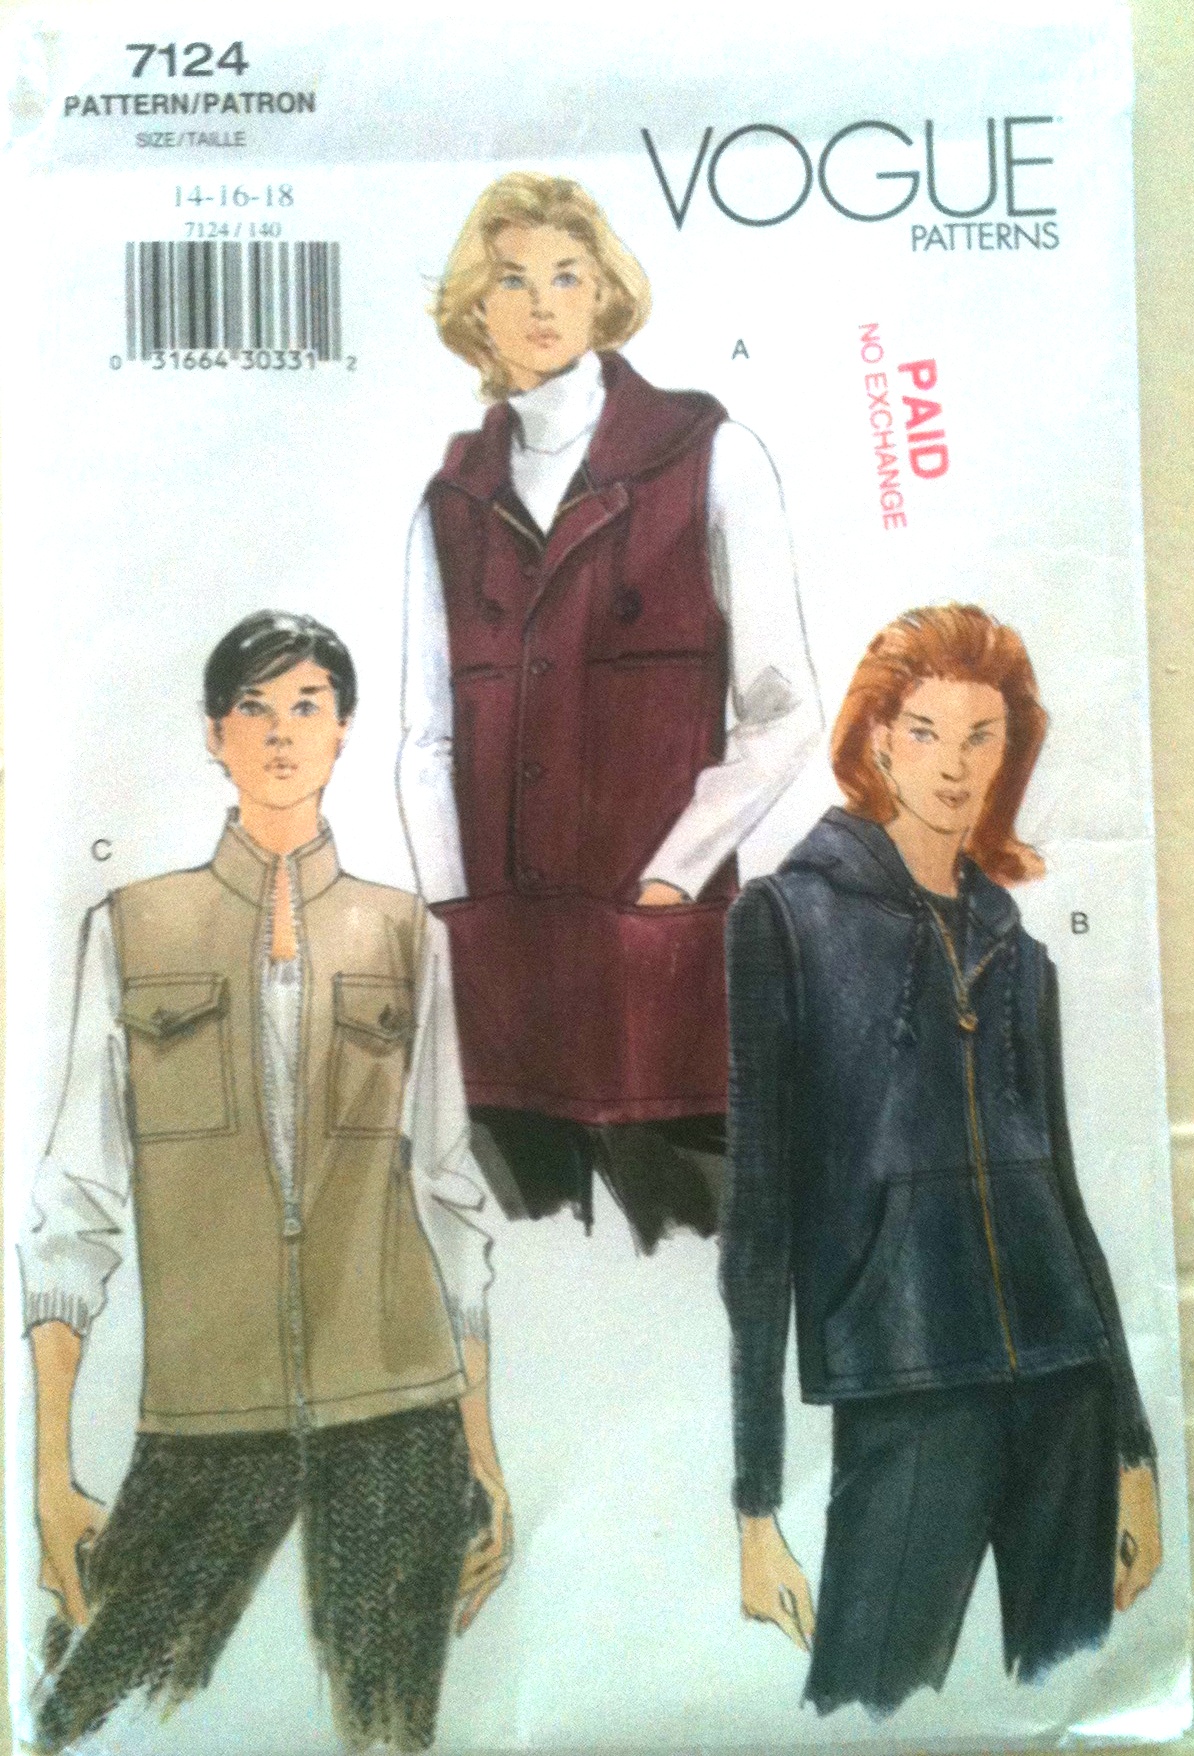
Vogue 8810
This top began as Vogue 8810. The V-neck front bands were what I was looking for. Unfortunately, that pattern was a bodice and had gathered shoulders. So, the length and shoulders were gleaned from Vogue 8854.
During the process of sewing, shaping and embellishment morphed it even further.

New Look 6082
If I had found New Look 6082 prior to cutting this top out, there would have been fewer modifications. The Jacket in New Look 6082 has V-neck front bands and princess seaming for shaping – and comes in a longer length!
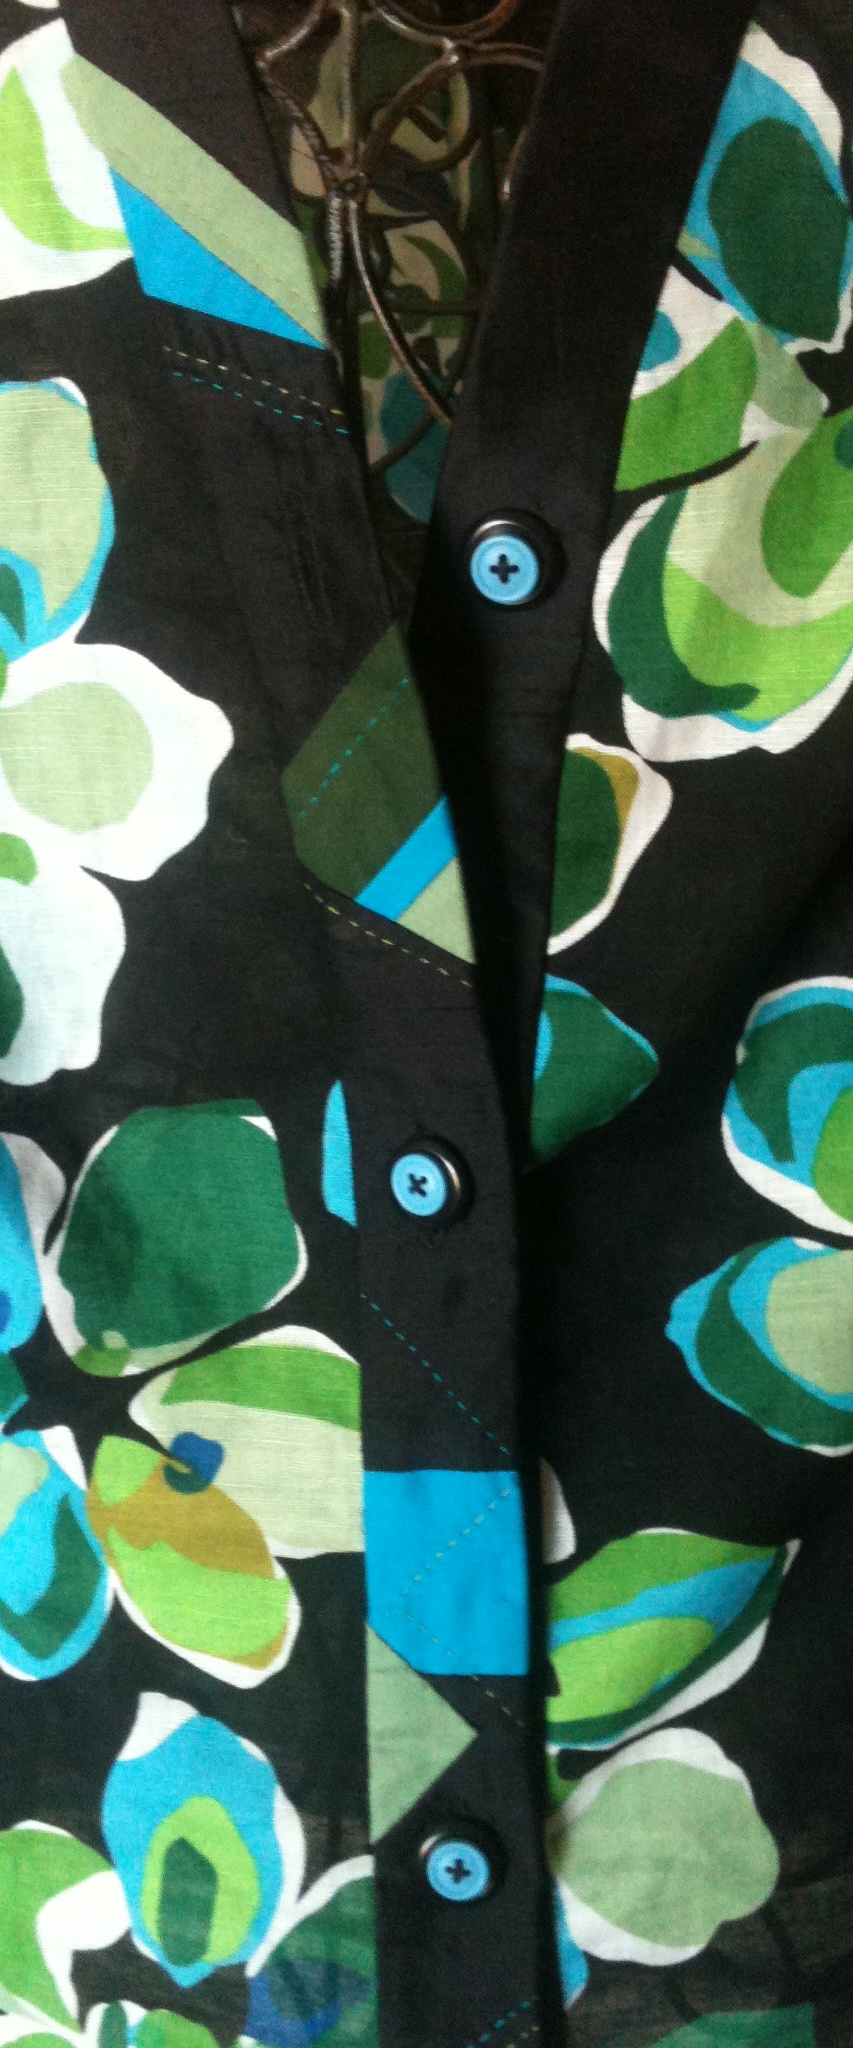
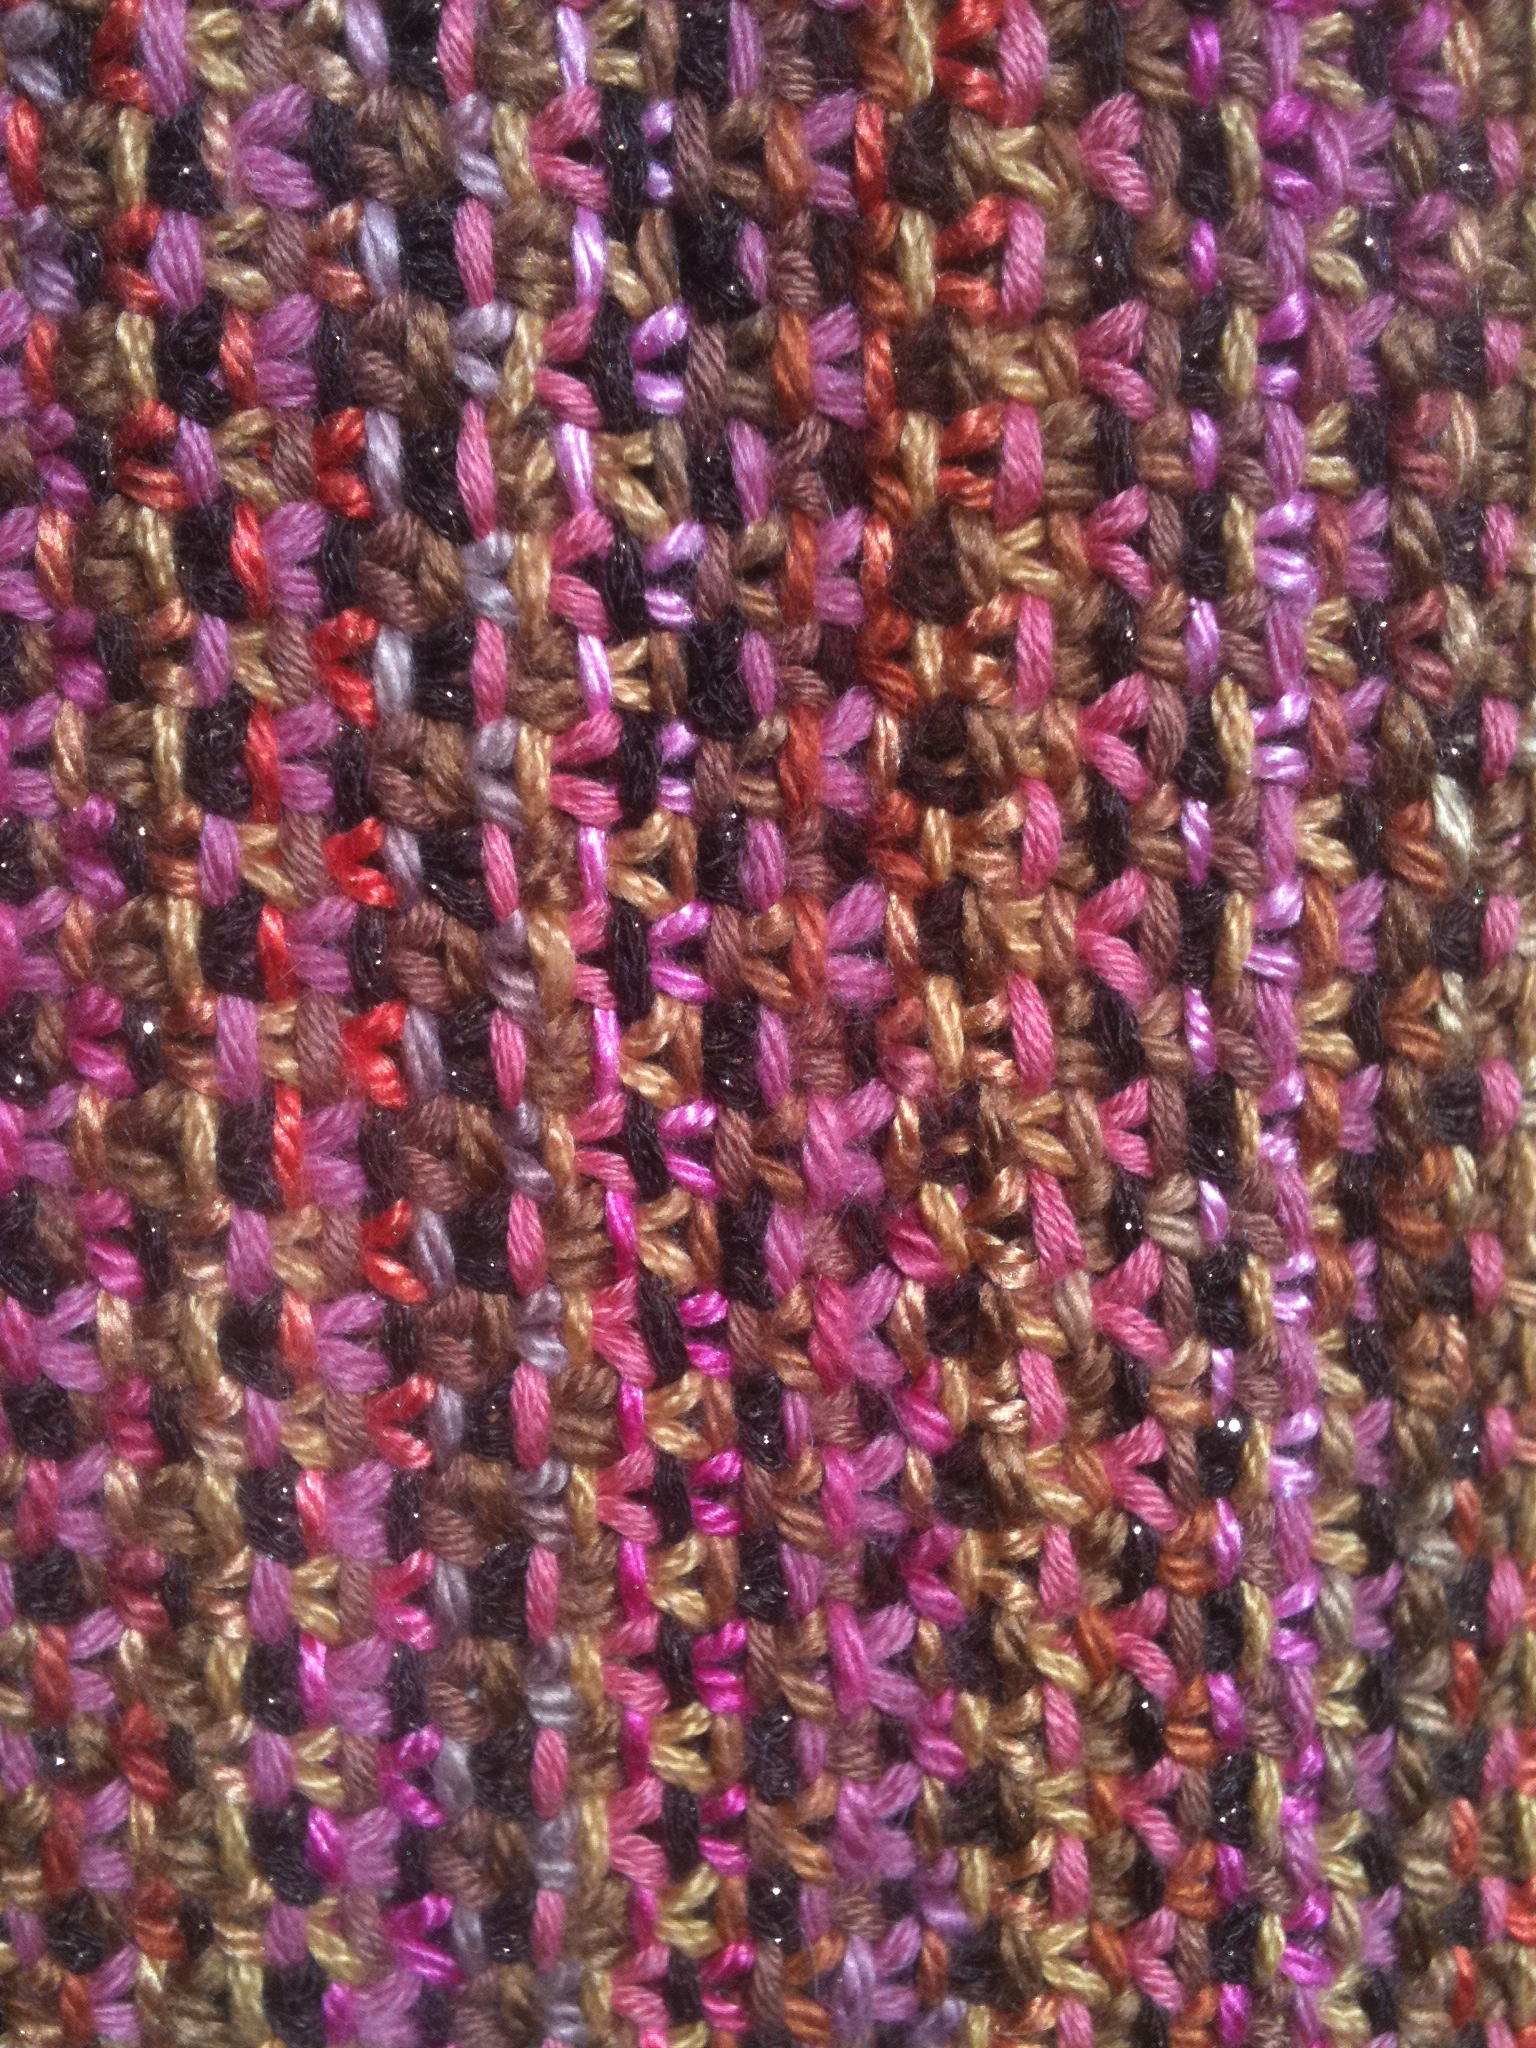
Embellished Front Bands
Next top, maybe!
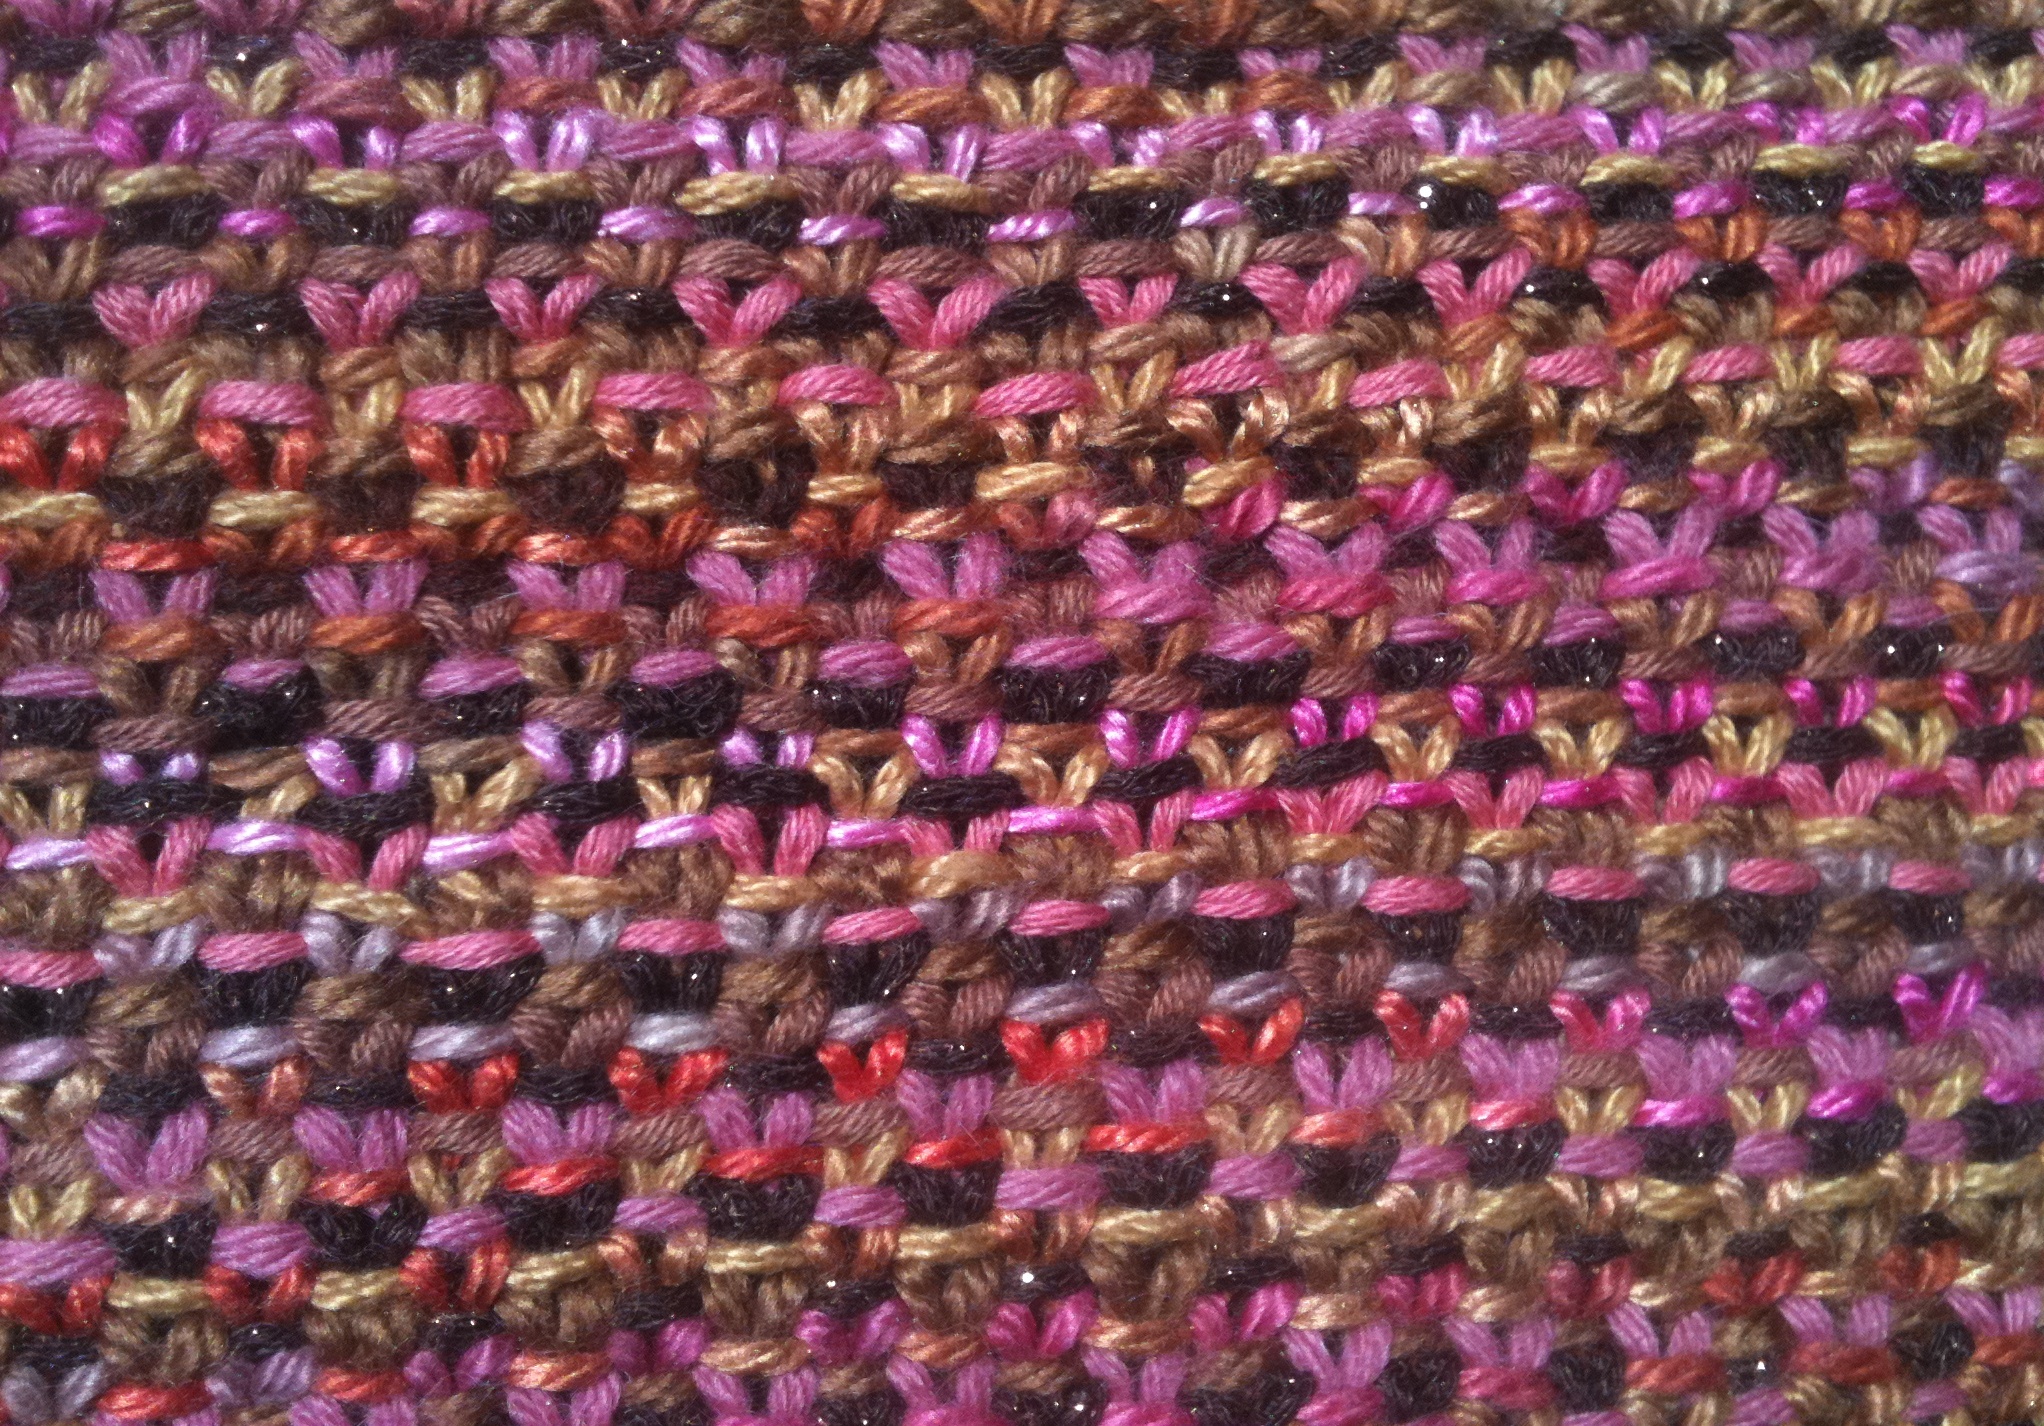
The body is another lightweight linen. This one has a black background and many greens and blues in a large floral print – almost a Magnum PI Hawaii Print!
The black bands are dupioni and the embellishments are quilting cotton scraps.
For those of you that think people who sew know exactly how garments will be made BEFORE we sew, allow me to recount the journey that was this top:
1. The tunic was originally sewn with front bands of the same linen print – too busy.
2. Then the bands were sewn of black dupioni (the only sizeable piece of black fabric in The Stash) – too dark.
3. Neither were “just right” so the stitching was removed (twice, yes twice). During that process, a “clip” in the back neckline extended itself into a “rip”.

Back Neck “Clip to Rip” embellishment
4. The rip was sewn closed and a fabric triangle sewn over it as another embellishment!
5. The new embellished bands were sewn, interfaced and then attached to the body.

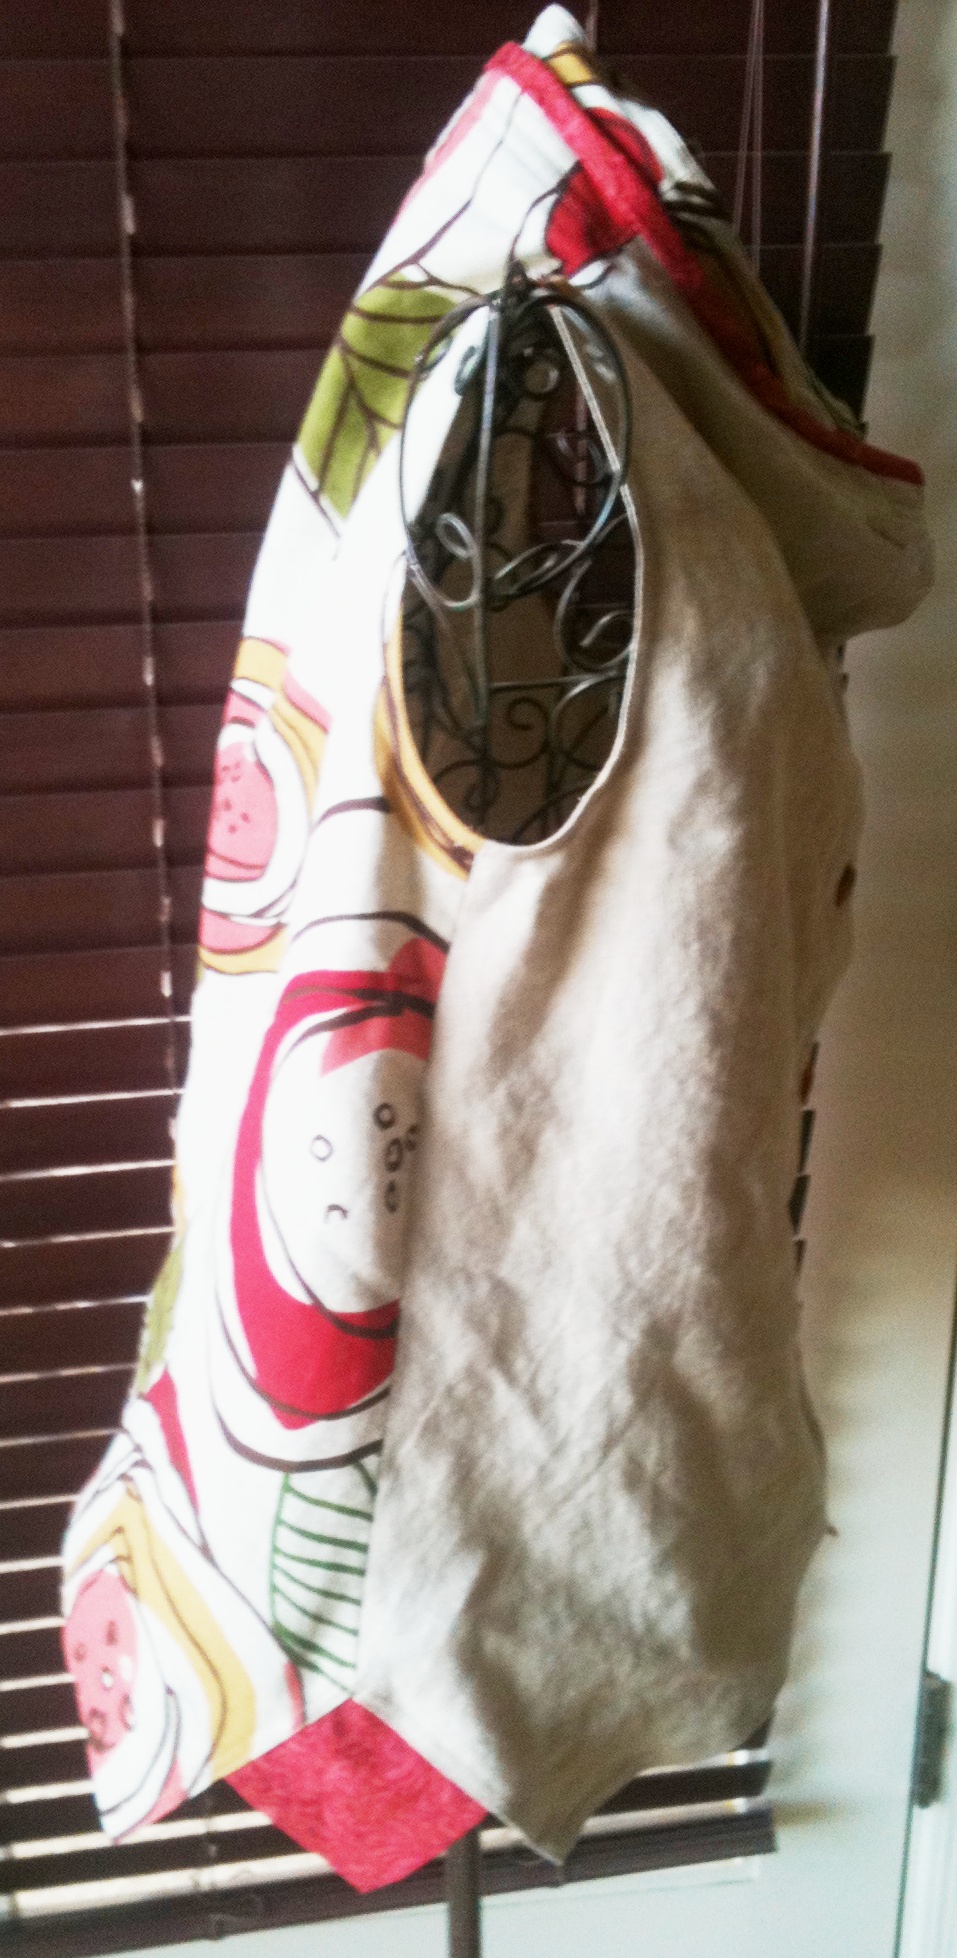
Side View
6. The resulting large print rectangular bag, was very shapeless and …well, not attractive – although it might have worked on Thomas Magnum! I had to walk away.
7. To resolve the shapeless bag look, a waist was added to the vertical back and side seams. Front darts were also added. In all, the waist was reduced by over 4″.

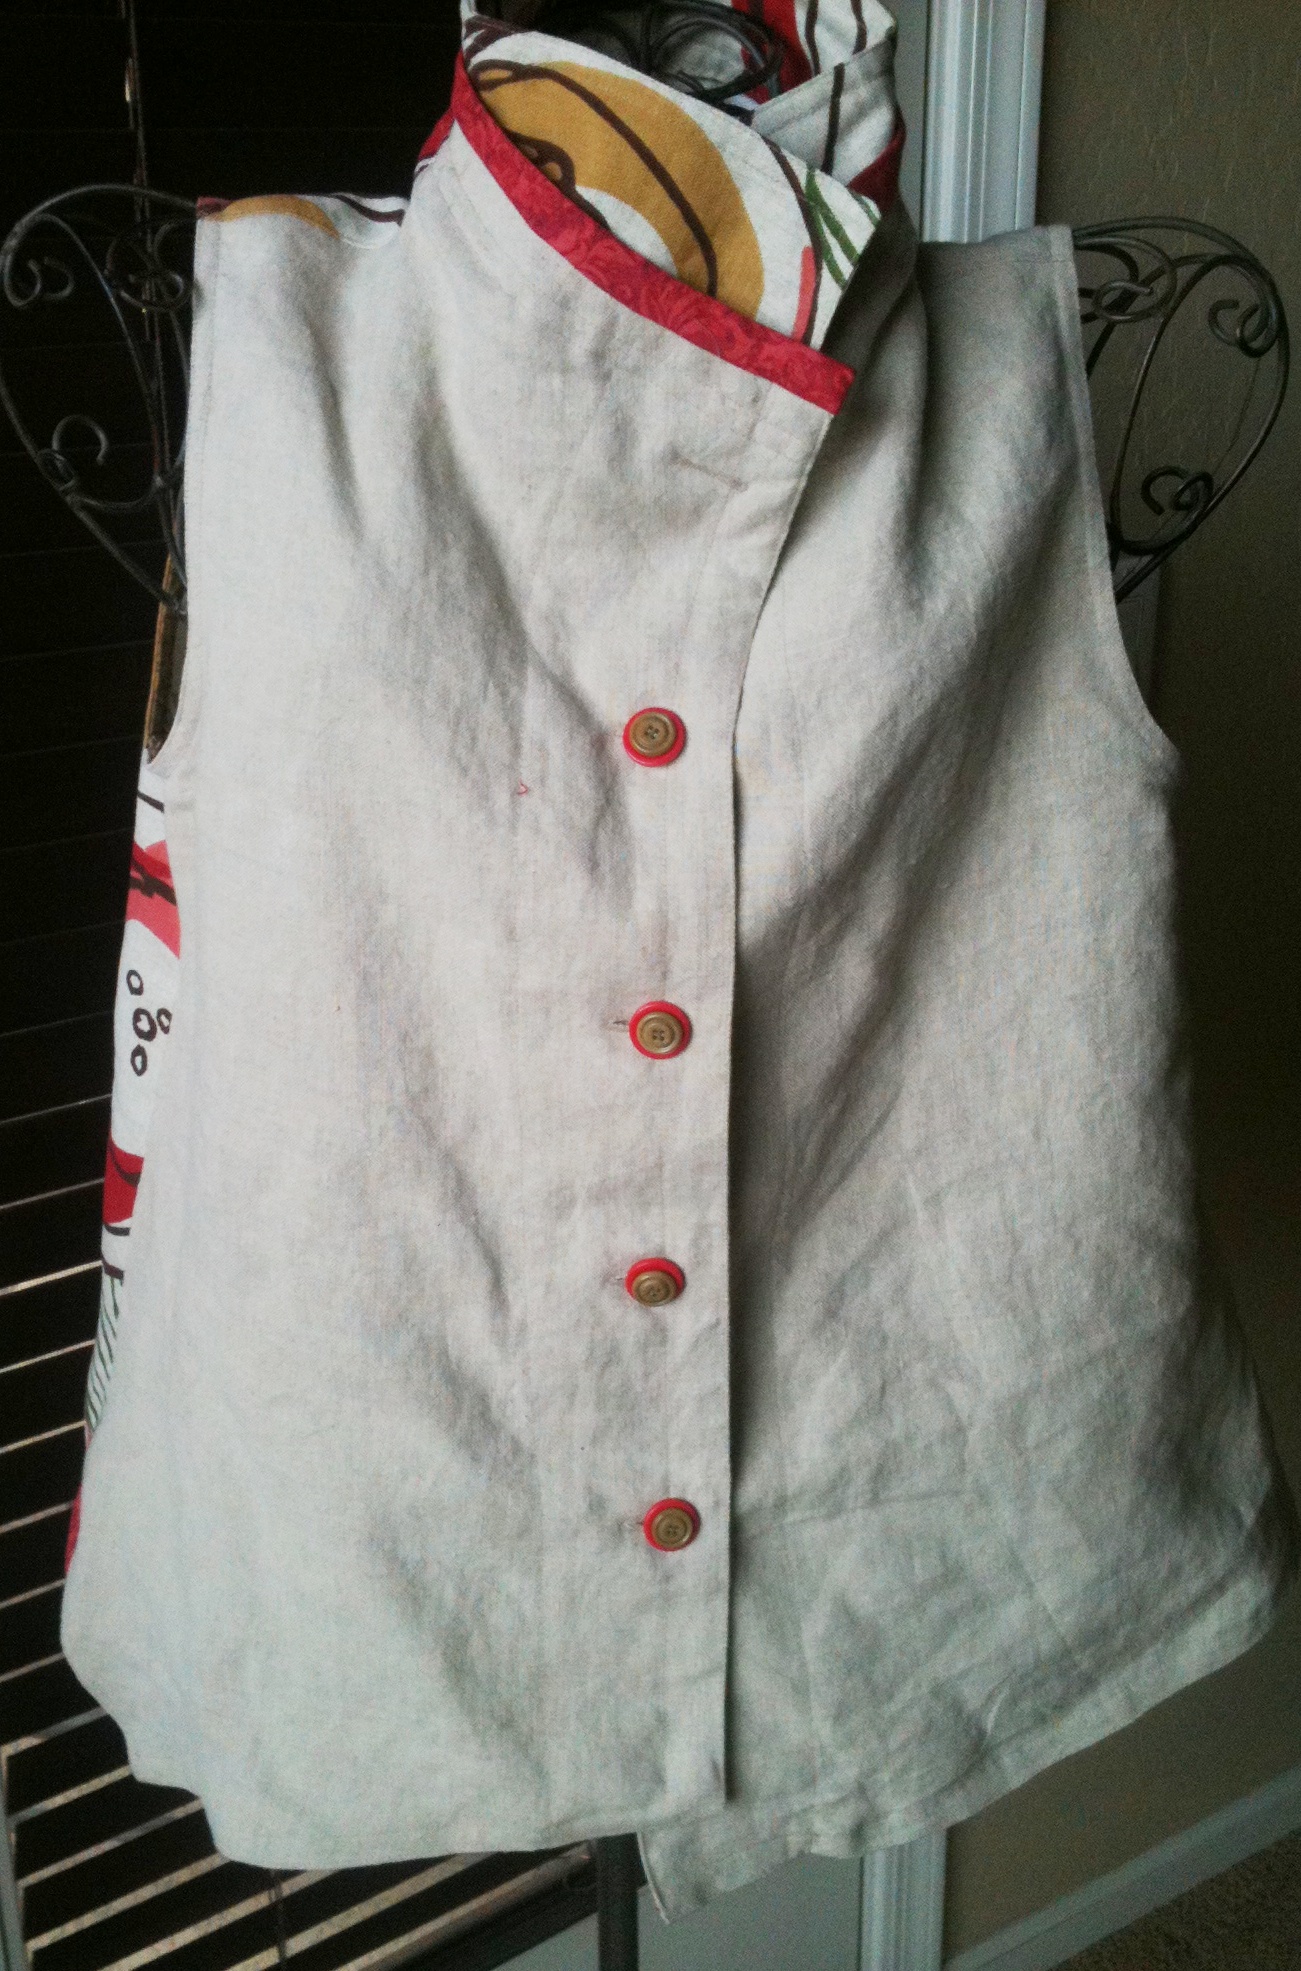
Embellished Front Band Detail
8. The side view shows the openings left at the lower side seams – the longer length fits better with the slits. The back was made just slightly longer than the fronts for no special reason.
In the end, the top had been revised numerous times. Each revision I liked better than the previous.
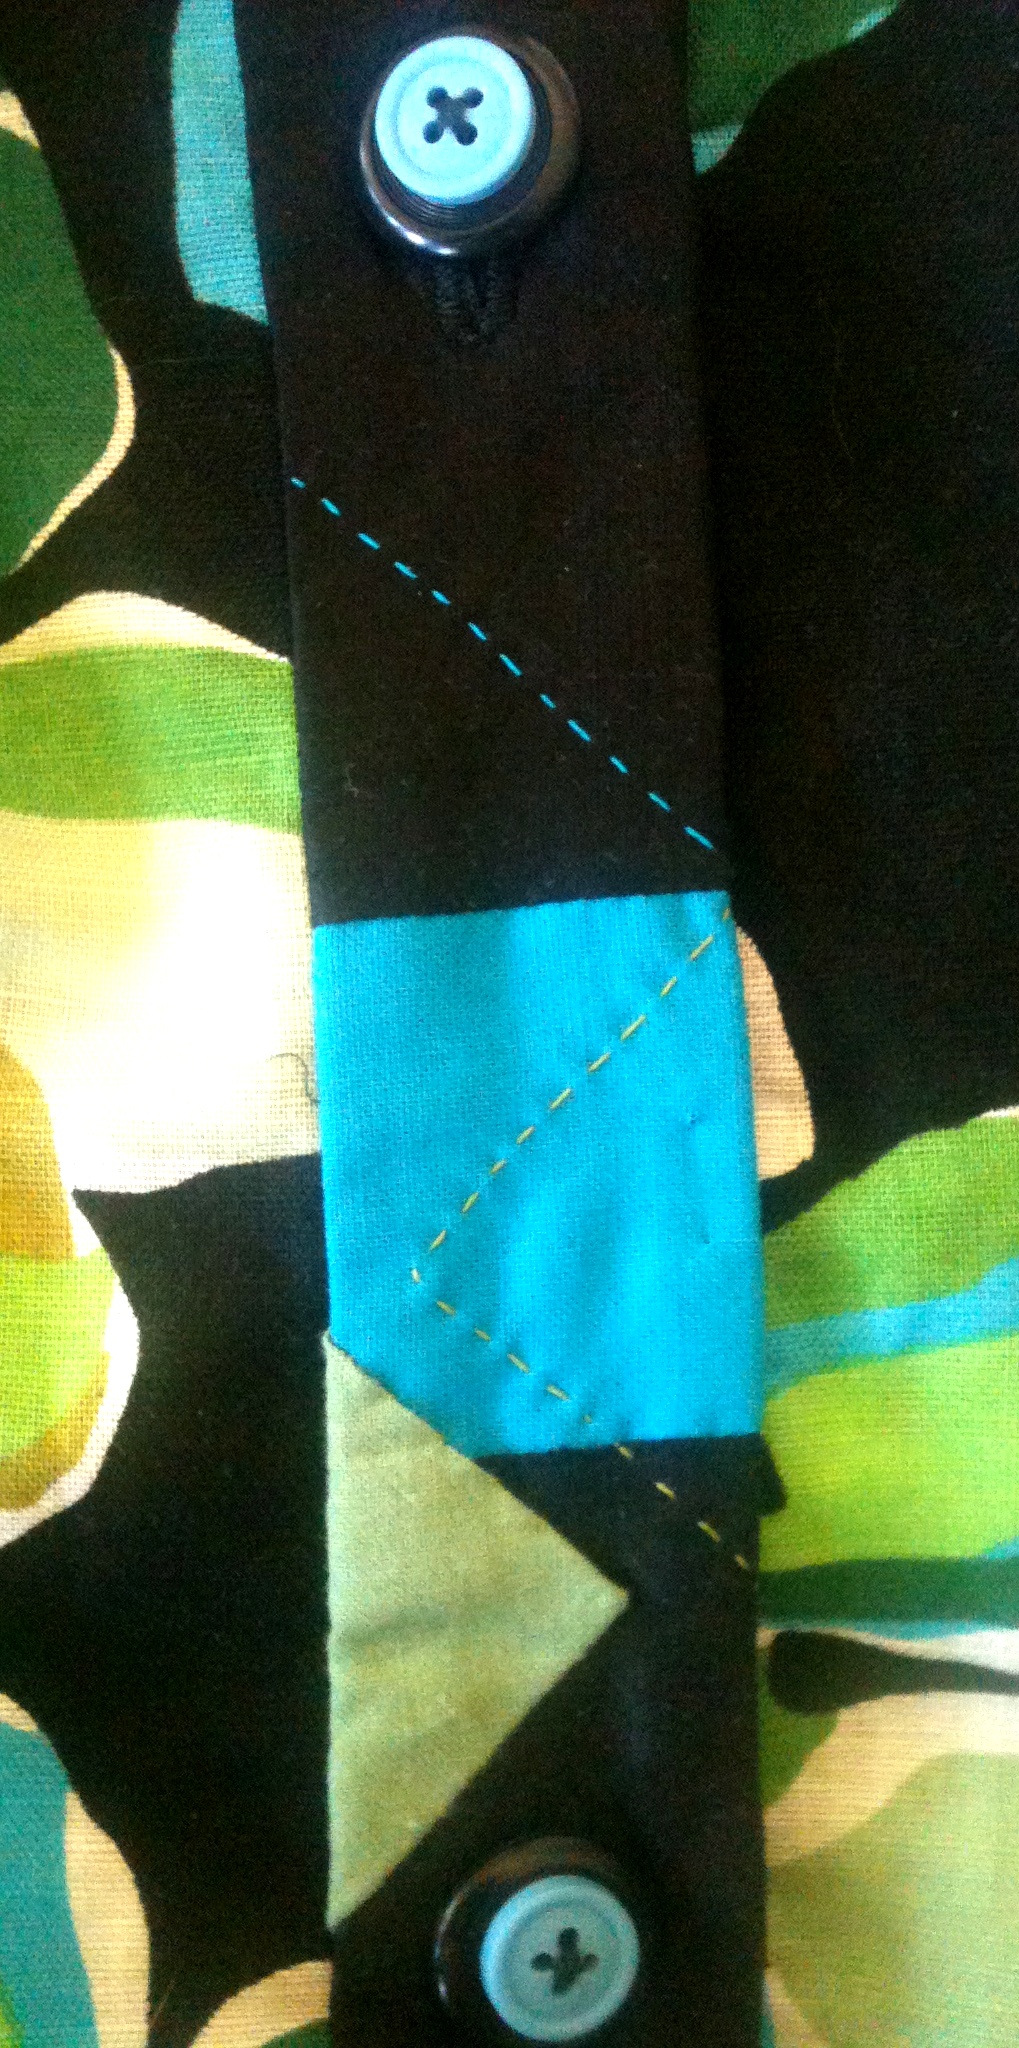
More Band Detail
The revisions require a bit of ripping out (and this time apparently, a bit of just plain ripping!), but it is enjoyable to see the garment evolve.
As with the other SLS Summer Tops, the buttons for this top are double-layered Stash Finds. Plain black buttons layered under a smaller plain blue button.
Total Cost: Less than $4 (I had to purchase the blue and one green quilting cotton)
Comfortable, lightweight and Stash Couture!


 I went to the Stash first – and while the Stash contains much fabric in Rusts and Coppers – none were “Just Right.”