Climbing Leaves Scarf
The opportunity to knit presented itself over the last few days, so I was able to finish up a scarf I had been working on.
The center section of the scarf is a Destashification Modification of a large leaf pattern that I have always been drawn to.
Destashification Knitting requires “resting” purl rows, Twist Stitches and a few simplifications so as to be frustration-free knitting.
The Stash contained some Cascade 200 Superwash in a beautiful green heather (Color N. 867) that was perfect for the leaf pattern.
The resulting pattern (included below) creates a gorgeous 9.5″ wide by 72″ long scarf that would be appropriate for any knitter considered an advanced beginner (or beyond.)

Scarf with Pattern Detail
The stitch patterns on either side of the center leaves are very simple.
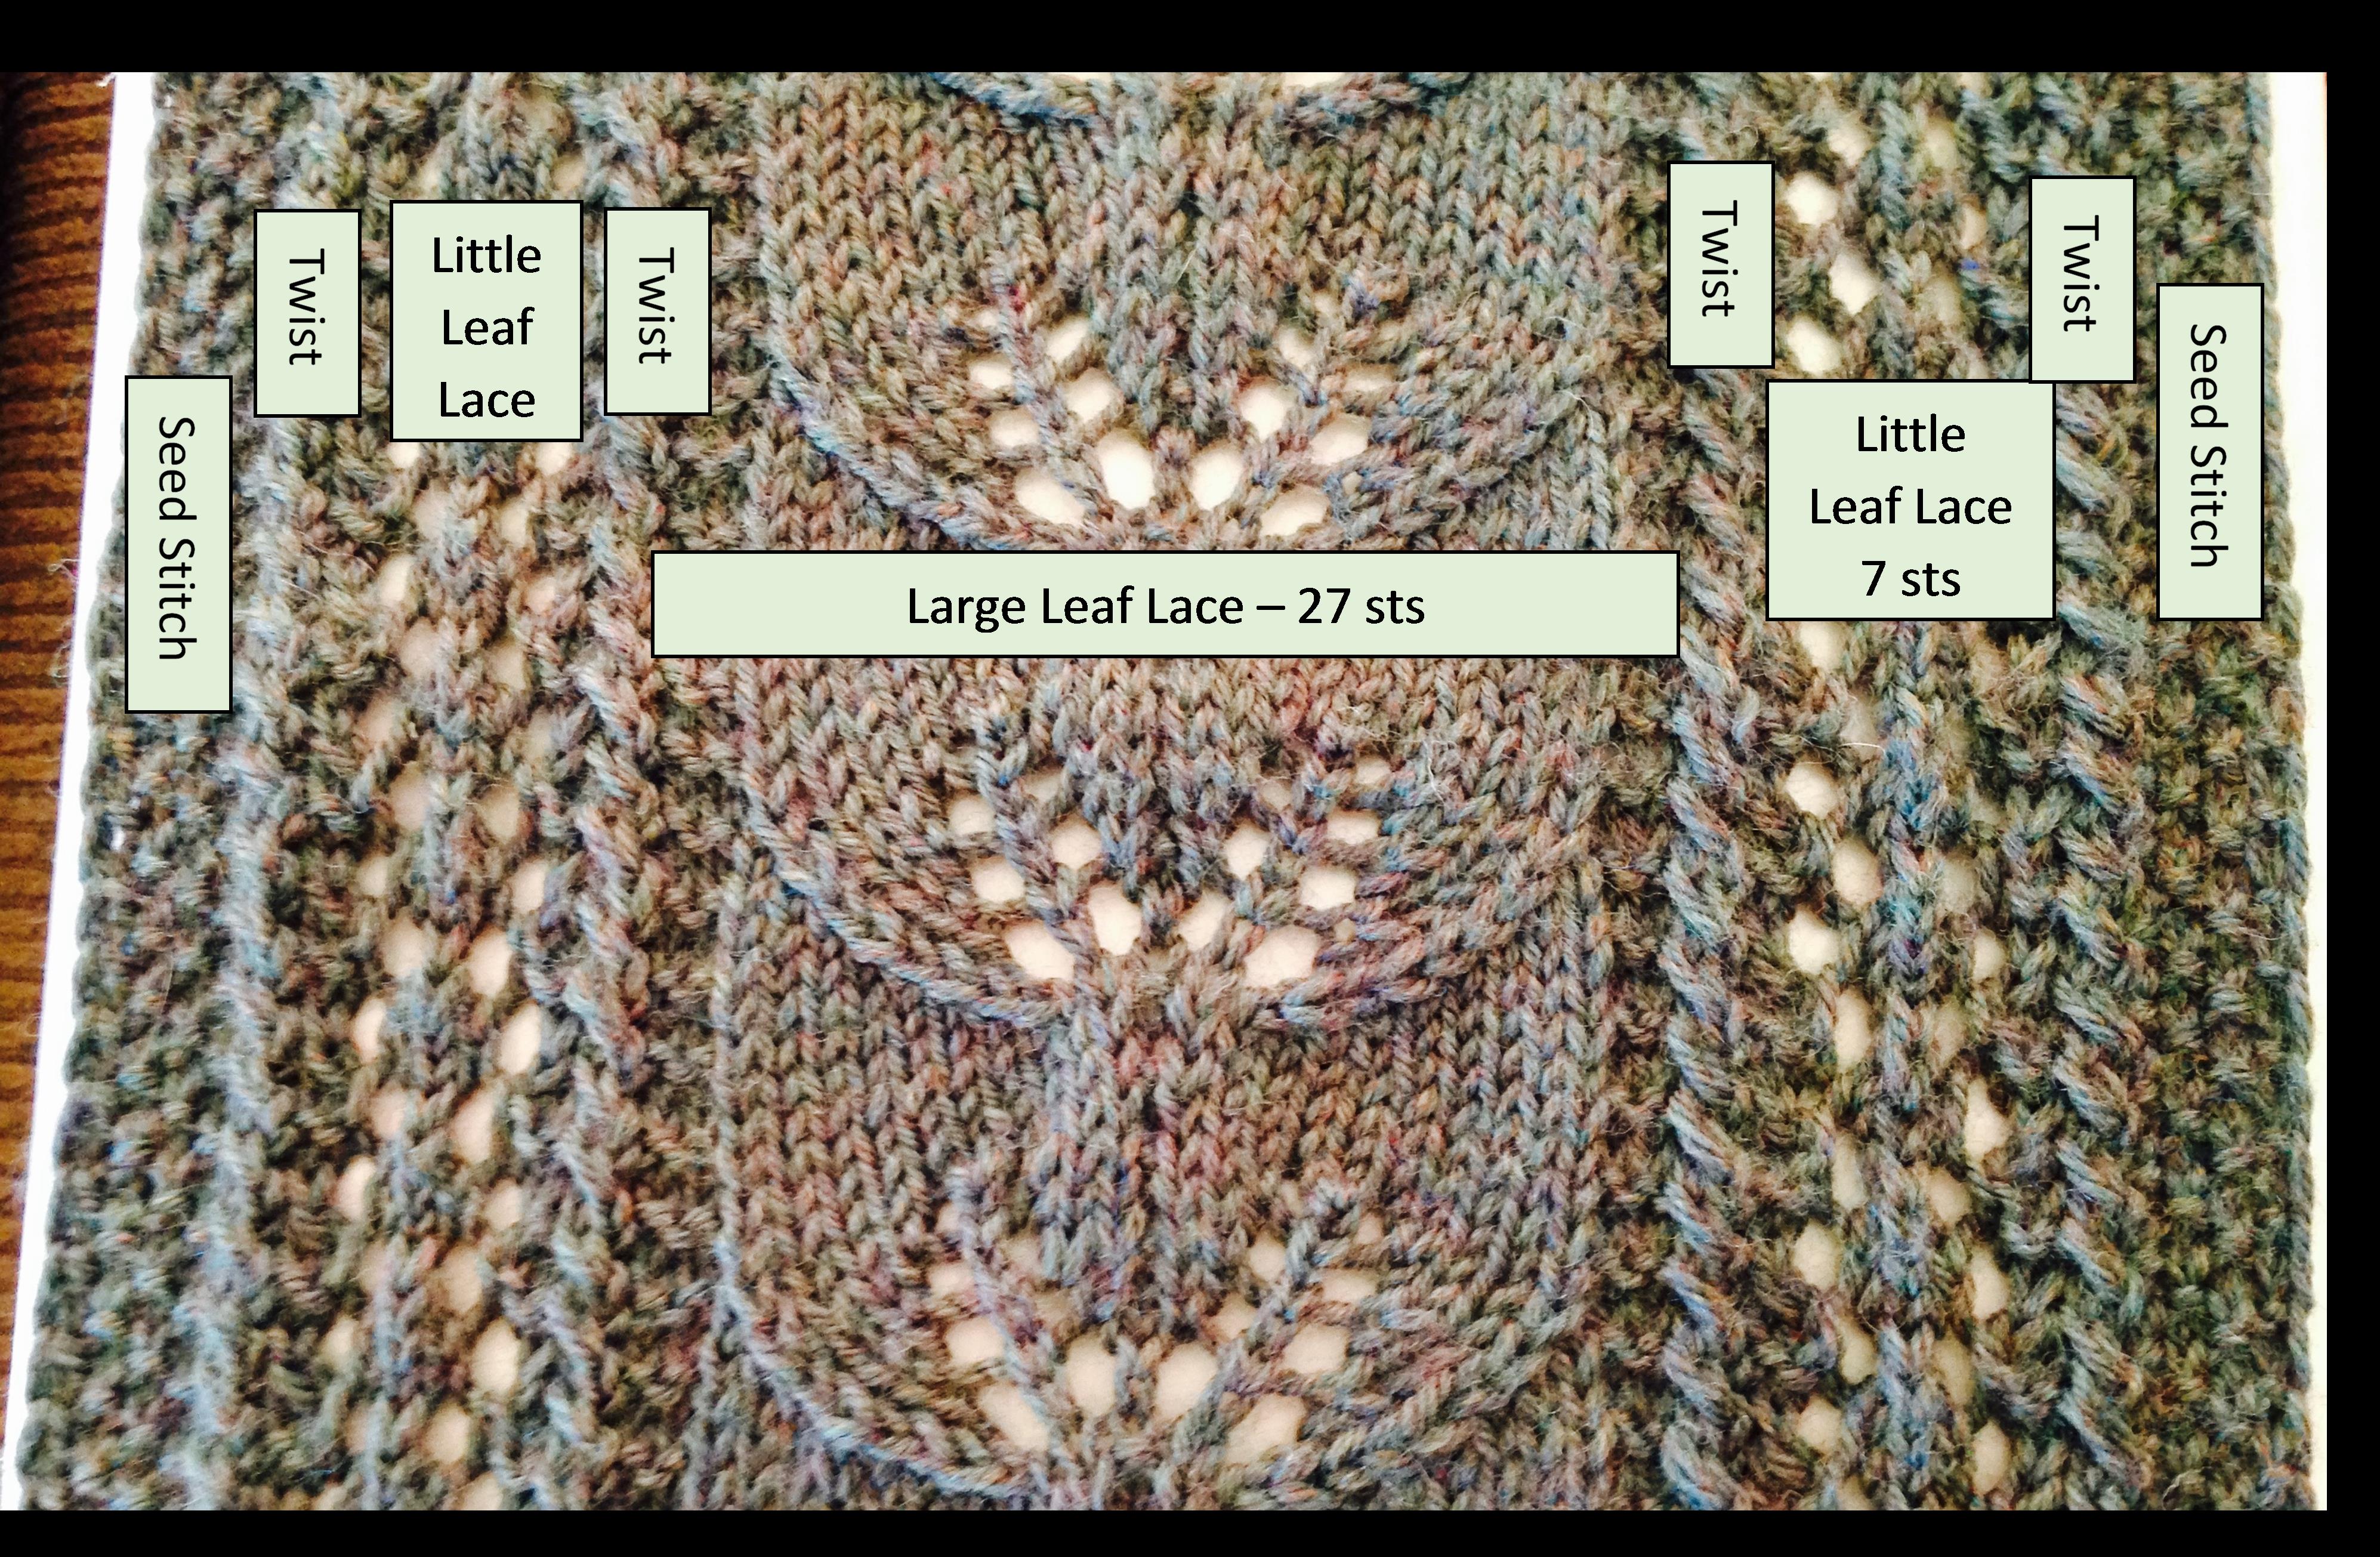
The pattern stitches from edge to edge are shown in the photo to the right:
The stitch patterns were purposefully selected to allow even a beginner knitter to knit this scarf perfectly – and wear it or gift it with pride!

Detail of stitches
The reverse garter stitches (all purl) formed by Stitches 1-2 and 26-27 of the Large Leaf Lace settle to the background to highlight the leaf shapes. By using purl stitches the Destashification-required “rest rows” are created (Rows 1-2 and 11-12 of Large Leaf Pattern).
The simple 2 sts. Twist prevents the “sagging stitches” that can occur when bringing yarn from front to back during the transition from knit to purl stitches.

LTL = Love those Leaves
The little leaf panels add a bit of lace to the edges in a simple 4 row repeat.
The scarf requires approximately 600 yards of worsted weight yarn. Because 220 Superwash was used (it is slightly lighter than worsted), this scarf was knit on size 6 needles. If substituting a more typical worsted weight yarn, the pattern would require a size 7 or 8 needle.
Pattern: (Please read NOTES below prior to casting on)
Cast On: Using needles appropriately sized for your yarn, cast on 57 stitches.
Seed Stitch End:
Start first row with Seed Stitch Chart (right side). Continue K1, P1 across all stitches.
Start second row with Seed Stitch Chart (left side). Continue K1, P1 across all stitches.

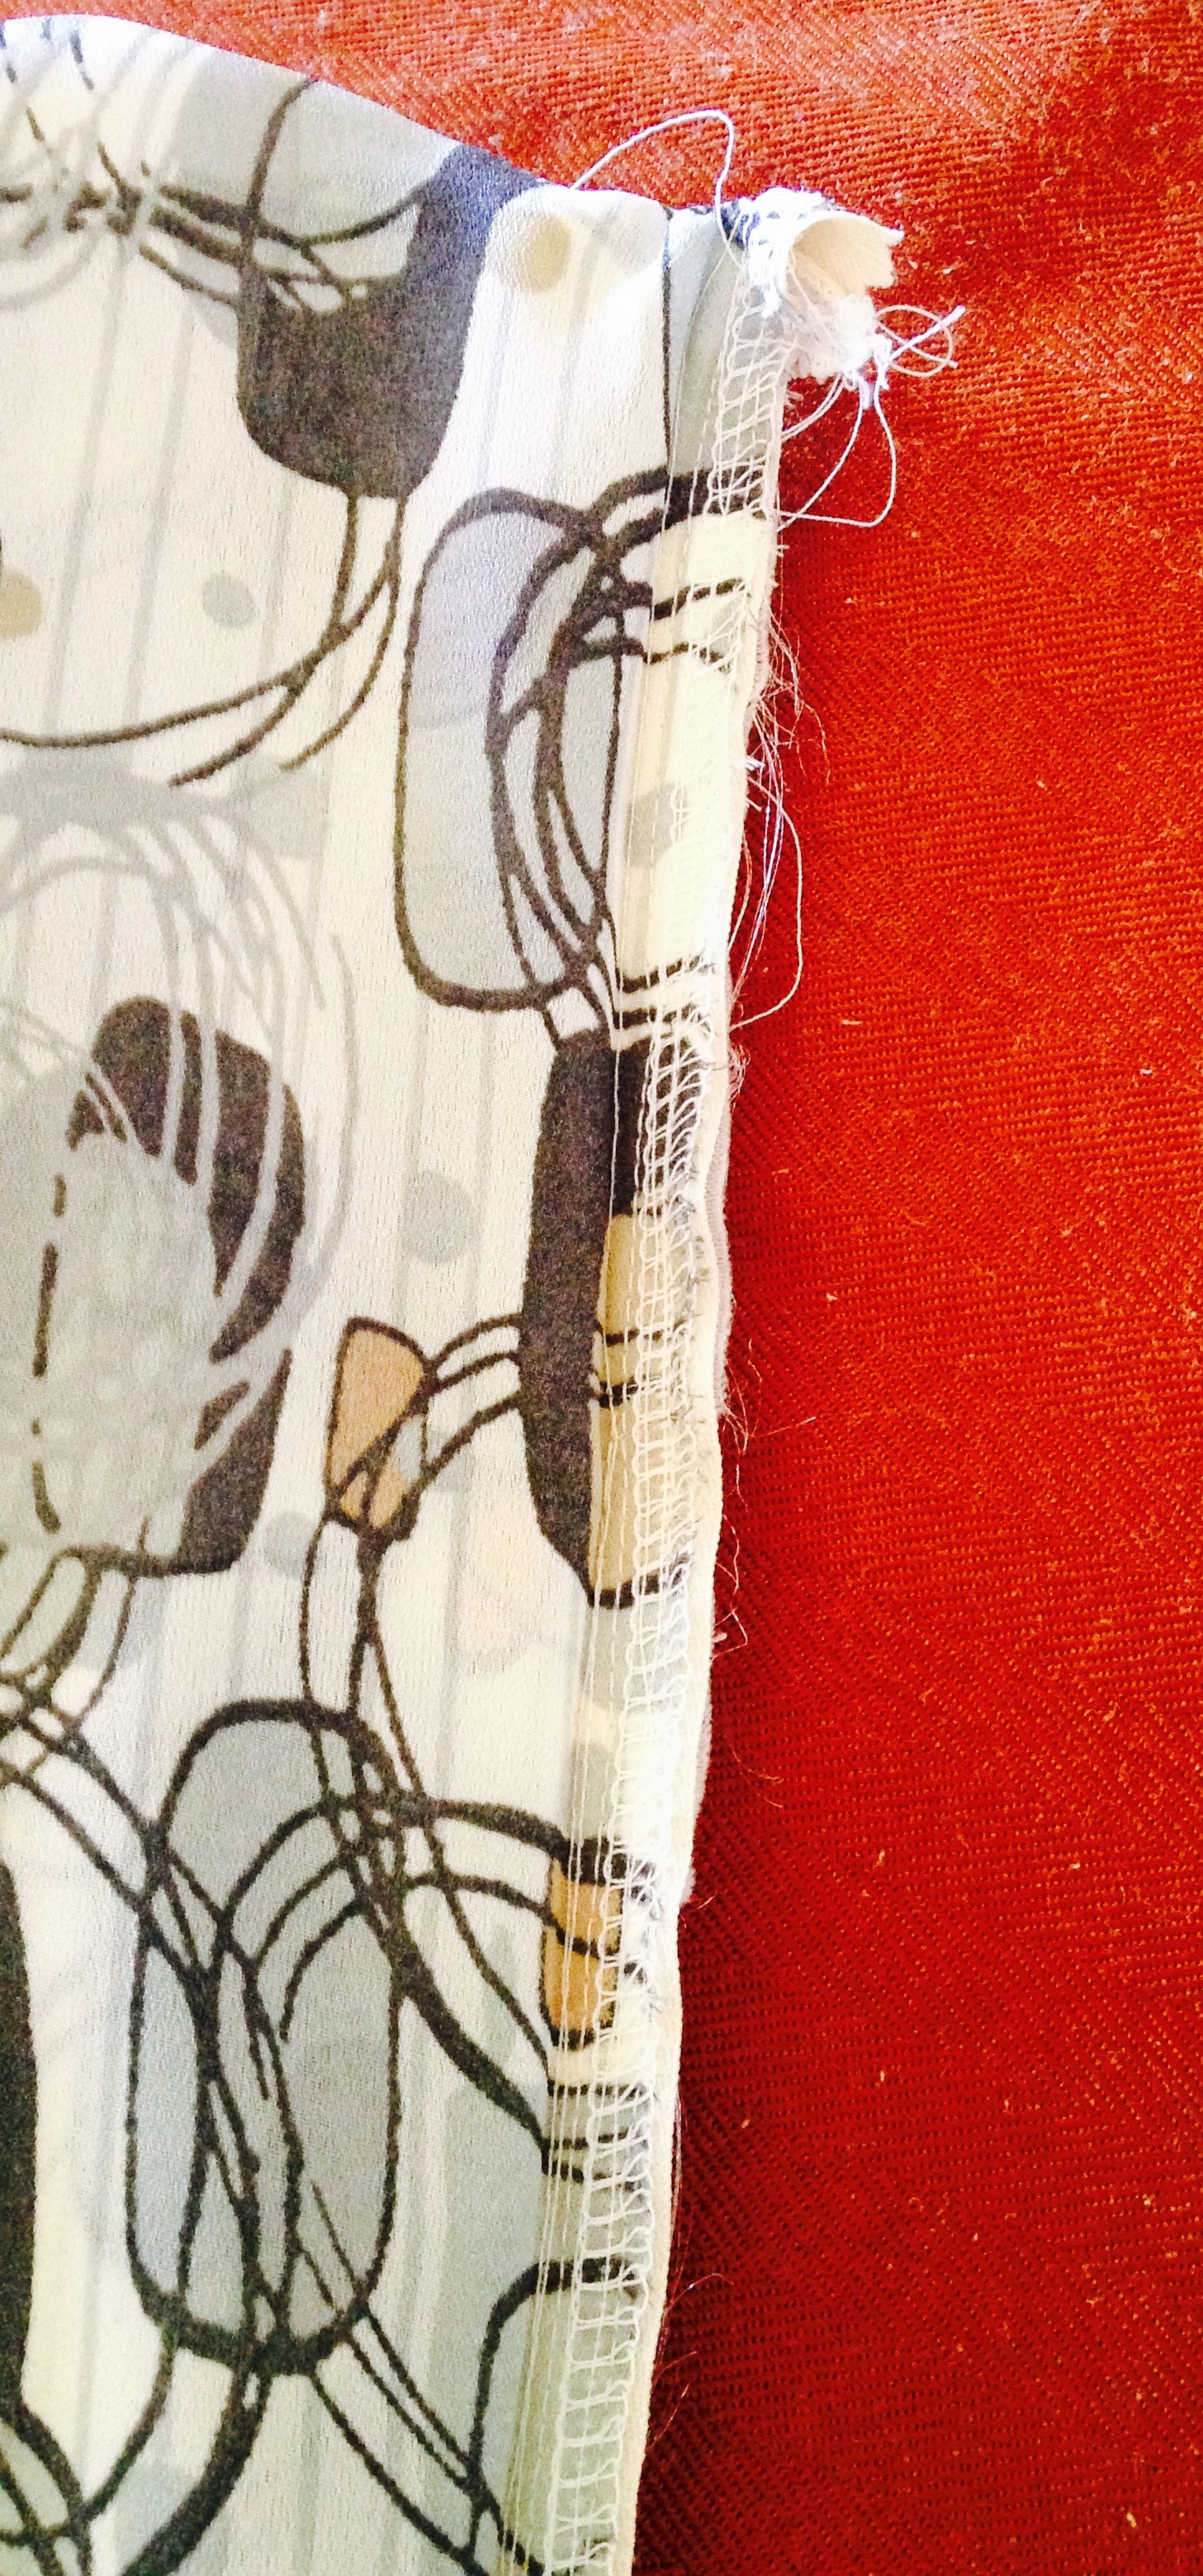
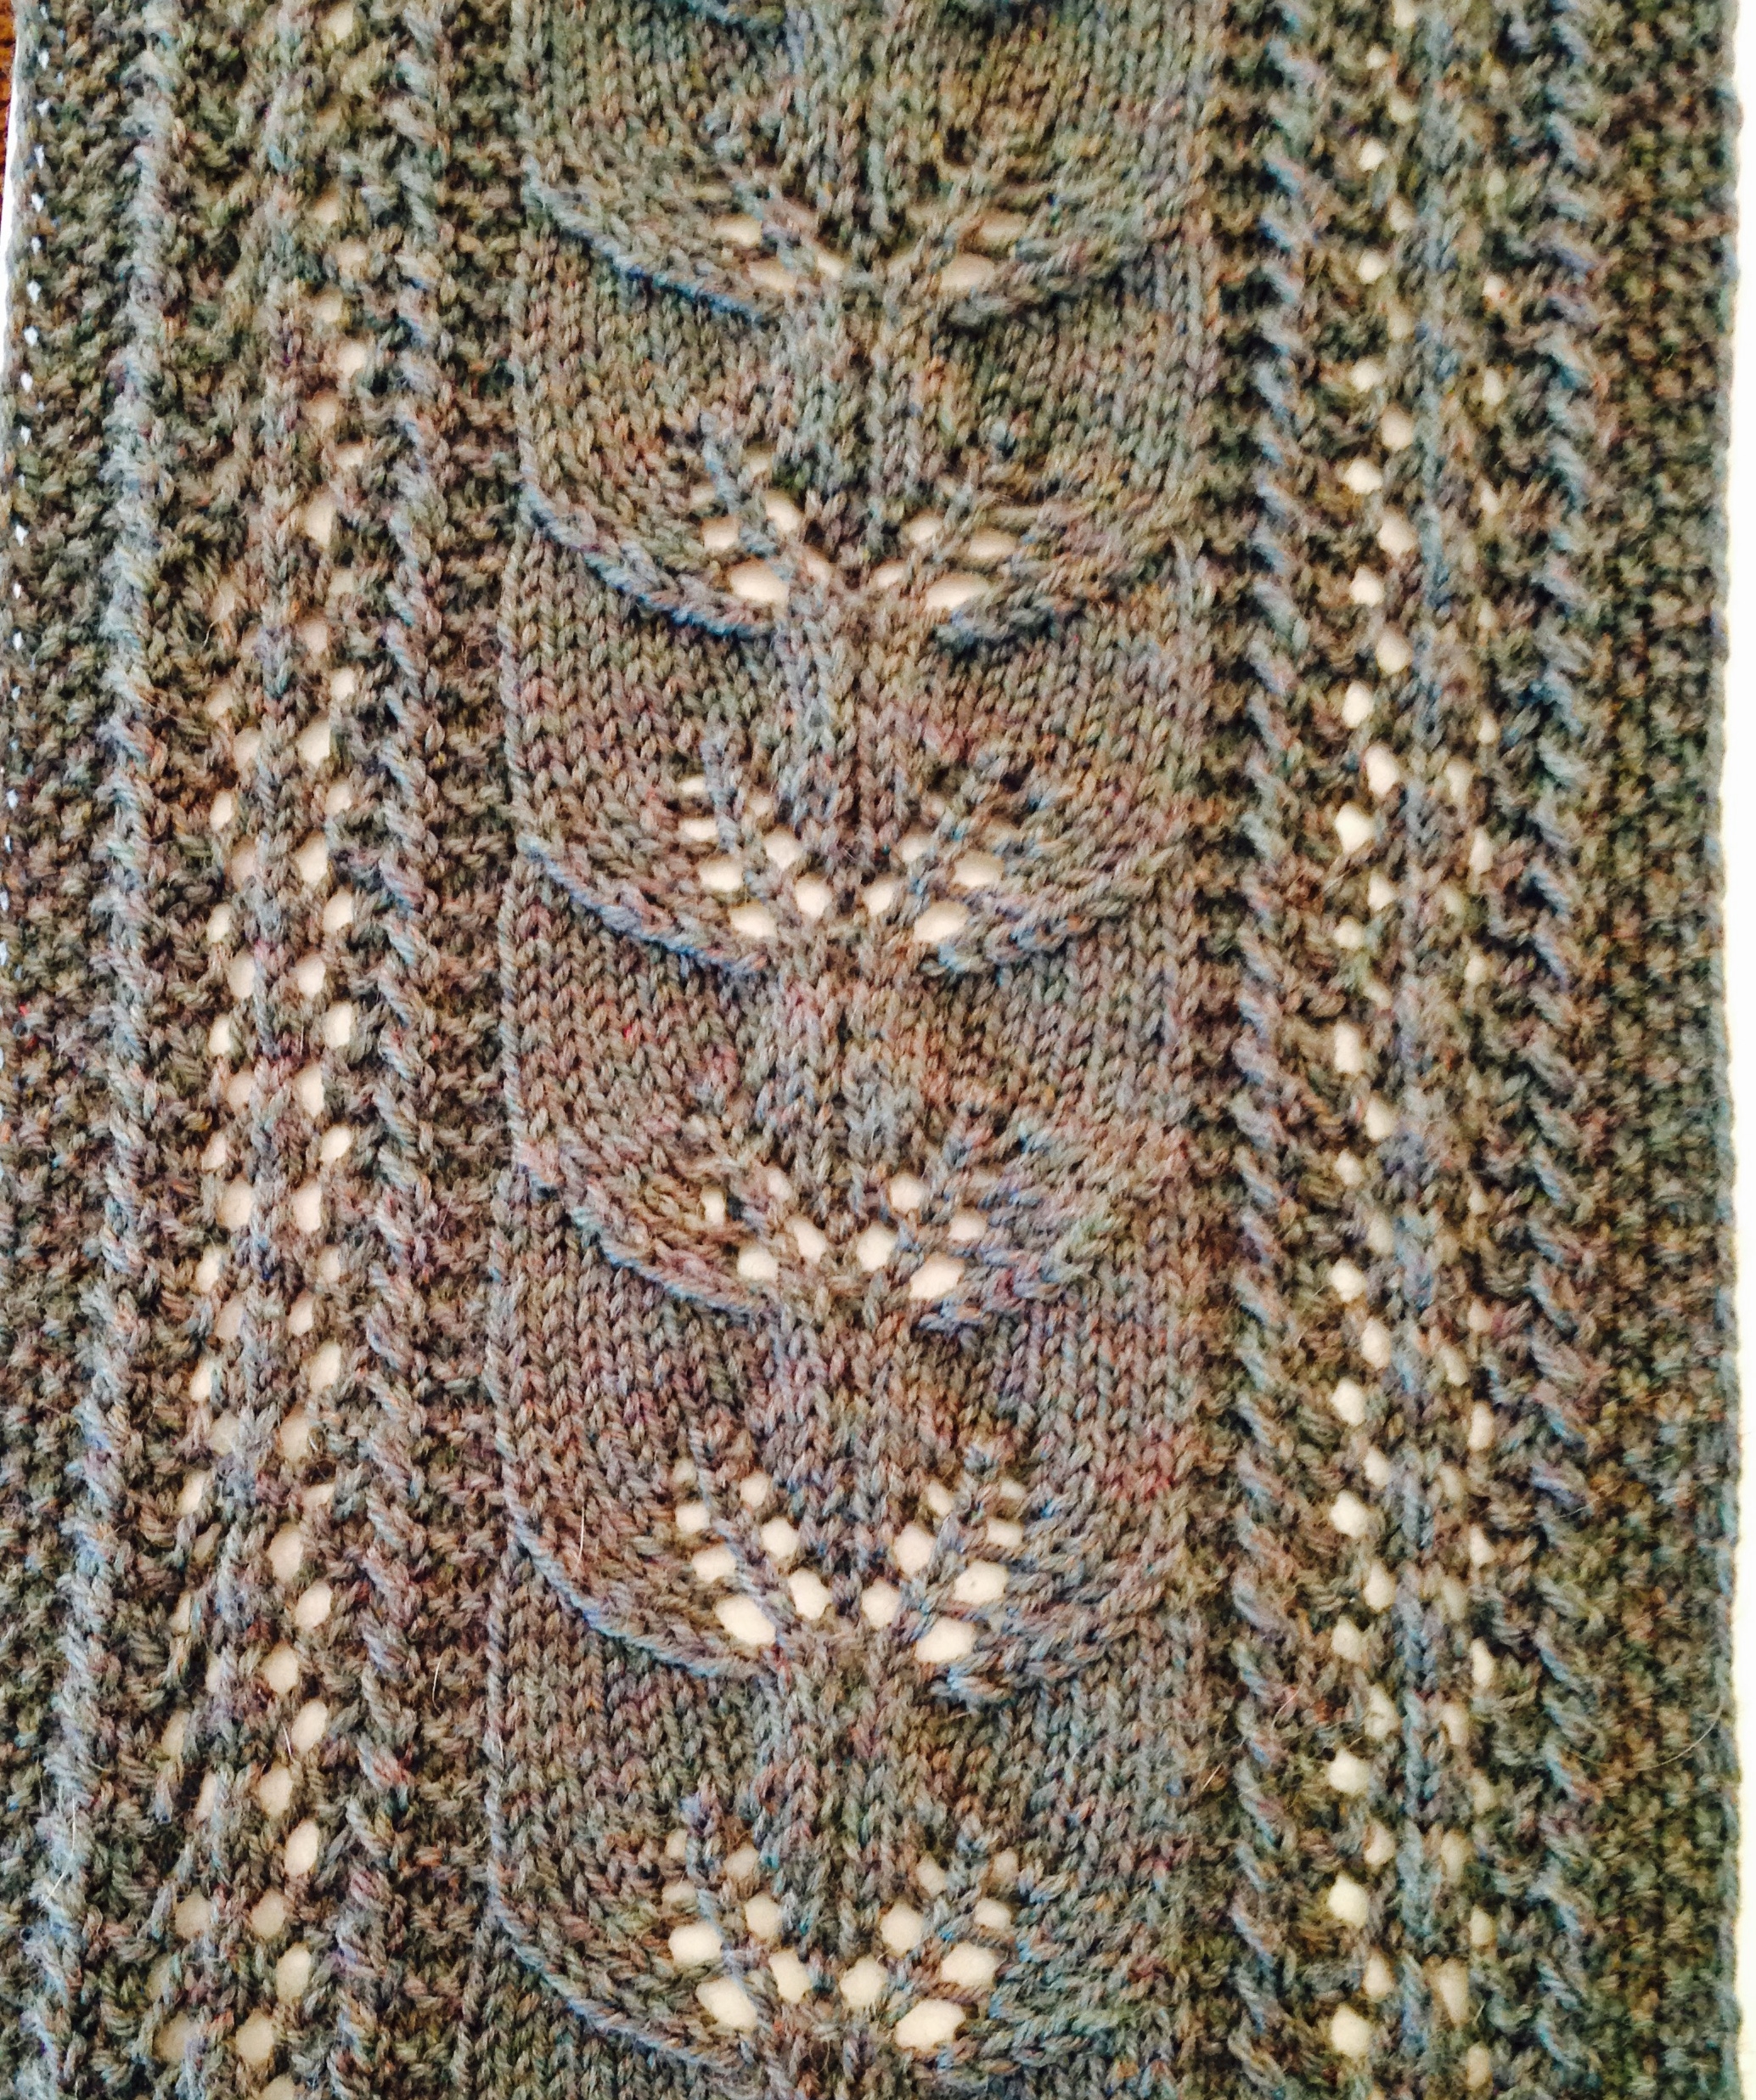
The side panels are the closest to the actual yarn color – a heathered dark green. The pink/red on the center Large Leaf panel was imparted by the camera.
Knit these two rows for a total of 10 rows.
Patterned stitches:
Following charts (scroll down), work Row 1 of the following:
Seed stitch – right side (5 sts), Twist (2 sts), Little Leaf Lace (7 sts), Twist (2 sts), Large Leaf (27 sts – which is really 25 sts because of the 2 No Stitches), Twist (2 sts), Little Leaf Lace (7 sts), Twist (2 sts), Seed stitch – left side (5 sts).
Continue following charts until scarf is desired length ending with Row 2 of Large Leaf pattern.
NOTES:
The seed stitch end sections will knit slightly wider than the Patterned section of the scarf. If comfortable with increases, I would recommend casting on 53 stitches for the scarf and working the 10 rows of Seed Stitch on those 53 stitches. Work 4 increases in Row 1 of patterned section (57 stitches). After completing the patterned section of the scarf, decrease 4 stitches in the first row of final seed stitch end section (53 stitches) , and work the 10 rows of seed stitch across those 53 stitches.
The Large Leaf pattern forms puckered looking leaves as it is knit. Do not despair. They will block flat.
If not familiar with lace knitting, I would suggest knitting one Large Leaf Motif as practice prior to casting on the scarf. The P2 togethers may seem clumsy at first, but are quickly mastered.
Placing a stitch marker as shown in the Large Leaf graph is a great help when working the “Purl” rows. After missing the “Purl 2 togethers” more than a few times and having to ravel back, I started placing the markers as reminders. Then I did not forget to work the P2tog’s anymore (OK, so I still forgot a few times.)
The 2 stitch twist can also be accomplished with a cable needle as follows:
-
Place 1st stitch onto cable needle and hold in front of work. Knit next stitch. Knit stitch from cable needle.
I knit 41 Large Leaf motifs to create a scarf that is 6 feet long. Your knitting gauge will most likely be different (knitting gauge doppelgangers are rare!) Knit to your desired length.
Clicking on the charts below will enlarge them.

Knitting Charts for Scarf

Key for Knitting Charts

Scarf during blocking
Finishing:
Work 10 rows of Seed Stitch.
Cast off.
Block. Weave in ends.

 Statuesque women deserve clothing that fits and flatters.

 The pattern went together easily. Interfacings, collar band, cuffs and button plackets … I remember these!!!
 Oddly, the Button Stash did not contain 15 appropriately sized and colored buttons.


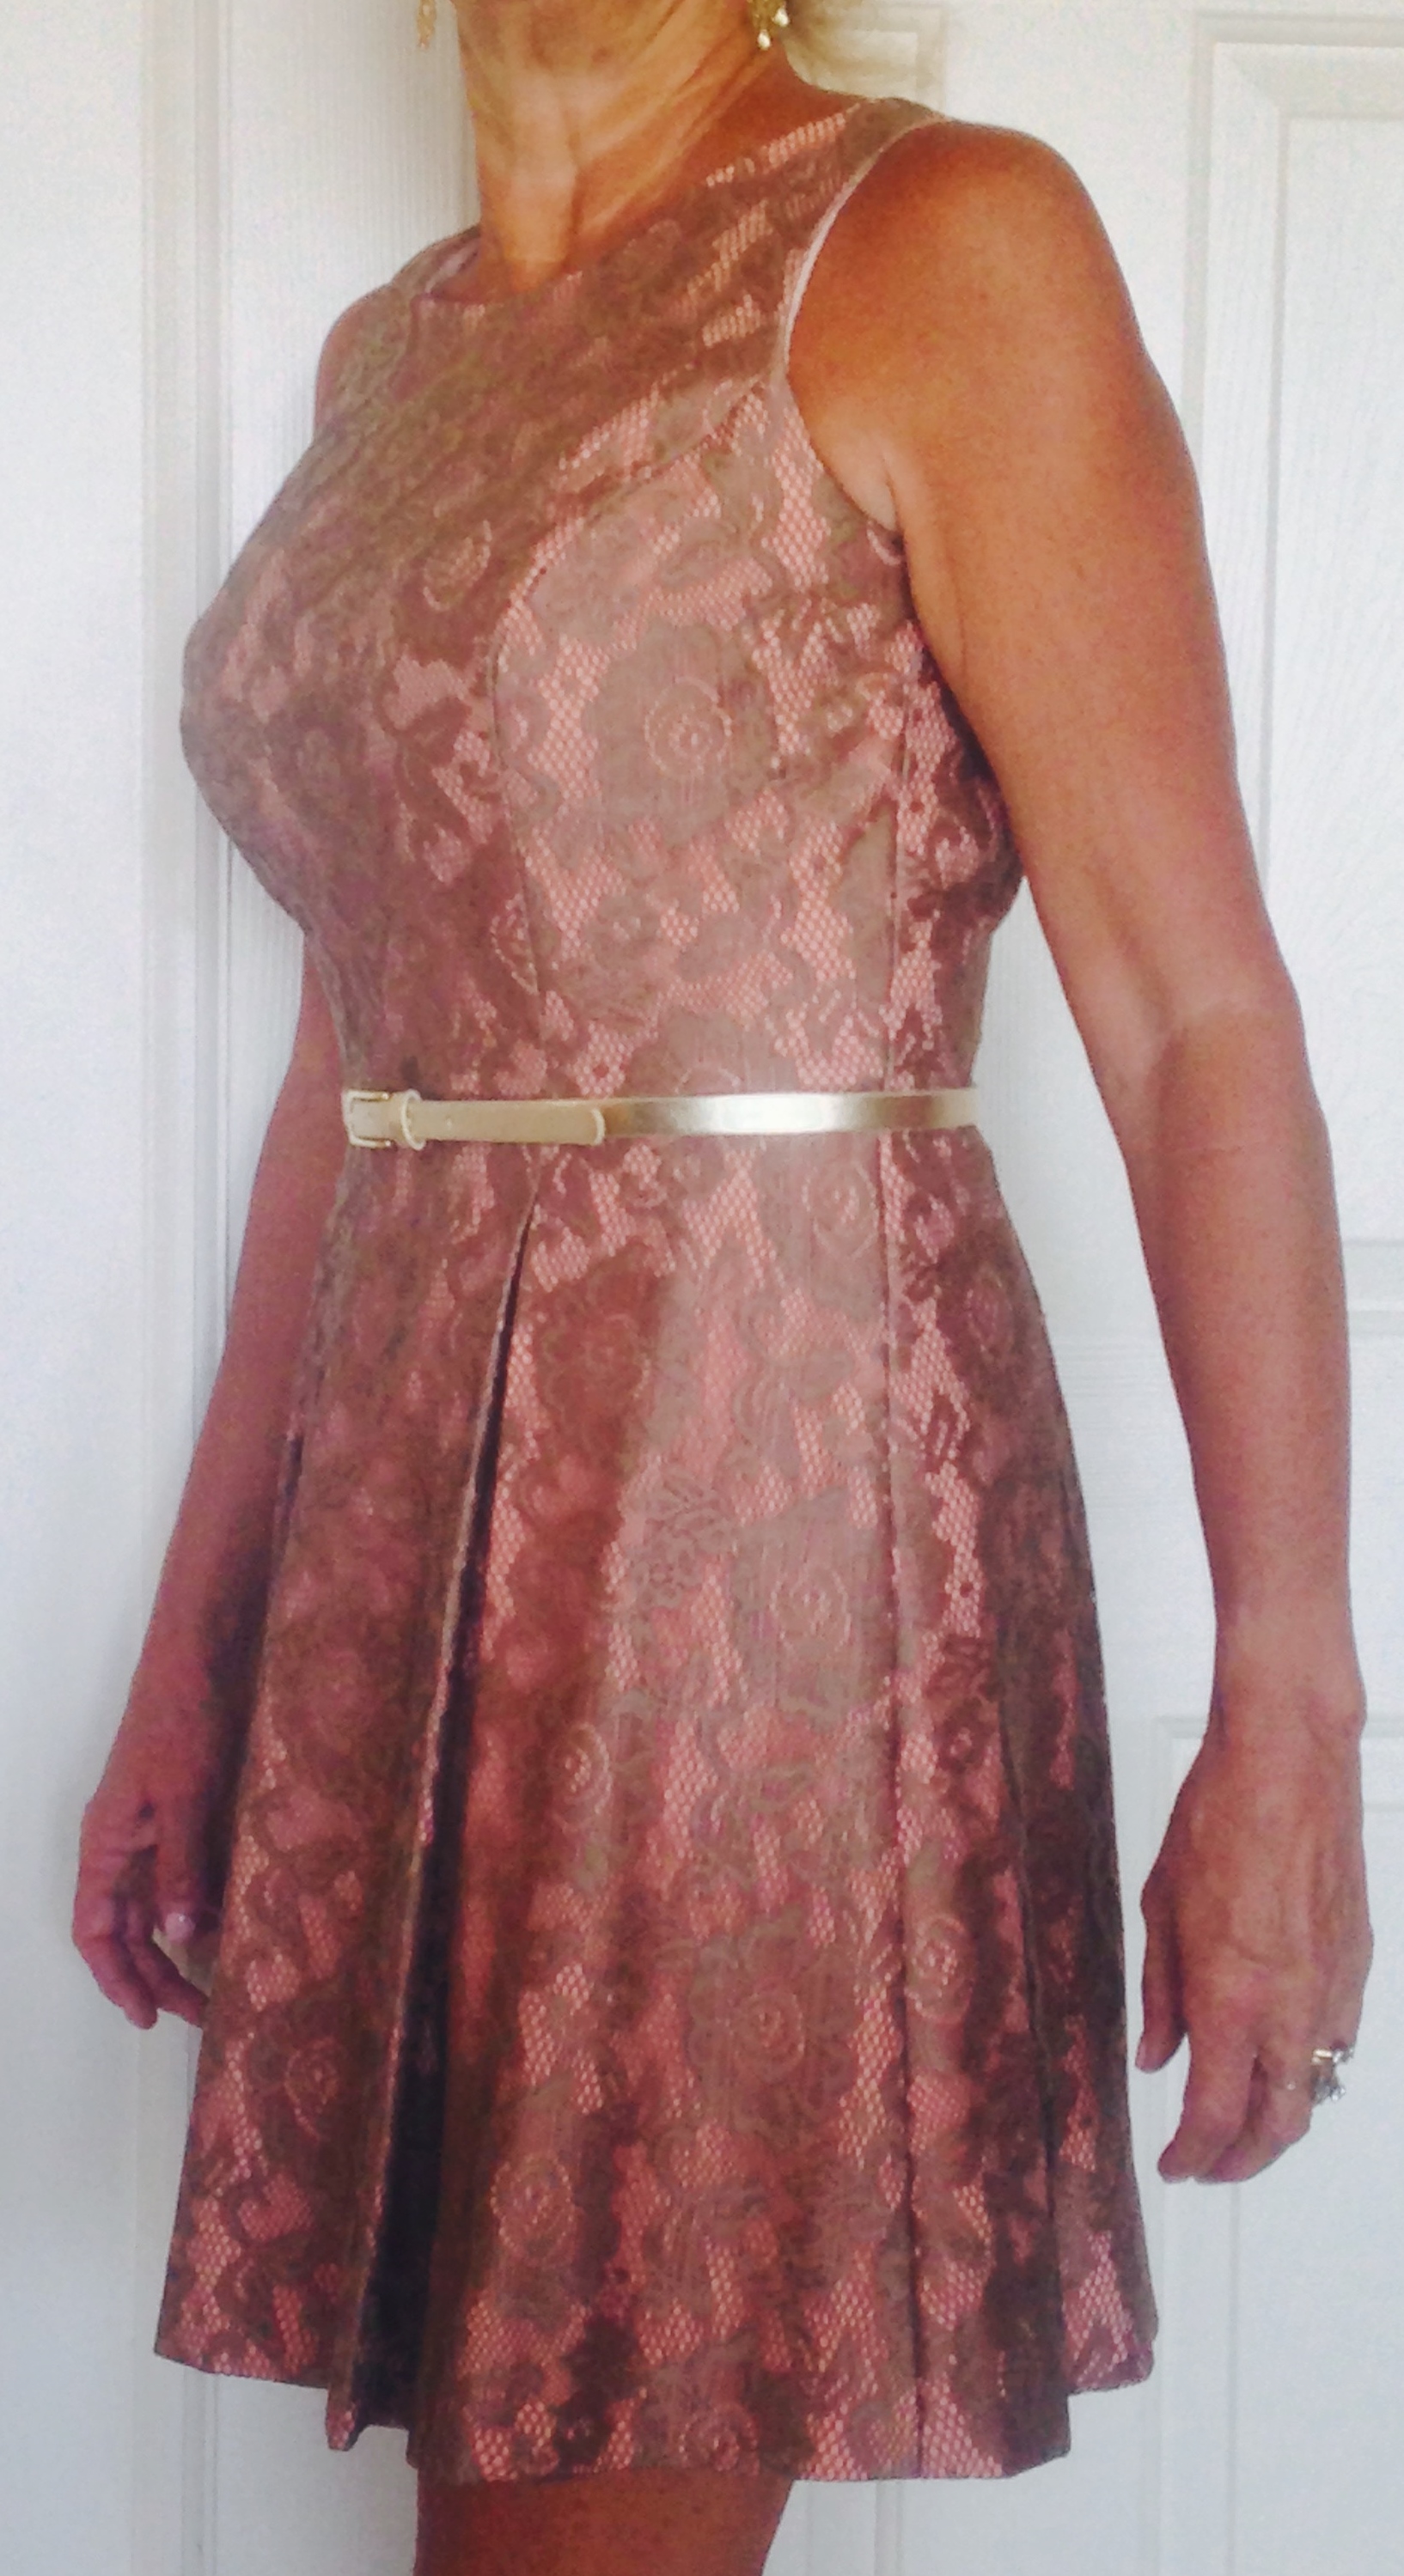
 Tall sizes tend to add inches only to leg and sleeve length.
 Shift dresses go together fairly simply. I would recommend them for any beginning sewer.
 She was very pleased with the fit! She took out the marking threads and wore it right away!


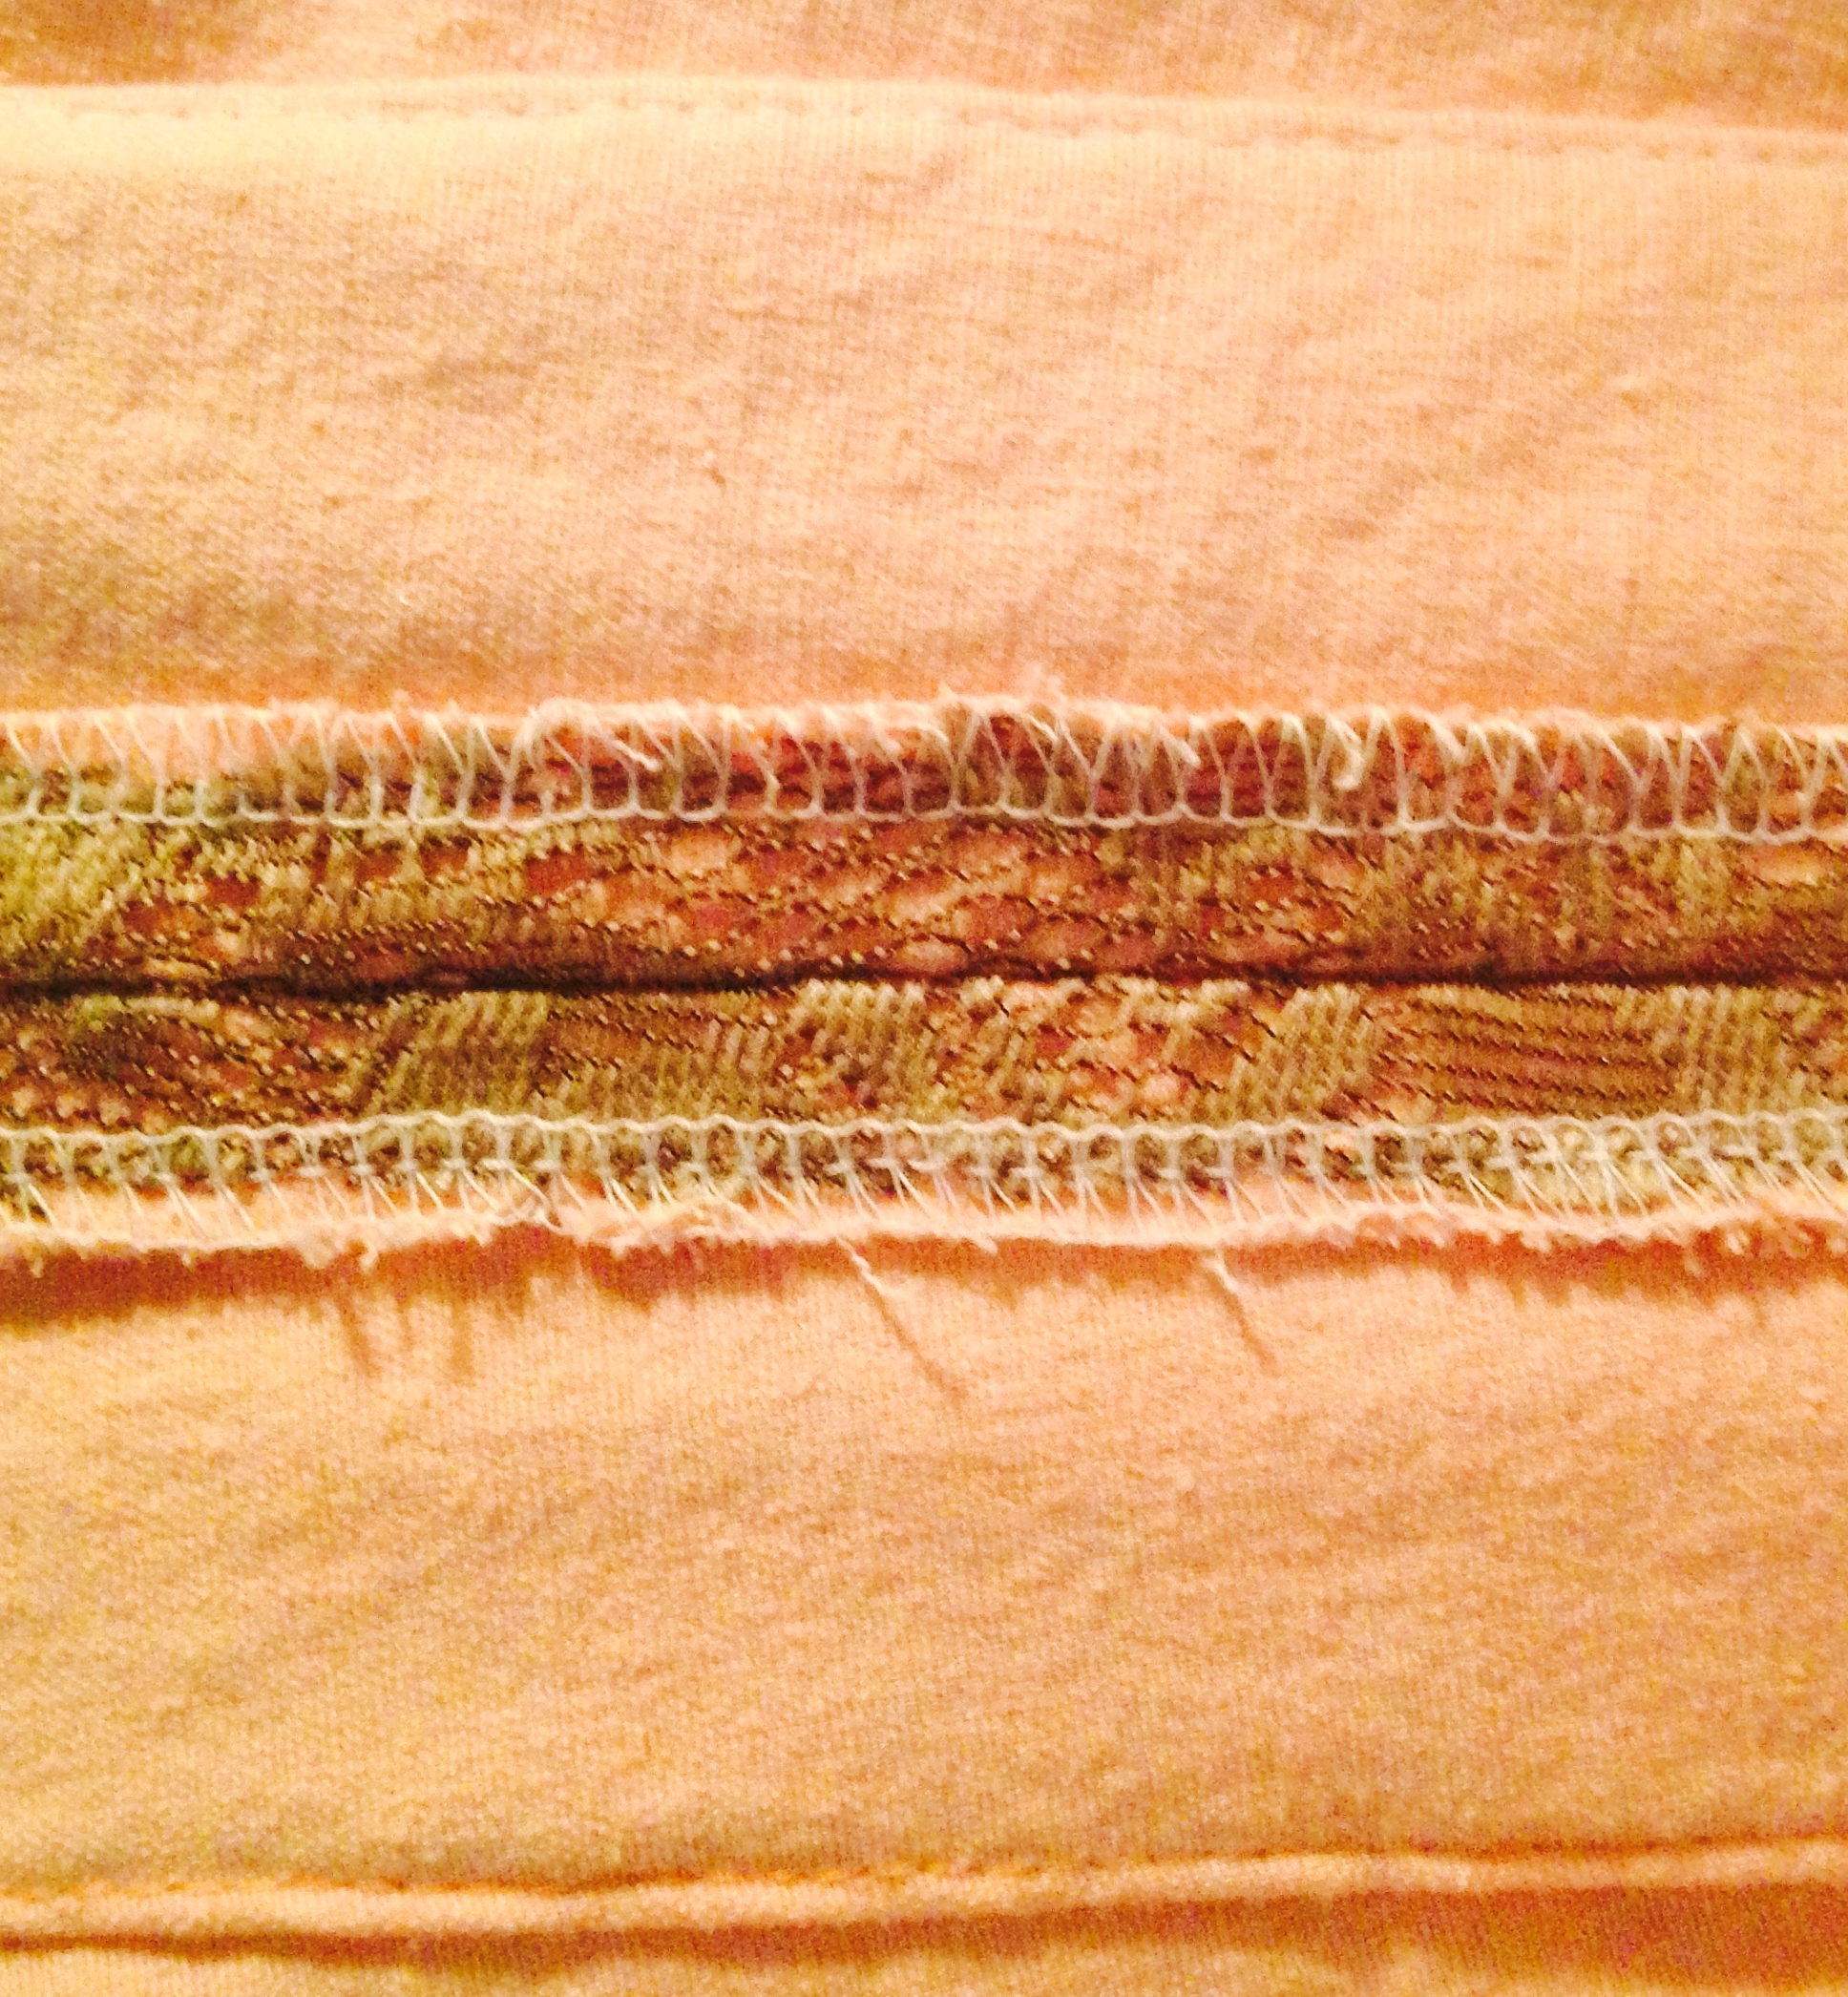
 Detail photos show how the individual threads create an optical illusion of flowing colors.


 The movie original is a bit more rustic.
 Not sure why, but the first two attempts were humongous. My daughter is 6 feet tall, but so was the original drape section. The collar portion extended to her waist.
 Rather than knit in two sections and sewing together. The collar section was completed and then the drape section knit into its lower edge both front and back. Doing so maintains the stretch of the wrap.
 And joy of joys! She has asked for another one!!


 That orbit shape started in NASA logo – very space-age and futuristic at the time.